Are you wondering how to sand between coats of paint? You’re in the right place. Sanding between coats is a crucial step for achieving a professional finish. This guide will walk you through each step, ensuring even a novice can do it.
Why Sanding Between Coats of Paint is Important
Sanding between coats of paint helps to remove imperfections and enables the subsequent coat to adhere better. It’s a key part of achieving a smooth, long-lasting finish.
Things You Will Need
Fine-grit sandpaper (220 to 320 grit)
Tack cloth or damp rag
Step-by-Step Guide on How to Sand Between Coats of Paint
Here’s the process…
Step 1: Prepare the Area
Before you start the actual sanding, taking time to prepare the area is crucial for a mess-free and efficient process. First, remove any furniture or other obstacles from the area you’ll be working on. This will give you the freedom to move around easily.
Next, lay down a drop cloth on the floor and over any fixtures to catch falling dust. This makes clean-up a lot easier later on. Finally, put on a dust mask to protect your respiratory system from inhaling potentially harmful dust particles and, if possible, wear a pair of safety goggles to protect your eyes.
Step 2: Allow the Paint to Dry Completely
One of the most common mistakes in the painting process is not allowing enough time for the paint to dry before sanding. Check the paint can for the manufacturer’s guidelines on drying times, which can vary depending on factors like humidity, temperature, and the type of paint you’re using.
As a general rule, you should wait at least 24 hours for water-based paints and up to 48 hours for oil-based paints. To be sure, touch the paint surface lightly with your fingertip; it should feel dry and not tacky.
Step 3: Choose the Right Sandpaper
The type of sandpaper you use can make a significant difference in the final result. Generally, for sanding between coats of paint, you’ll want a fine-grit sandpaper, ranging from 220 to 320 grit.
A finer grit will give you a smoother finish and is less likely to leave noticeable scratches on the surface. You can usually find this information labeled on the sandpaper packaging. It’s a good idea to buy a few sheets so you can switch to a fresh one if your sandpaper becomes clogged with paint particles.
Step 4: Start Sanding
To achieve the best results when sanding between coats of paint, preparation and technique are just as important as the tools you use. Here’s a thorough breakdown of Step 4 in the sanding process to help you achieve a professional-looking finish.
Wrapping the Sandpaper
Begin by wrapping your chosen fine-grit sandpaper around a sanding block or pad. Make sure the sandpaper is secure so that it doesn’t slip while you’re working. The sanding block not only provides a comfortable grip but also ensures that you apply even pressure across the surface, thus reducing the likelihood of making indentations or gouges in the paint.
Positioning for the First Stroke
Place yourself at one end of the surface you intend to sand. If you’re working on a larger area, mentally divide it into smaller sections; this helps you keep track of where you’ve sanded. Doing so can also prevent unintentional oversanding of certain areas.
Employing Light, Even Strokes
Hold the sanding block flat against the surface to distribute the pressure evenly. Start sanding using light, even strokes. You don’t need to press down hard; let the sandpaper do the work. The key is to maintain consistent pressure to avoid uneven sanding. Your strokes should be long and continuous, rather than short and choppy, to ensure uniformity.
Direction Matters: Following the Wood Grain
If you’re sanding a wooden surface, it’s advisable to move your sanding block in the direction of the wood grain. This reduces the visibility of any scratches that may occur during the sanding process. If you’re working on a surface where the direction of the grain isn’t a factor, like drywall, the same principle of employing long, even strokes still applies.
Be Gentle and Assess as You Go
Excessive pressure can result in removing too much paint or creating grooves in the surface that will be noticeable after the next coat of paint is applied. So be gentle, especially at the edges and corners where the paint is more likely to be thin. Periodically stop to check your work. Run your hand gently over the surface to feel for any uneven areas or ridges. If necessary, go over these spots again with a light touch.
Safety Consideration
Keep your safety gear on throughout the process. If you’ve been sanding for an extended period, it’s advisable to take short breaks to rest your hand and arm muscles. Overexertion can lead to fatigue, which could affect your control over the sanding process.
Step 5: Wipe Down the Surface
After sanding, it’s essential to remove all the paint dust from the surface to prepare it for the next coat. You can use a tack cloth, which is specifically designed for this task and readily available at paint supply stores. Alternatively, a damp rag will also do the job.
Wipe the surface gently to lift off the dust, turning the cloth frequently to avoid spreading it back onto the surface. Dispose of the cloth responsibly, especially if you’ve been working with lead-based or other toxic paints.
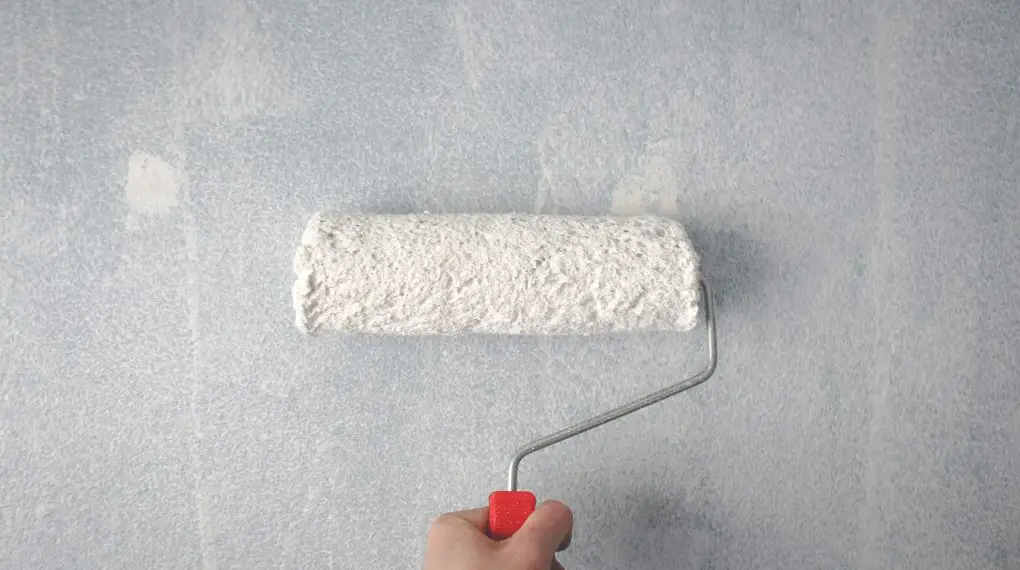
Step 6: Apply the Next Coat of Paint
Once you’ve confirmed that the surface is clean and free from dust, you’re ready to apply the next coat of paint. Use a high-quality brush or roller for this, and make sure to stir your paint thoroughly before application. Apply the paint in smooth, even strokes to ensure a uniform layer.
Follow the manufacturer’s guidelines for drying time between coats, and you might need to repeat the sanding process if you’re applying more than two coats. This ensures that the subsequent coats adhere properly and that your finish is smooth and durable.
For more articles on sanding, click here: Sanding: Your Full-Circle Guide to Smooth Mastery
Conclusion: How to Sand Between Coats of Paint
Knowing how to sand between coats of paint is essential for achieving a high-quality finish. By following these steps, you can enhance both the look and durability of your paint job.
