If you’re tackling a wood finishing project, knowing how to sand between coats of varnish is crucial for a smooth, professional result. In this guide, we’ll take you through the process step by step.
Why Sand Between Coats?
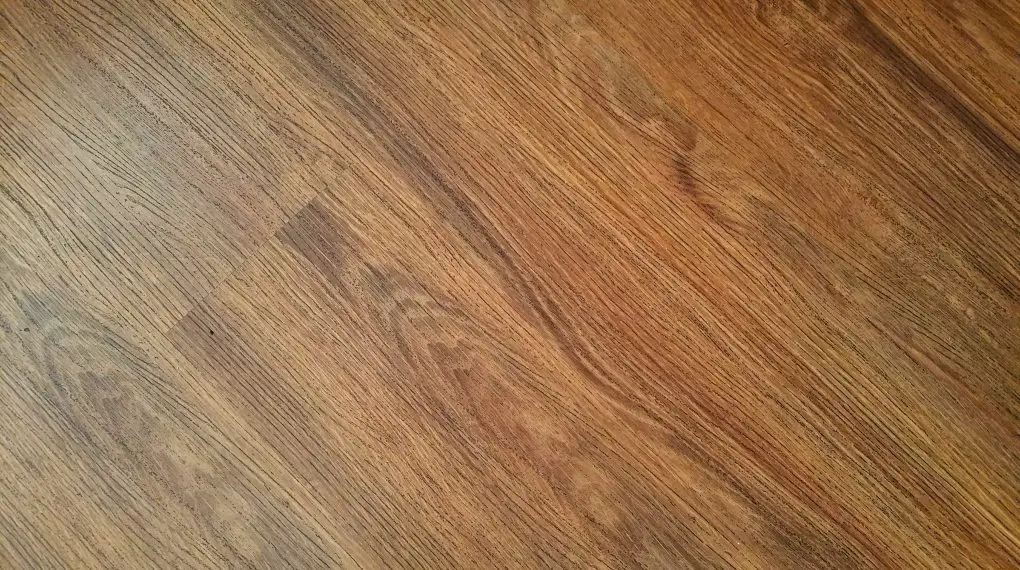
Sanding between coats of varnish creates a smooth surface that allows the next layer to adhere better. This process also removes any imperfections, making the final result look more professional.
Things Needed
Fine-grit sandpaper (220 to 320 grit)
Tack cloth or damp rag
Step-By-Step Instructions
Here’s the sanding process…
Allow the Varnish to Dry
Before you even think about sanding, it’s crucial to let the first coat of varnish dry thoroughly. The amount of drying time varies depending on factors such as the type of varnish, humidity, and temperature. Here’s how to know when it’s time to proceed:
Consult Manufacturer’s Instructions: Always check the label on your varnish can for specific drying times. It often provides a range, such as 4-6 hours.
Do the Touch Test: After the minimum recommended time has passed, gently touch a hidden area of the surface. If it’s tacky or leaves a fingerprint, give it more time.
Consider Environmental Factors: High humidity and lower temperatures can prolong drying times. Make sure your workspace has good ventilation and, if possible, is at a controlled temperature.
Prepare the Surface
Once the first coat of varnish is dry, you need to prepare the surface for sanding. This is crucial for ensuring that the subsequent coat adheres well:
Choose the Right Cloth: A tack cloth is sticky and excellent for picking up even the smallest dust particles. Alternatively, a slightly damp rag can also work but make sure it’s lint-free.
Wipe in the Grain Direction: Always wipe in the direction of the wood grain. This helps in removing the particles more effectively.
Double Check: After wiping, inspect the surface to ensure no dust or debris remains. A clean surface is vital for the next steps.
Start Sanding
Now that your surface is ready, you can begin sanding. Here’s how to do it right:
Select Fine-Grit Sandpaper: Choose a fine-grit sandpaper, typically between 220 and 320 grit, for best results.
Use a Sanding Block or Pad: This tool helps distribute the pressure evenly across the surface, resulting in a more consistent finish.
Sand with the Grain: Always move the sandpaper in the direction of the wood grain to avoid scratches that are hard to cover up later.
Use Light Pressure: There’s no need to press down too hard; let the sandpaper do the work. Over-sanding can remove more varnish than desired, leading to an uneven finish.
Clean the Surface
After sanding, cleaning the surface again is essential for a smooth next coat:
Wipe with Tack Cloth or Damp Rag: Just like after the first coat, make sure to remove all sanding residue.
Inspect the Surface: Look for any missed spots or areas where the dust might be hiding.
Wait a Few Minutes: Give it a few minutes to settle and then wipe it down one more time for good measure.
Apply the Next Coat
With a well-prepared and sanded surface, you’re all set for the next coat of varnish.
Select Your Applicator: You can use a paintbrush for a thicker coat or a foam brush for a more even, but thinner, layer.
Stir the Varnish: Always stir, don’t shake, to avoid air bubbles.
Apply with Care: Using smooth, long strokes, apply the varnish in the direction of the grain. Try to maintain a wet edge to avoid overlaps and streaks.
Check for Drips or Puddles: After you’ve covered the surface, double back and inspect for any drips or puddles and smooth them out.
Common Errors and How to Avoid Them
Here are common errors…
Not Allowing Enough Drying Time
The temptation to speed up your project by cutting short the drying time can be strong, especially when you’re eager to see the finished product. However, rushing through the drying phases is a surefire way to compromise the quality of your finish. Here’s what can go wrong:
Poor Adhesion: If the first coat isn’t fully dry, the next coat may not adhere properly, leading to a patchy finish.
Longer Overall Drying Time: Ironically, not allowing each coat to dry may prolong your project, as you may have to strip back layers and start over.
Reduced Durability: The final coat may not be as durable, and you might notice that your finish starts to deteriorate more quickly than expected.
Solution: Always abide by the manufacturer’s guidelines on drying times. Factor in temperature and humidity conditions and use the touch test to be sure.
Using the Wrong Grit Sandpaper
Choosing the wrong grit of sandpaper can be detrimental to your project. Here’s why:
Surface Damage: Coarse sandpaper can scratch and ruin the first coat of varnish, necessitating a complete re-do.
Uneven Finish: A coarse grit can result in an uneven surface that makes the next coat of varnish look blotchy.
Wasted Effort: You’ll end up spending more time and effort fixing the mistakes, which is frustrating and demotivating.
Solution: Stick to fine-grit sandpapers in the range of 220 to 320 grit. This will lightly abrade the surface without causing damage, creating the perfect base for your next coat of varnish.
Skipping Cleaning Steps
Skipping the cleaning steps can have a more significant impact than you might think. Here are the risks involved:
Dust Particles: These can become trapped in the new coat of varnish, creating a gritty, unattractive finish.
Poor Adhesion: A dirty surface can impede the adhesion of the next coat, reducing the longevity of your finish.
Visual Defects: Dust and debris can lead to bumps and inconsistencies that are hard to correct once the varnish is dry.
Solution: Always clean the surface meticulously with a tack cloth or a slightly damp, lint-free rag. Inspect the surface carefully to make sure you haven’t missed any spots.
For more articles on sanding, click here: Sanding: Your Full-Circle Guide to Smooth Mastery
Conclusion: How to Sand Between Coats of Varnish
Learning how to sand between coats of varnish is essential for achieving a smooth, long-lasting finish on your woodworking projects. Follow this guide to ensure a professional result.