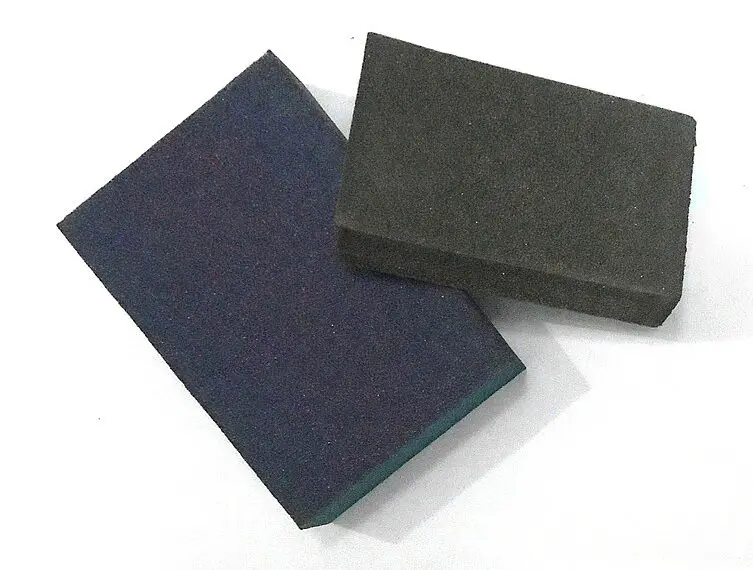
Knowing how to clean sanding sponge can save you money and help you make the most out of your home improvement tools. This guide is designed to walk you through the process step by step, making it easy for anyone to follow, even if you’re new to this task. We’ll cover everything from identifying when a sanding sponge needs cleaning to the actual cleaning process itself.

Mauro Cateb, CC BY-SA 3.0 https://creativecommons.org/licenses/by-sa/3.0, via Wikimedia Commons
Identifying When a Sanding Sponge Needs Cleaning
Before we dive into the cleaning process, it’s crucial to understand when your sanding sponge needs cleaning. Here’s what you need to know:
- Look at the surface: If you see layers of dust and particles clogging the sponge, it’s time to clean it.
- Test its performance: A dirty sponge won’t work as efficiently. If you notice a decline in performance, cleaning is likely needed.
Materials Needed to Clean Sanding Sponge
Gathering the right materials is the first step in how to clean sanding sponge. You will need:
- Soap or detergent
- Water
- A brush or scrubber
Step-By-Step Guide on How to Clean Sanding Sponge
Step 1: Rinse the Sponge
Begin by rinsing the sanding sponge under running water to remove loose debris. Apply gentle pressure to ensure that the water reaches deep into the sponge.
Step 2: Apply Soap
Apply a small amount of soap or detergent to the sponge. It’s important to use a gentle cleaning agent to avoid damaging the material.
Step 3: Scrub the Sponge
Use a brush or scrubber to scrub the sponge thoroughly. Focus on areas where dirt and debris are concentrated. Scrub until the sponge looks clean.
Step 4: Rinse Again
Rinse the sponge under running water again to remove soap and loosened dirt. Continue rinsing until the water runs clear.
For more articles on sanding, click here: Sanding: Your Full-Circle Guide to Smooth Mastery
Step 5: Dry the Sponge
Allow the sponge to air dry completely. Avoid using it while it’s still wet, as this can affect its performance.
How to Clean Sanding Sponge: Conclusion
Learning how to clean sanding sponge is a simple yet valuable skill that can extend the life of your tools and enhance your DIY projects. By following these straightforward steps, you can keep your sanding sponges in top condition and ready for your next project.
