Sanding old wood floors can transform a room, revealing the timeless beauty beneath years of wear and tear. In this article, you’ll learn how to confidently approach this task and achieve professional-looking results.
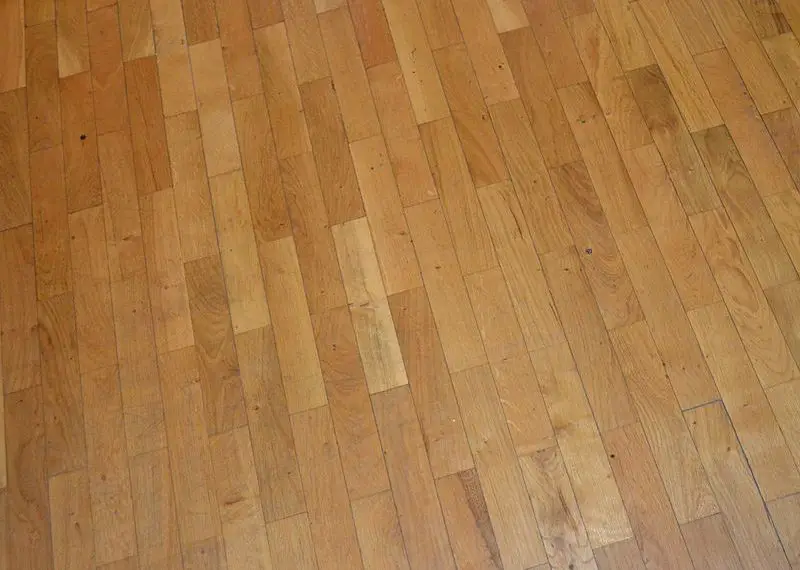
Alan, CC BY-SA 3.0 https://creativecommons.org/licenses/by-sa/3.0, via Wikimedia Commons
Step 1: Preparing the Floor
Before you start sanding, it’s vital to prepare the area. Clear the room of all furniture, ensuring you have a clean and spacious work environment.
- First, sweep or vacuum the floor to remove any dust or debris.
- Inspect the floor for any protruding nails or screws. These can damage your sander. If you find any, use a nail punch and hammer to drive them below the surface.
- Fill any noticeable cracks or holes with wood filler. Let it dry according to the product’s instructions, and then sand it smooth with a fine-grit sandpaper.
Step 2: Choosing the Right Sander
For sanding old wood floors, a drum or orbital sander is ideal. You can rent one from your local hardware store.
- When renting, ask for a demonstration on how to operate the machine safely.
- If you have never used a sander before, consider practicing on a scrap piece of wood before working on the floor.
- Always remember to wear safety gear, including safety glasses, ear protection, and a dust mask.
For more articles on sanding, click here: Sanding: Your Full-Circle Guide to Smooth Mastery
Step 3: Sanding the Floor
Now that everything’s prepared, you’re ready to start sanding old wood floors. It’s crucial to move steadily and not to linger in one spot, which can create uneven surfaces.
- Start with a coarse-grit sandpaper, like 40-grit, to remove the old finish and major imperfections.
- Move the sander in the direction of the wood grain. For optimal results, overlap your passes by about one-third of the sander’s width.
- After the initial sanding, vacuum the floor and then switch to a medium-grit sandpaper, such as 80-grit. Repeat the process.
- Finish with a fine-grit sandpaper, around 120-grit, to smooth the wood in preparation for the finish.
Step 4: Cleaning and Applying Finish
After sanding old wood floors, it’s time to clean and apply a finish to protect and enhance the natural beauty of the wood.
- Thoroughly vacuum the floor to remove all sanding dust.
- Tack the floor using a slightly damp cloth to capture any remaining dust particles.
- Choose a wood finish that suits your desired look. This can be a stain to change the color or a clear polyurethane to protect the wood.
- Apply the finish according to the product’s instructions. Remember to allow adequate drying time between coats if multiple coats are necessary.
By following these detailed steps, you can successfully undertake the process of sanding old wood floors, restoring their natural charm and increasing the value of your home. Patience and preparation are key, and with the right approach, this project is something any homeowner can confidently tackle.
