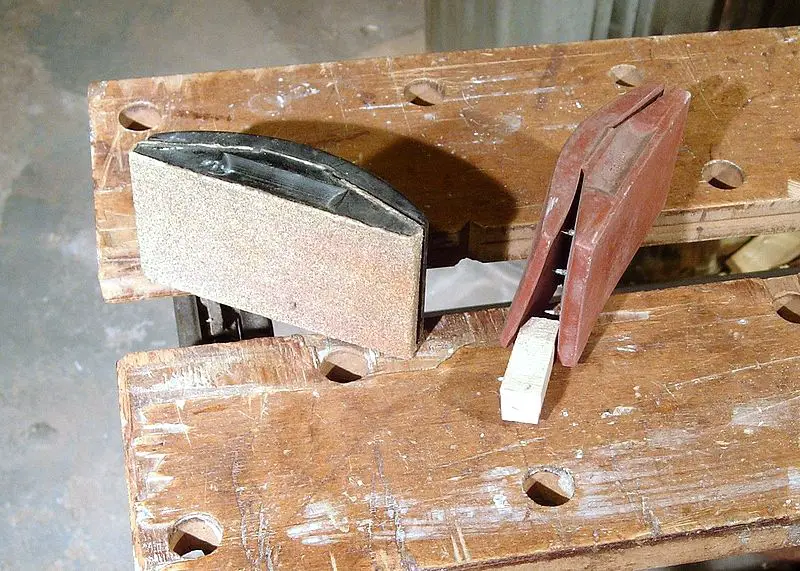
Sanding floors with hand sander is an effective way to refresh the look of your wooden surfaces. This guide will walk you through every detail of the process, ensuring you achieve the best results, even if you’re a beginner.

Just plain Bill, CC BY-SA 3.0 https://creativecommons.org/licenses/by-sa/3.0, via Wikimedia Commons
Benefits of Sanding Floors with a Hand Sander
While larger machines can handle big tasks, using a hand sander allows for precision and detailed work. Here’s why you might choose this approach:
- Control: You have better control over a hand sander.
- Cost-effective: Hand sanders are often more affordable than large floor sanders.
- Perfect for touch-ups: They are ideal for smaller areas or quick fixes.
Step-by-Step Guide to Sanding Floors with Hand Sander
1. Gather Your Materials
You’ll need a hand sander, sandpaper (varying grits), safety goggles, a dust mask, and a vacuum or broom.
2. Choose the Right Sandpaper Grit
Start with a coarse grit like 40 or 60 to remove deep scratches. Gradually move to finer grits like 120 or 220 to smooth the surface.
3. Prepare Your Workspace
Remove furniture from the room. Ensure the floor is clean, free from debris or nails that might damage the sander. Use the vacuum or broom for cleaning.
4. Safety First
Always wear safety goggles and a dust mask. This protects you from fine wood particles and potential allergens.
5. Begin Sanding
Switch on the hand sander and, using the coarse grit, begin sanding in the direction of the wood grain. Apply even pressure, ensuring you don’t stay in one spot too long to prevent uneven surfaces.
6. Switch to Finer Grits
After sanding the entire floor with coarse grit, switch to a medium grit and repeat the process. Finish with the finest grit to achieve a smooth surface.
For more articles on sanding, click here: Sanding: Your Full-Circle Guide to Smooth Mastery
7. Clean Up
Vacuum the floor or sweep away all the dust. This ensures that any finishing product adheres properly.
8. Finishing Touches
Once you’re satisfied with the sanding, you can apply a wood finish or varnish to protect and enhance the appearance of your floor.
Conclusion
Sanding floors with hand sanders can breathe new life into your wooden surfaces. By following this systematic approach, you’ll have a refreshed and beautiful floor in no time.