If you’re on a mission to restore your wooden floors, understanding the concept of “sanding floors grit” is essential. This guide will provide step-by-step instructions to help you navigate this process with ease.
Emilian Robert Vicol from Com. Balanesti, Romania, CC BY 2.0 https://creativecommons.org/licenses/by/2.0, via Wikimedia Commons
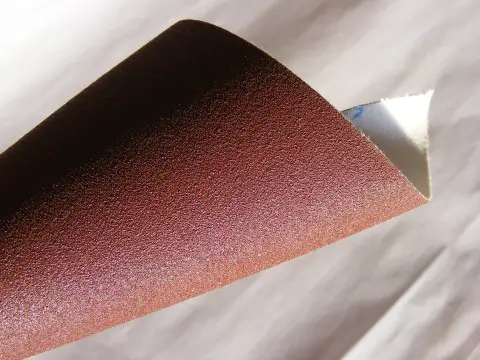
Understanding the Basics of Sanding Floors Grit
When you’re sanding a floor, the grit of the sandpaper plays a crucial role. The term ‘grit’ refers to the roughness of the sandpaper. The lower the grit number, the coarser the sandpaper, and vice versa. You generally start with a lower grit number to remove the old finish and scratches, then move to a higher grit number for a smoother finish.
Step 1: Gathering Necessary Tools
To begin with, you’ll need some basic tools for the job. These include a drum or orbital sander, sandpaper of various grits (24, 36, 60, 80, 100), a dust mask, safety goggles, a broom, and a vacuum cleaner.
Step 2: Selecting the Right Grit
The condition of your floor will determine which grit you should start with. For severely worn or damaged floors, start with a 24 or 36 grit. For lightly worn floors, you can start with a 60 grit.
Step 3: Sanding the Floor
Start the sander and gradually lower it onto the floor. Move the sander back and forth, always following the grain of the wood. Never let the sander sit idle on the floor while it’s running, as this can lead to gouging.
Step 4: Changing the Sandpaper
After you’ve finished with the first pass, vacuum the floor and then change the sandpaper to the next higher grit. Repeat the sanding process as described in step 3. Continue this process until you’ve reached the final desired smoothness, typically achieved with 100 grit sandpaper.
For more articles on sanding, click here: Sanding: Your Full-Circle Guide to Smooth Mastery
Step 5: Cleaning Up
Once you’re finished sanding, vacuum the floor thoroughly to remove any remaining dust. After vacuuming, wipe the floor with a damp cloth to pick up any residual dust particles. Now your floor is ready for staining or sealing, depending on your preference.
Through understanding and effectively utilizing sanding floors grit, you can bring old and worn-out wooden floors back to life. Remember, the key lies in the gradual progression from lower to higher grit numbers. Happy sanding!
