If sanding hardwood floors with a palm sander is your project of choice, this detailed, comprehensive guide is here to help. By demystifying the process step by step, we aim to empower you to transform your floors with confidence and ease.
Rasbak, CC BY-SA 3.0 https://creativecommons.org/licenses/by-sa/3.0, via Wikimedia Commons
Step 1: Preparing the Floor
Begin by clearing the room and removing any old carpet or padding. Next, inspect the floor for any nails or staples sticking up above the wood surface and remove them. Finally, clean the floor with a broom or vacuum to remove dust and debris.
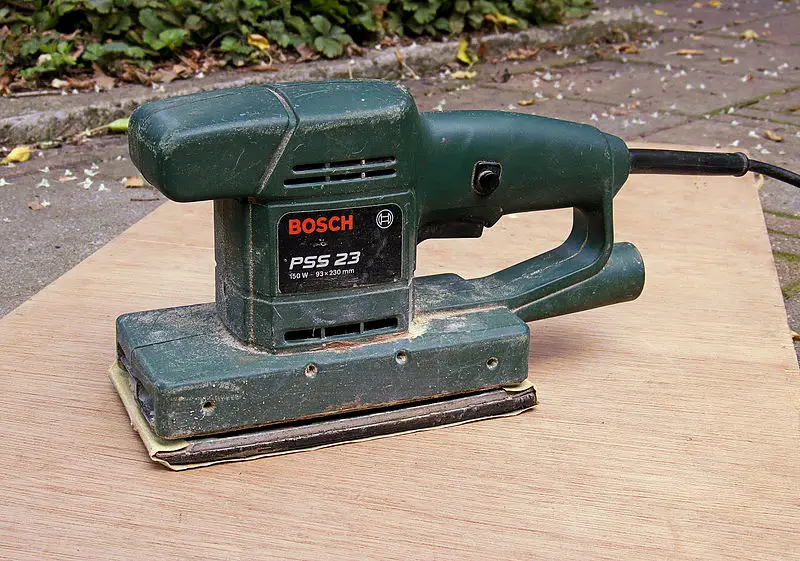
Step 2: Choosing Your Palm Sander
Selecting the right palm sander is crucial for achieving smooth, professional results. Choose a sander that fits comfortably in your hand, and make sure it comes with a dust bag for easy cleanup. A variable-speed sander is a good choice because it allows you to control the speed based on the condition of your floor.
Step 3: Selecting Your Sandpaper
You will need various grit sizes for sanding hardwood floors with a palm sander. Start with a coarse-grit paper (around 60-grit) for initial sanding. As you progress, switch to a medium-grit paper (80-100 grit) to remove scratches and finally a fine-grit paper (150-180 grit) for final smoothing.
Step 4: Sanding the Floor
Start sanding the floor by moving the palm sander back and forth along the grain of the wood. Apply even pressure, but don’t press too hard or you might damage the floor. Ensure you cover the entire floor surface, overlapping your strokes slightly to avoid leaving unsanded spots.
For more articles on sanding, click here: Sanding: Your Full-Circle Guide to Smooth Mastery
Step 5: Vacuum and Inspect
After sanding, use a vacuum to remove the dust. Inspect the floor for any missed spots or deep scratches. If necessary, sand these areas again with the fine-grit sandpaper.
Step 6: Applying a Finish
Finally, choose a wood finish that suits your preference and apply it according to the manufacturer’s instructions. Allow the finish to dry completely before using the floor. Congratulations, you’ve just completed sanding hardwood floors with a palm sander!