Whether you’re working on a home improvement project or fine-tuning your craft, sanding tile edges can be a crucial step. In this guide, we’ll walk you through the entire process, offering clear, step-by-step instructions to ensure that even beginners can achieve a smooth and professional-looking finish.

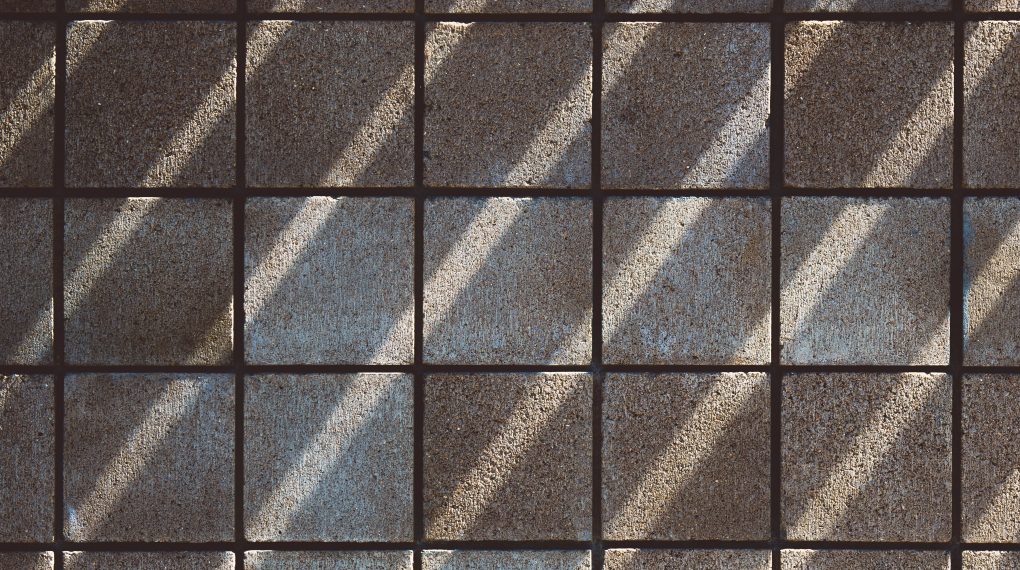
From Pexels.com by Tim Mossholder
Why Sand Tile Edges?
Sanding tile edges helps in smoothing the surface and removing any sharp or jagged areas. It gives tiles a refined appearance, making them suitable for various decorative purposes. Let’s explore how you can do it.
Tools and Materials Required
- Sanding paper (80-120 grit)
- Handheld sander or sanding block
- Safety goggles and gloves
- Damp cloth
Step 1: Safety Precautions
Wear safety goggles and gloves to protect your eyes and hands from dust and sharp edges. Work in a well-ventilated area.
Step 2: Choosing the Right Sandpaper
Select the appropriate sandpaper grit. For sanding tile edges, 80-120 grit usually works well. A coarser grit removes material faster, while a finer grit provides a smoother finish.
Step 3: Sanding Process
Use a handheld sander or sanding block to sand the tile edges. Apply even pressure and move the sanding tool back and forth across the edges until you achieve the desired smoothness.
Step 4: Cleaning Up
After sanding, wipe the tile edges with a damp cloth to remove any dust and debris. Check the edges for smoothness and repeat the process if necessary.
For more articles on sanding, click here: Sanding: Your Full-Circle Guide to Smooth Mastery
Sanding Tile Edges: Tips and Tricks
Here are some expert tips to make your sanding tile edges process more efficient:
- Always work in the direction of the tile’s grain to avoid scratches.
- Start with a coarser grit and gradually move to finer grit for the best results.
- Be patient and take your time for a flawless finish.
We hope this guide assists you in your sanding tile edges project, leading to beautiful, smooth, and professional results. Happy sanding!
