If you’re tackling “sanding floors with a belt sander” for the first time, this detailed, easy-to-follow guide is your perfect companion. We will take you through every step, ensuring you can transform your old, worn-out floor into a thing of beauty.
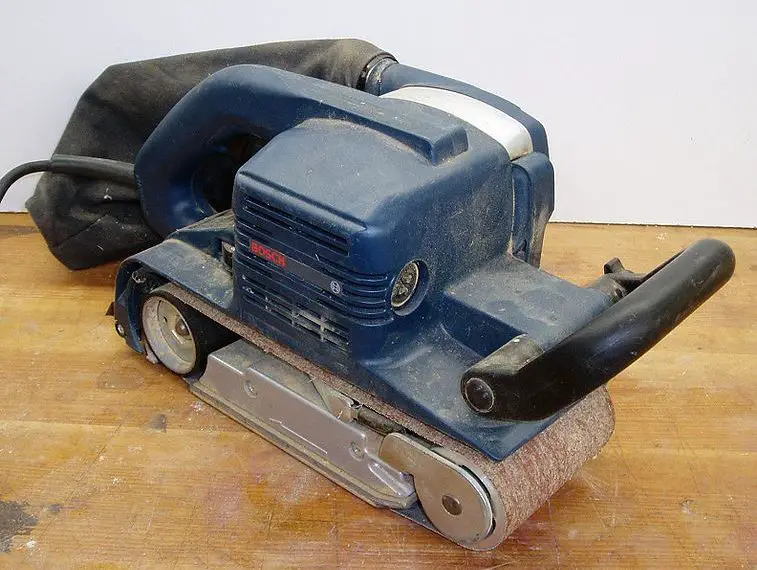
Luigi Zanasi, CC BY-SA 2.0 CA https://creativecommons.org/licenses/by-sa/2.0/ca/deed.en, via Wikimedia Commons
Sanding Floors with Belt Sander: Understanding the Basics
The first step in sanding floors with a belt sander is understanding what a belt sander is. It is a powerful tool that uses a sanding belt to remove the top layer of your floor. It’s typically used for initial, heavy-duty sanding to remove old finishes and level the floor.
Step 1: Prepare the Floor
Your first active step in sanding floors with a belt sander is to prepare your floor. Remove all furniture and any obstructions from the room. Next, sweep or vacuum the floor to ensure it’s free from dust and debris. Lastly, inspect the floor for nails or screws that may be sticking out and hammer them in.
Step 2: Select the Right Sandpaper Grit
The choice of sandpaper grit depends on the condition of your floor. If your floor has deep scratches or old finish, start with a coarse grit (like 36). If the floor is in better condition, a medium grit (like 60) will suffice. Remember, the lower the grit number, the more aggressive the sanding.
Step 3: Get Acquainted with the Belt Sander
Before you start sanding floors with a belt sander, it’s important to familiarize yourself with the tool. Belt sanders are heavy and powerful, so understanding how to control the tool is essential. Practice on an old piece of wood before you start on the floor.
For more articles on sanding, click here: Sanding: Your Full-Circle Guide to Smooth Mastery
Step 4: Start Sanding
Now that you’re familiar with the belt sander, it’s time to start sanding. Start at one corner of the room and work your way across the floor, moving with the grain of the wood. Remember to keep the sander moving to avoid creating dips in the floor. Start with the coarsest grit sandpaper and work your way up to finer grits for the smoothest finish.
Step 5: Clean Up and Apply Finish
After you finish sanding floors with a belt sander, it’s time to clean up. Vacuum or sweep up the dust and then mop the floor. Once it’s dry, you can apply your chosen floor finish according to the manufacturer’s instructions.
