Looking to undertake “sanding floors DIY”? Then you are in the right place. Giving your wooden floors a fresh, polished look doesn’t have to be an intimidating task. With this step-by-step guide, you can restore the sparkle of your floors without requiring professional help.
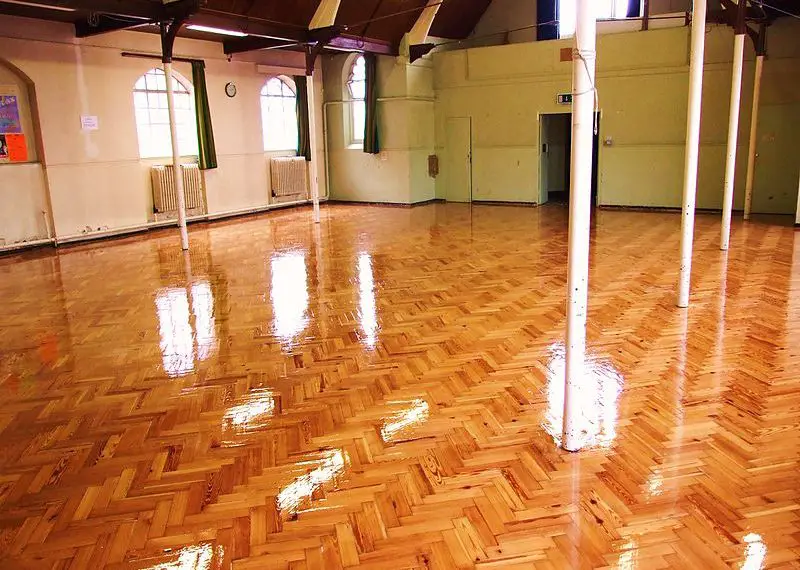
Pazzo4562, CC BY-SA 4.0 https://creativecommons.org/licenses/by-sa/4.0, via Wikimedia Commons
What You Need
Before we dive into the sanding process, let’s discuss what you will need. Here’s a list of materials and equipment:
- Sanding machine (you can rent one from a home improvement store)
- Various grit sandpapers (36, 60, 80, 100)
- Vacuum cleaner
- Tack cloth or damp rag
- Wood finish (varnish, stain, or sealant)
- Paintbrushes
- Safety gear: safety glasses, ear protection, and a dust mask
Step 1: Preparing Your Room for Sanding Floors DIY
The first step of your “sanding floors DIY” project is to prepare the room. Remove all furniture, decorations, and rugs from the room. If the room has a door, take it off its hinges to make sanding easier. Ensure to cover all electrical outlets and vents to protect them from dust.
Step 2: Sanding the Floor
With your room prepared, it’s time to start sanding. Attach the 36-grit sandpaper to your sanding machine. Beginning from one corner of the room, move the machine forward and backward along the grain of the wood. Ensure to overlap your previous path slightly with each new pass. Avoid dwelling too long in one spot as it could lead to uneven sanding.
Step 3: Changing the Sandpaper
After sanding the entire room with 36-grit sandpaper, it’s time to change to a finer grade. Repeat the sanding process with 60-grit, then 80-grit, and finally 100-grit sandpaper. Each time, you’ll notice the floor becoming smoother.
For more articles on sanding, click here: Sanding: Your Full-Circle Guide to Smooth Mastery
Step 4: Cleaning the Room
Once you’re done sanding, use a vacuum cleaner to remove the dust from the floor. Follow this up by wiping the floor with a damp rag or tack cloth to pick up any remaining dust.
Step 5: Applying the Finish
The final step of your sanding floors DIY project is to apply your chosen wood finish. Using a paintbrush, apply the finish along the grain of the wood. Allow it to dry as per the manufacturer’s instructions before moving your furniture back into the room.
By following these steps, you’ll breathe new life into your wooden floors, enhancing the beauty and value of your home. Remember, the key to a successful “sanding floors DIY” project lies in taking your time and following each step carefully. Good luck!
