If you’re seeking a cost-effective and doable method for floor renovation, sanding floor with hand belt sander is a skill you’ll want to acquire. This beginner-friendly guide provides you with a comprehensive, step-by-step walkthrough, so even novices can achieve professional results. We’ll tackle everything from safety precautions, selecting the right type of sandpaper, to the correct sanding techniques, and cleanup procedures. Take a deep breath, roll up your sleeves, and get ready to transform your old, worn-out floor into a masterpiece.
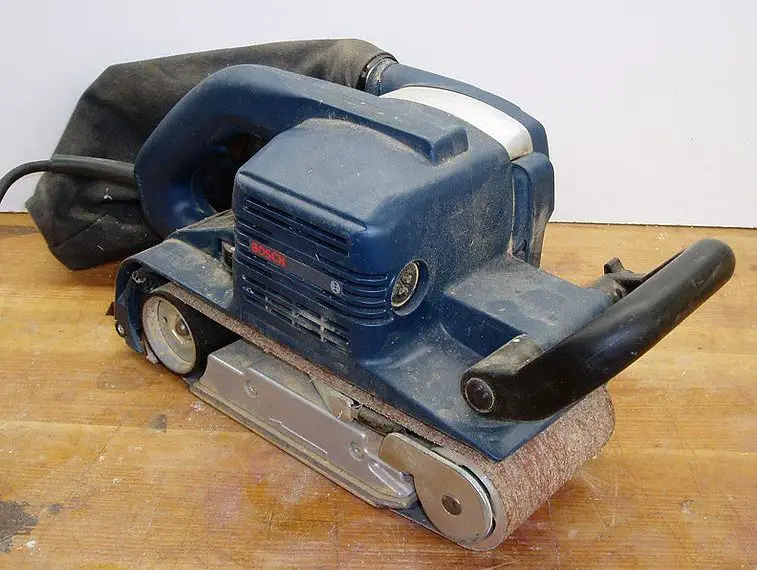
Luigi Zanasi, CC BY-SA 2.0 CA https://creativecommons.org/licenses/by-sa/2.0/ca/deed.en, via Wikimedia Commons
Step 1: Preparing Your Space
Before you start sanding, you need to prepare your room. Remove all the furniture, rugs, and other items from the room. Any nails or staples sticking out of the floor should be hammered down, as they can damage your hand belt sander. Also, ensure your room is adequately ventilated and wear safety gear like goggles, gloves, and a dust mask.
Step 2: Choosing the Right Sandpaper
The choice of sandpaper grit is crucial when sanding floor with hand belt sander. For floors with heavy damage or thick varnish, start with a coarse grit, like 36 or 40. If your floor is in better condition, a medium grit, like 60, will suffice. As you progress, you’ll switch to finer grits (80, then 100) to smooth the floor.
Step 3: Starting to Sand
Attach your chosen sandpaper to the hand belt sander. Start at one corner of the room, and slowly move the sander forward along the grain of the wood. Do not rush or force the sander. Let it do its job at its own pace to avoid any potential damage to your floor.
Step 4: Changing Grits
After sanding the whole surface with the coarse or medium grit, it’s time to change the sandpaper to a finer grit. Repeat the sanding process. This stage helps to remove any scratches left by the previous grit and to smooth the floor further.
For more articles on sanding, click here: Sanding: Your Full-Circle Guide to Smooth Master
Step 5: Cleaning Up
Once you’re done with the final round of sanding, it’s time to clean up. Vacuum the room thoroughly to remove all dust. Use a damp cloth to wipe the floor and allow it to dry before applying any finish.
Sanding Floor with Hand Belt Sander: Conclusion
Sanding floor with hand belt sander is a task that requires patience and precision. However, with this detailed guide, you’re now equipped with the knowledge to tackle this project on your own. Remember, practice makes perfect, so don’t be discouraged if your first attempt isn’t flawless. Happy sanding!