When it comes to “drum sander marks on hardwood floors”, homeowners often feel a sense of dread. These blemishes can mar the beauty of your flooring. But fret not, as these marks are a common issue that can be solved methodically. In this guide, we’ll provide detailed, step-by-step instructions to help you restore the pristine look of your hardwood floors.
From Pexels.com by MILO TEXTURES
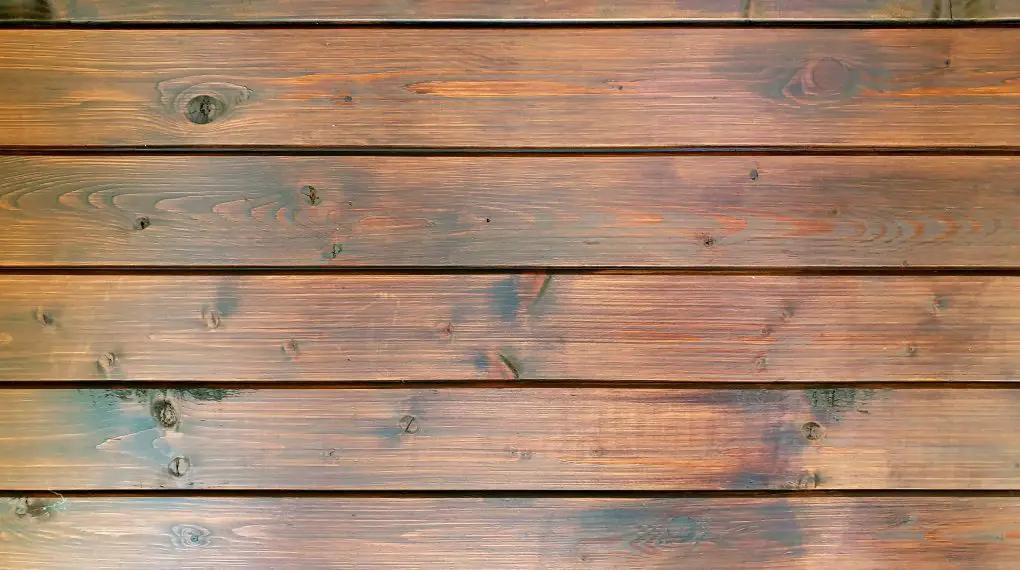
Understanding Drum Sander Marks on Hardwood Floors
To tackle the issue effectively, it’s important to understand what drum sander marks on hardwood floors are. These marks typically appear as a series of scratches or grooves on the floor surface, often left behind after sanding the floor with a drum sander. While the drum sander is a powerful tool for removing old finishes and leveling the floor, it can also leave behind these unsightly marks if not used properly.
Step 1: Gather Your Materials
To remove drum sander marks on hardwood floors, you will need the following materials: a palm or orbital sander, medium (80-100 grit) and fine (150-180 grit) sandpaper, a vacuum cleaner, and hardwood floor finish.
Step 2: Sanding the Floor
Start by attaching medium grit sandpaper to your palm or orbital sander. Sand the areas with the drum sander marks using smooth, even strokes. Follow the grain of the wood, not against it, to prevent additional scratches. Take your time and make sure not to apply too much pressure, as this can cause more damage to your floor.
For more articles on sanding, click here: Sanding: Your Full-Circle Guide to Smooth Master
Step 3: Vacuum the Dust
Once you’ve sanded the marked areas, it’s time to clean up. Use your vacuum cleaner to remove all the dust from the floor. This is an essential step because any remaining dust can mix with your floor finish, leading to a rough and unattractive finish.
Step 4: Fine Sanding
Next, swap out the medium grit sandpaper for a fine grit one on your sander. Repeat the sanding process on the marked areas. The purpose of this step is to smooth out any roughness left behind by the medium grit sandpaper and to prepare the floor for the finish.
Step 5: Apply the Finish
With the drum sander marks removed and your floor thoroughly vacuumed, you’re ready to apply the finish. Follow the instructions provided by the finish manufacturer. Most finishes require you to apply them in thin, even coats, and allow each coat to dry fully before applying the next one. Once the finish is dry, your hardwood floor should be free of drum sander marks and look as good as new.
Conclusion
Removing drum sander marks on hardwood floors might seem like a daunting task, but with patience and the right tools, it’s definitely achievable. This guide should assist you in effectively handling the issue, restoring your floor to its original beauty. Remember, the key to a successful project is to take your time and pay attention to details. Good luck!
