Learning how to sand a whole wall can be a game-changer when you’re renovating your home. This step-by-step guide is designed to walk you through the process, ensuring you achieve a smooth and perfect finish.
Whether you’re a complete beginner or have some experience, this guide will make the task straightforward and manageable.
Why You Should Sand a Wall
Sanding a wall is essential for removing imperfections and preparing the surface for painting or wallpapering. It can also eliminate old paint or varnish layers, creating a more adhesive surface for new coatings.
Tools and Materials Needed
Sandpaper (various grits)
Work gloves
Step-by-step Process
Here are the steps to sand a wall…
Step 1: Prepare the Room
Before you even think about sanding, the room needs to be prepared to ensure a clean and safe working environment.
Remove All Furniture: Begin by removing all furniture and other objects from the room to create a clear workspace. This will also protect your belongings from dust and damage.
Protect the Flooring: Roll out plastic sheeting or a large drop cloth to cover the entire floor area. This will catch the dust and debris that comes off the wall during sanding.
Secure the Edges: Use painter’s tape to secure the edges of the plastic sheeting or drop cloth to the base of the wall. Make sure it’s tightly sealed to prevent any dust from escaping.
Seal Off the Room: Close any doors leading into the room and use plastic sheeting and painter’s tape to seal off any open doorways, vents, or windows. This will keep the dust confined to the area you are working in.
Turn Off Electrical Outlets: For safety reasons, switch off all electrical outlets in the room. Cover them with painter’s tape to prevent dust from getting inside.
By investing time in preparing the room, you not only make the job easier but also ensure that the rest of your home stays clean and safe.
Step 2: Choose Your Sandpaper
Selecting the right sandpaper is crucial for achieving the desired finish on your wall.
Understand Grit Numbers: Sandpapers come in different grits, indicated by a number. Lower numbers (e.g., 40, 60) are coarser and ideal for removing old paint or smoothing out imperfections. Higher numbers (e.g., 220, 320) offer a finer grit suitable for finish sanding.
Assess the Wall Condition: If your wall has multiple layers of paint or rough patches, start with a coarser grit and work your way up to a finer grit.
Consider the Material: Different wall materials may require different grits. Drywall usually benefits from a medium to fine grit, whereas plaster walls might need a coarser grit for initial sanding.
Step 3: Attach Sandpaper to Sander
Properly attaching the sandpaper to your sanding tool is essential for effective sanding.
Choose the Right Tool: You can use a hand-held sanding block for small areas or a pole sander for larger walls. Some people even use orbital sanders for extremely large surfaces, though these are usually not necessary for most home projects.
Attach the Sandpaper: Most sanding blocks and pole sanders have clips or fasteners where you can secure the sandpaper. Make sure to align the sandpaper correctly and check that it’s fastened securely to prevent it from coming loose.
Test the Setup: Before you start sanding the wall, test the sander on a scrap piece of wood or hidden area of the wall. This ensures that the sandpaper is attached properly and will not slip during the sanding process.
Step 4: Put On Safety Gear
Prioritizing safety is crucial when undertaking any home improvement task, and wall sanding is no exception.
Choose the Right Dust Mask: Opt for an N95 dust mask that is designed to filter out particulate matter. This will protect you from inhaling any harmful dust or fine particles.
Select Appropriate Safety Goggles: Use safety goggles that cover the eyes completely and sit snugly against your face to prevent dust from entering. Make sure they are anti-fog so your vision remains clear while working.
Consider Additional Safety Gear: Depending on the condition of your wall and the extent of sanding required, you may also consider wearing gloves and a long-sleeved shirt to protect your skin from irritation.
Ventilate the Room: If possible, keep a window open or use a fan to ventilate the room, making sure the airflow is directed to the outside to help disperse dust.
By taking these safety measures, you can ensure a more secure and comfortable sanding process.
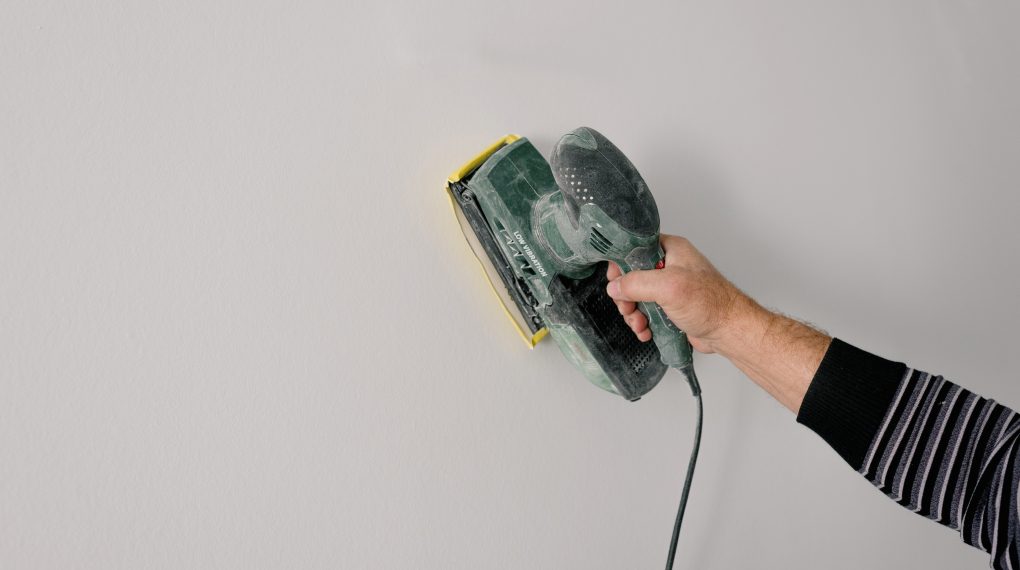
Step 5: Start Sanding
Once you’re suited up, it’s time to get to the actual sanding.
Begin at the Top: Always start at the top corner of the wall and work your way down to avoid uneven patches. This also allows for better control over the pressure you apply.
Work in Sections: Divide the wall into manageable sections and focus on one at a time to ensure you give each part the attention it deserves.
Back-and-Forth Motion: Use a steady, back-and-forth motion without pressing too hard into the wall. The aim is to remove the surface layer uniformly, not to dig into the material.
Check Your Progress: Periodically stop to feel the wall with your hand. Smoothness indicates that you’re ready to move to the next section or finish the wall.
Switch Grits as Needed: If you started with a coarser grit, you may want to switch to a finer grit as you go along for a smoother finish.
Step 6: Clean the Wall
Cleaning the wall post-sanding is vital for achieving a polished final look, whether you intend to paint or wallpaper the surface next.
Use a Vacuum Cleaner: Employ a vacuum cleaner with a brush attachment to get rid of the majority of the sanding dust from the wall. This is more effective than a cloth at this stage and will remove the larger particles.
Wipe with a Damp Cloth: Follow up with a damp cloth to remove any remaining fine dust particles. Wring the cloth well so that it is damp but not wet to avoid water damage.
Inspect the Wall: Take a close look to ensure all dust has been removed. Any lingering particles can affect the finish of your paint or wallpaper.
Dry the Wall: If your cloth was damp, give the wall some time to dry completely before moving on to painting or wallpapering.
For more articles on sanding, click here: Sanding: Your Full-Circle Guide to Smooth Mastery
Conclusion: How to Sand a Whole Wall
Sanding a whole wall might seem like a daunting task, especially if you’re new to the world of home improvement. However, as you’ve seen, it’s a manageable project when broken down into organized, step-by-step instructions.
From the initial phase of preparing the room to the concluding steps of cleaning the wall, each stage serves a crucial purpose. Proper preparation ensures a clean and safe working environment, while the right tools and techniques facilitate an effective sanding process.
