Understanding how to sand veneer table tops effectively is crucial for anyone looking to breathe new life into their furniture. This guide will walk you through each step of the process, ensuring a smooth and flawless finish.
Things You’ll Need
To sand your veneer table top, you’ll first need the following materials:
Coarse-grit sandpaper (60-80 grit)
Medium-grit sandpaper (100-150 grit)
Fine-grit sandpaper (180-220 grit)
Hand sander or orbital sander
Preparation Steps
Before diving into the actual sanding process, proper preparation is key. A little effort spent preparing can make a world of difference in the quality of your finished project.
Follow these preparation steps to ensure that you’re fully equipped to sand your veneer table top efficiently and safely.
Clear the Table Surface and Place it in a Well-Ventilated Area
Firstly, remove all items from your table top. This includes any decorative pieces, tablecloths, or placemats. Once the table is clear, clean the surface with a mild cleaner to remove any residue, dust, or grime. Make sure to use a cleaner that is appropriate for veneer surfaces.
Next, move the table to a well-ventilated area. Working in a space with good airflow is important for two reasons:
Safety: Sanding generates a lot of fine dust particles that can be harmful if inhaled. A well-ventilated area ensures that these particles disperse quickly.
Quality of Work: Good ventilation will also help to keep the work area clean, making it easier for you to see any imperfections and address them during the sanding process.
If you can’t move the table, make sure to open windows and doors to maximize air circulation. You may also consider using fans to improve ventilation.
Wear Your Dust Mask and Safety Goggles to Protect Yourself
Once your workspace is set up, your next step is to protect yourself. Sanding can generate small particles of dust and debris that can be harmful to your eyes and lungs.
Dust Mask: Wear a dust mask to prevent inhaling any particles. The mask should fit snugly over your nose and mouth. This is not just a precautionary measure; it’s a necessity. Prolonged exposure to wood dust can lead to respiratory issues.
Safety Goggles: Protect your eyes by wearing safety goggles that provide a secure seal around your eyes. Regular eyeglasses or sunglasses are not sufficient as they can allow dust particles to enter from the sides.
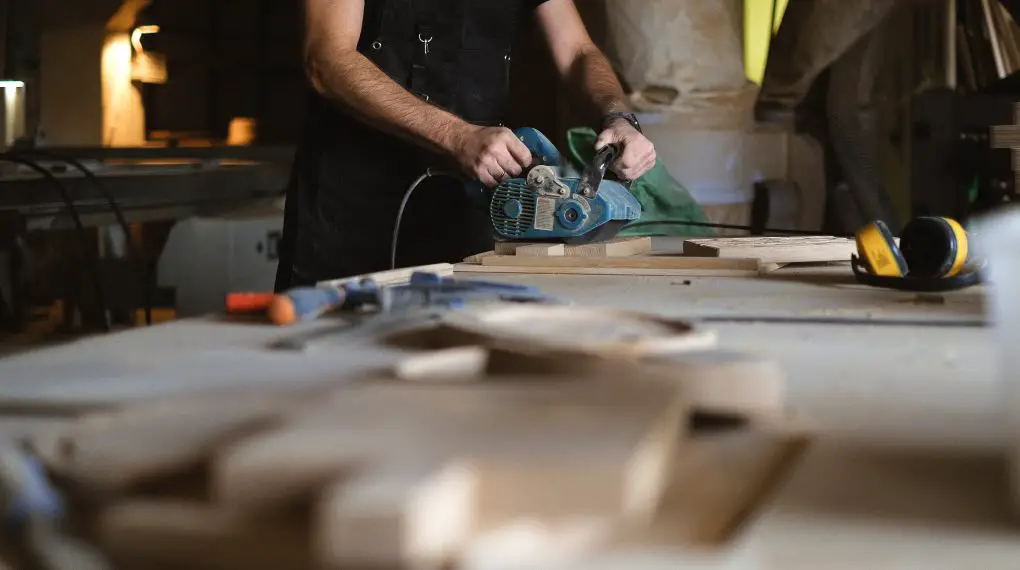
Sanding Techniques
Understanding the correct sanding techniques is crucial for achieving a professional finish when working on a veneer table top. Follow the steps below, paying close attention to each detail to ensure you get the results you desire.
Start with a Coarse-Grit Sandpaper
Your first step is to attach a piece of coarse-grit sandpaper, ideally between 60-80 grit, to your hand sander or orbital sander. Coarse-grit sandpaper will help you remove the existing finish or any imperfections quickly.
Attach the Sandpaper: Make sure the sander is unplugged or switched off. Align the sandpaper with the pad of the sander and attach it securely (depending on what you’re using, there may be locking clips).
Inspect the Sandpaper: Before you begin, inspect the sandpaper to make sure it’s free of any debris that might scratch the table.
Gently Move the Sander Across the Table Top
Now you’re ready to start sanding.
Plug in and Turn On the Sander: Ensure you’re in a safe position, then plug in and turn on your sander.
Sand in the Direction of the Wood Grain: Always sand in the direction of the wood grain to minimize scratching and improve the final look.
Use Light Pressure: Veneer is a delicate material, so apply only light pressure to avoid sanding through the veneer layer.
Switch to a Medium-Grit Sandpaper
Once you have removed the initial layer and any noticeable imperfections:
Turn Off and Unplug the Sander: Safety first. Always make sure the sander is off and unplugged when changing the sandpaper.
Attach Medium-Grit Sandpaper: Switch to a 100-150 grit sandpaper and attach it to your sander.
Repeat the Process: Sand the table top again, using the same gentle, grain-aligned technique.
Finish with a Fine-Grit Sandpaper
Lastly, to ensure a smooth, flawless finish:
Switch to Fine-Grit Sandpaper: Attach a 180-220 grit fine-grit sandpaper to your sander.
Final Sanding: Go over the table top one more time, using the same techniques but paying extra attention to any areas that might need more smoothing.
Finishing Touches
After you’ve sanded the table to your satisfaction, you’re ready for the final steps to complete the transformation of your veneer table top.
Wipe Down the Surface: Use a tack cloth or a damp rag to wipe down the surface and remove any remaining dust.
Staining: If you want to change the color of your table or enhance the wood grain, now is the time to apply a wood stain. Make sure to choose a stain that is compatible with veneer surfaces.
Sealing: Whether you’ve stained your table or kept it natural, sealing is recommended for added protection. Use a polyurethane sealant or another type that is appropriate for veneer. Follow the manufacturer’s instructions for best results.
Frequently Asked Questions
Can I use a belt sander for this task?
No, belt sanders are too aggressive for veneer and can damage the surface.
How often should I replace the sandpaper?
Replace the sandpaper when it becomes less effective, usually after sanding for 20-30 minutes.
For more articles on sanding, click here: Sanding: Your Full-Circle Guide to Smooth Mastery
Conclusion: How to Sand Veneer Table Top
Restoring the beauty of a veneer table top may initially seem like a daunting task, especially if you’re new to woodworking. However, with the right preparation and technique, sanding and refinishing your table is not only doable but also deeply rewarding.
The key to a successful project lies in meticulous preparation, the correct choice of sanding grits, and a gentle yet effective sanding technique. Finally, your choice of stain and sealant in the finishing steps can make your table not only visually appealing but also long-lasting.
