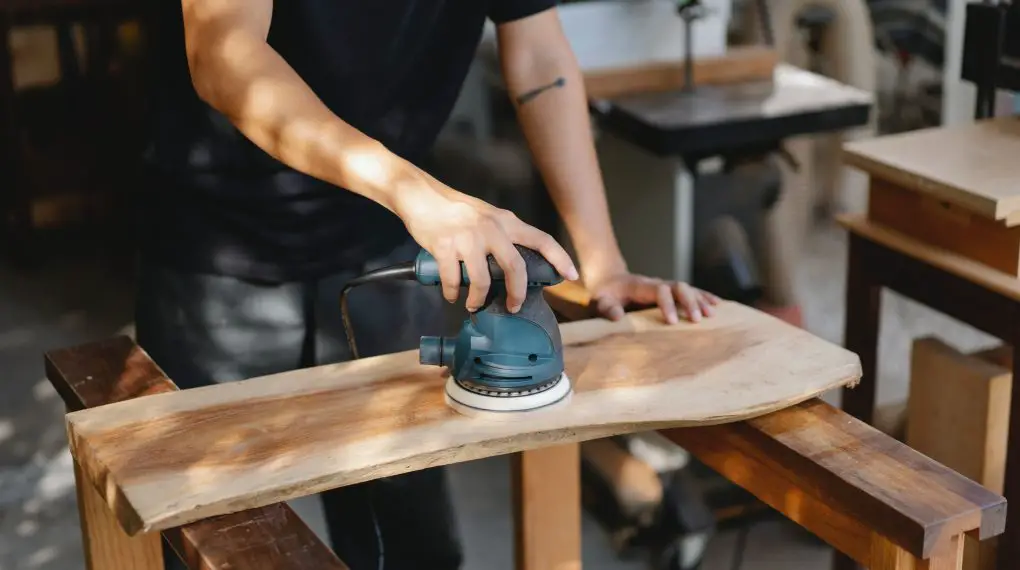
Wondering how to fix over sanded veneer? Don’t worry, this common issue has straightforward solutions. This step-by-step guide will walk you through the process of bringing your veneer back to life.

Identifying the Problem
Before diving into fixing over sanded veneer, it’s essential to correctly identify the issue. Over sanding usually results in a thinner veneer surface and can cause unevenness. This will help you determine the extent of the repair needed.
Preparation
Start by clearing the area and making sure it’s dust-free. Having a clean workspace will help you carry out the fix more effectively.
Step-by-Step Instructions
Here are the steps you’ll need to take…
Step 1: Assess the Damage
Tools Needed: Flashlight, Magnifying Glass, Measuring Tape
Initial Observation: Start by examining the damaged veneer under good lighting. Use a flashlight if necessary to highlight the imperfections.
Depth Measurement: Use a measuring tape to get an approximate idea of how deep the over sanding has penetrated the veneer. If possible, use a magnifying glass for a more precise look.
Material Assessment: Determine what the veneer is made of. Whether it’s hardwood or softwood will influence your next steps.
Damage Documentation: Take pictures of the damaged areas. This helps in case you need to consult with professionals or require evidence for insurance purposes.
Step 2: Apply Wood Filler
Tools Needed: Wood Filler, Putty Knife, Gloves, Safety Glasses
Safety First: Always wear safety glasses and gloves to protect yourself from splinters and chemicals.
Preparation: Clean the area to remove any dust or debris that might interfere with the wood filler’s adherence.
Application: Using a putty knife, carefully apply the wood filler into the deep grooves or holes caused by the over sanding.
Leveling: Make sure to level the filler with the surface of the veneer as much as possible for a seamless look.
Drying: Allow the filler to dry as per the directions provided on the product packaging. The drying time may vary depending on the brand and type of wood filler.
Step 3: Light Sanding
Tools Needed: Fine-grit Sandpaper (180 – 220 grit), Sanding Block or Electric Sander, Dust Mask
Safety Measures: Wear a dust mask to prevent inhalation of fine wood particles.
Select Sandpaper: Choose a fine-grit sandpaper, preferably within a 180-220 grit range, to avoid causing further damage.
Sanding: Using a sanding block or electric sander, lightly sand the area where the filler was applied. Make sure to move in the direction of the wood grain to maintain a consistent finish.
Smoothness Check: Frequently stop and feel the area to ensure it is becoming smooth.
Clean Up: Once you are satisfied with the smoothness, wipe down the area with a damp cloth to remove any remaining sanding dust.
Step 4: Staining
Tools Needed: Wood Stain, Brushes or Foam Applicators, Clean Cloth, Gloves, Safety Glasses
Safety Precautions: Wear gloves and safety glasses to protect your skin and eyes from potential irritants in the wood stain.
Choosing the Stain: It’s crucial to pick a stain that closely matches your existing veneer. Test the stain on a hidden section of the veneer to ensure it’s a good match.
Preparation: Make sure the area is clean and free of any sanding dust. This ensures better stain adhesion.
Application Method: Depending on your preference and the manufacturer’s recommendation, use a brush or foam applicator for application.
Stain Application: Using a clean cloth or your chosen applicator, apply the stain in the direction of the wood grain. Ensure the application is even to avoid blotchy areas.
Drying Time: Let the stain dry according to the product’s instructions. Always refer to the manufacturer’s guidelines, and consult authoritative sources for best practices on drying time and conditions.
Step 5: Apply Wood Glue
Tools Needed: Wood Glue, Clamps, Putty Knife or Spatula, Damp Cloth
Identifying Loose Areas: Inspect the veneer, particularly at the edges and corners, to find any areas that may have come loose or are not adequately bonded.
Safety Measures: Though wood glue is generally non-toxic, it’s still a good idea to wear gloves to keep your hands clean and avoid any possible skin irritation.
Glue Application: Using a putty knife or a spatula, carefully apply a thin layer of wood glue to the loose areas. Make sure not to over-apply, as excess glue can seep out and create a mess.
Bonding: Once the glue is applied, press the loose veneer firmly back into place.
Clamping: Use clamps to hold the veneer in place while the glue dries. Make sure the clamps are not too tight as to avoid warping or denting the veneer.
Cleanup: Wipe away any excess glue with a damp cloth before it dries to avoid a sticky residue.
Drying Time: Allow the glue to dry as per manufacturer instructions. Consult respected experts in woodworking for ideal drying conditions and times.
For more articles on sanding, click here: Sanding: Your Full-Circle Guide to Smooth Mastery
Conclusion: How to Fix Over Sanded Veneer
Restoring an over-sanded veneer is a meticulous process that demands a keen eye, the right tools, and a steady hand. However, with careful planning and execution, it’s possible to bring back the original glory of your veneered furniture or fixture.
The process involves a series of steps—damage assessment, filler application, light sanding, staining, and gluing—that aim to rectify the flaws and improve the overall appearance and structure of the veneer.