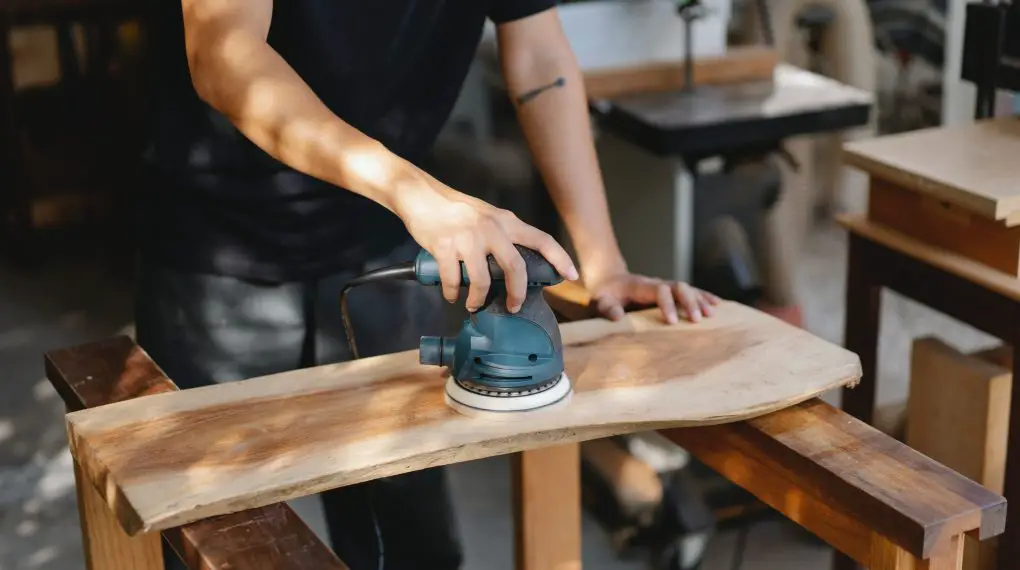
If you’re looking to paint wood, the first essential step is understanding how to sand wood before painting. This process ensures that the paint adheres well and you achieve a smooth, professional finish. Follow our comprehensive guide to master this foundational skill.

From Pexels.com by Ono Kosuki
Why Sanding is Essential Before Painting
Sanding wood before painting helps to create a smoother surface, ensuring the paint can be applied more evenly. It also helps in removing any old finishes, stains, or minor imperfections on the wood, which could affect the final appearance after painting.
Materials You’ll Need
- Sandpaper of varying grits (start with 80-grit and work up to 220-grit)
- Wood filler (if needed)
- Tack cloth or damp rag
- Dust mask and safety glasses
- Sanding block or electric sander
Step-by-Step Guide on How to Sand Wood Before Painting
1. Prepare the Workspace
Choose a well-ventilated area for sanding. Lay down drop cloths or old newspapers to catch any wood dust. Make sure you’re wearing a dust mask and safety glasses to protect yourself.
2. Start with Coarse Sandpaper
Begin with the 80-grit sandpaper. If you’re using a sanding block, wrap the sandpaper around it. If using an electric sander, attach the sandpaper to the device. Apply even pressure and sand in the direction of the wood grain. This step will help remove larger imperfections and old finishes.
3. Fill in Any Imperfections
If you notice any gouges, holes, or deep scratches, fill them with wood filler. Allow the filler to dry according to the manufacturer’s instructions. Once dry, sand the filled areas to make them level with the rest of the wood surface.
4. Move to Finer Grits
After the initial sanding with 80-grit, move to a 120-grit sandpaper and repeat the process. This will smooth out any scratches made by the coarser grit. Finish with a 220-grit sandpaper for an ultra-smooth surface, perfect for painting.
For more articles on sanding, click here: Sanding: Your Full-Circle Guide to Smooth Mastery
5. Clean the Surface
Once you’ve finished sanding, it’s essential to remove all the wood dust. Use a tack cloth or a damp rag to wipe down the wood surface. Ensure the surface is entirely dust-free before moving on to painting.
Conclusion
Sanding wood before painting might seem like an extra step, but it’s crucial for a perfect finish. By following the above steps, you’ll ensure your painted wood surface looks professional and lasts for years to come.
