Sanding wall in your home is a common and solvable task that even beginners can handle. Whether you’re preparing for a paint job or simply looking to smooth out imperfections, this guide will take you through the entire process in a clear and concise manner.
From Pexels.com by Ksenia Chernaya
Materials Needed
- Sanding paper (various grits)
- Sanding block or electric sander
- Protective eyewear
- Mask
- Painter’s tape
Preparation for Sanding the Wall
Before you start the process of sanding the wall, it’s essential to prepare the surface and the surrounding area to ensure a clean and safe working environment.
- Clean the Walls: Wipe down the walls to remove dust and debris.
- Tape Off Areas: Use painter’s tape to protect baseboards, trim, and other surfaces you don’t want to sand.
- Wear Safety Gear: Put on protective eyewear and a dust mask to prevent inhaling particles.
For more articles on sanding, click here: Sanding: Your Full-Circle Guide to Smooth Mastery
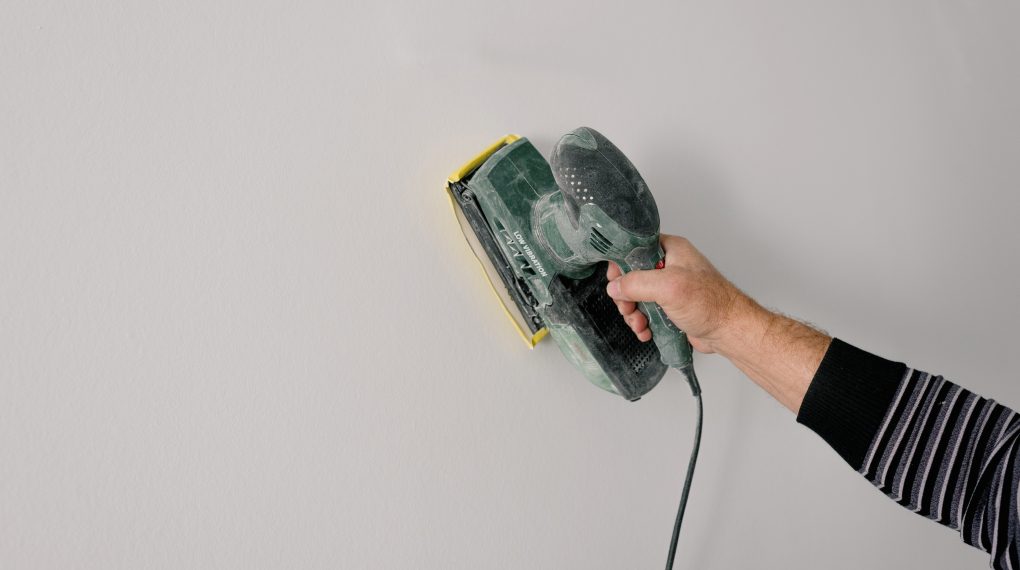
Step-by-Step Guide to Sanding of Walls
Follow these detailed steps to achieve a smooth and even surface, suitable for painting or finishing.
- Choose the Right Sandpaper: Start with coarser grits like 80 or 100 and gradually move to finer grits like 220 for a smooth finish.
- Sand the Surface: Use even strokes, and don’t press too hard. If using an electric sander, let the tool do the work for you.
- Check Your Progress: Feel the wall periodically to ensure you are achieving an even surface.
- Clean Up: Vacuum up the dust and wipe down the wall with a damp cloth to remove any remaining particles.
Sanding Wall: Conclusion
Sanding wall doesn’t have to be a daunting task. By following this comprehensive guide, you can transform your space with the beautiful, smooth finish you desire. Whether it’s sanding the wall for painting or repairing minor flaws, you now have the tools and knowledge to do it confidently and correctly.
