When you’re working with drywall, sanding is an essential step. It’s the final touch that gives your walls their smooth, professional finish. This article will guide you through the process of drywall sanding, even if you’re a complete novice. We’ll detail each step in clear, straightforward language, making sure you have all the knowledge you need to do a fantastic job.
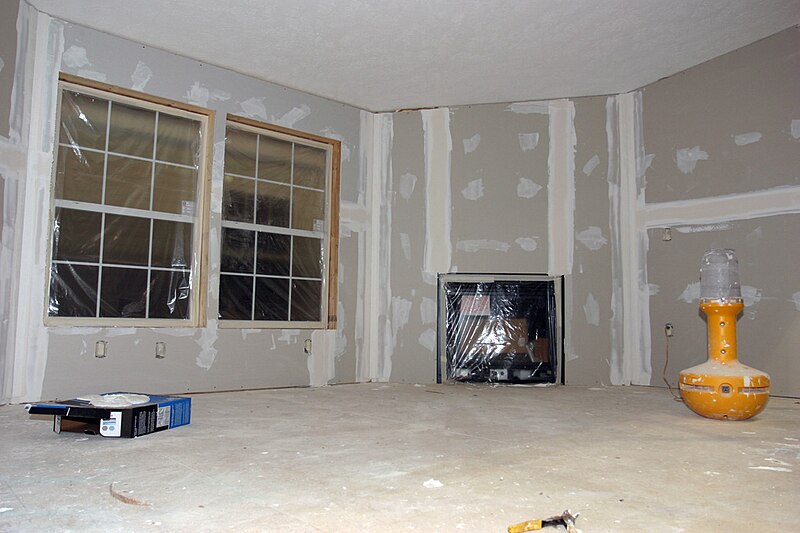
Riverview Homes Inc, CC BY-SA 3.0 https://creativecommons.org/licenses/by-sa/3.0, via Wikimedia Commons
What You Will Need
Before we dive into the process, let’s gather all the necessary tools and materials. For effective drywall sanding, you’ll need:
- Drywall sander (handheld or pole sander)
- Drywall sanding screen or sandpaper (120-150 grit)
- Dust mask
- Safety glasses
- Vacuum cleaner
Preparation is Key
Prepare your workspace by removing any furniture or covering it with plastic sheeting. Seal doorways with plastic to prevent dust from spreading to other rooms. Always wear a dust mask and safety glasses while sanding for drywall to protect yourself.
For more articles on sanding, click here: Sanding: Your Full-Circle Guide to Smooth Mastery
Step-by-Step Guide to Drywall Sanding
Step 1: Choose Your Sanding Tool
Depending on the size of your job, you can opt for a handheld sander or a pole sander. The pole sander will help you reach high places without a ladder, while a handheld sander offers better control.
Step 2: Attach the Sanding Screen or Sandpaper
Secure the sanding screen or sandpaper to your sander. Make sure it’s firmly attached before you start the process.
Step 3: Start Sanding
Begin sanding lightly over the drywall surface. Always sand in a circular motion, and avoid pressing too hard to prevent damaging the wall.
Step 4: Inspect and Repeat
After you’ve done a first pass, inspect the wall for any uneven spots. Repeat the sanding process until the surface is smooth and even.
Step 5: Clean Up
Once you’re satisfied with your work, clean up the dust with a vacuum cleaner. Remember to dispose of the dust properly.
Conclusion
Drywall sanding can seem like a daunting task, but with these steps, you’ll be able to complete it with ease. Remember, practice makes perfect, so don’t be discouraged if your first attempt isn’t flawless. Keep at it, and you’ll be sanding like a pro in no time!
