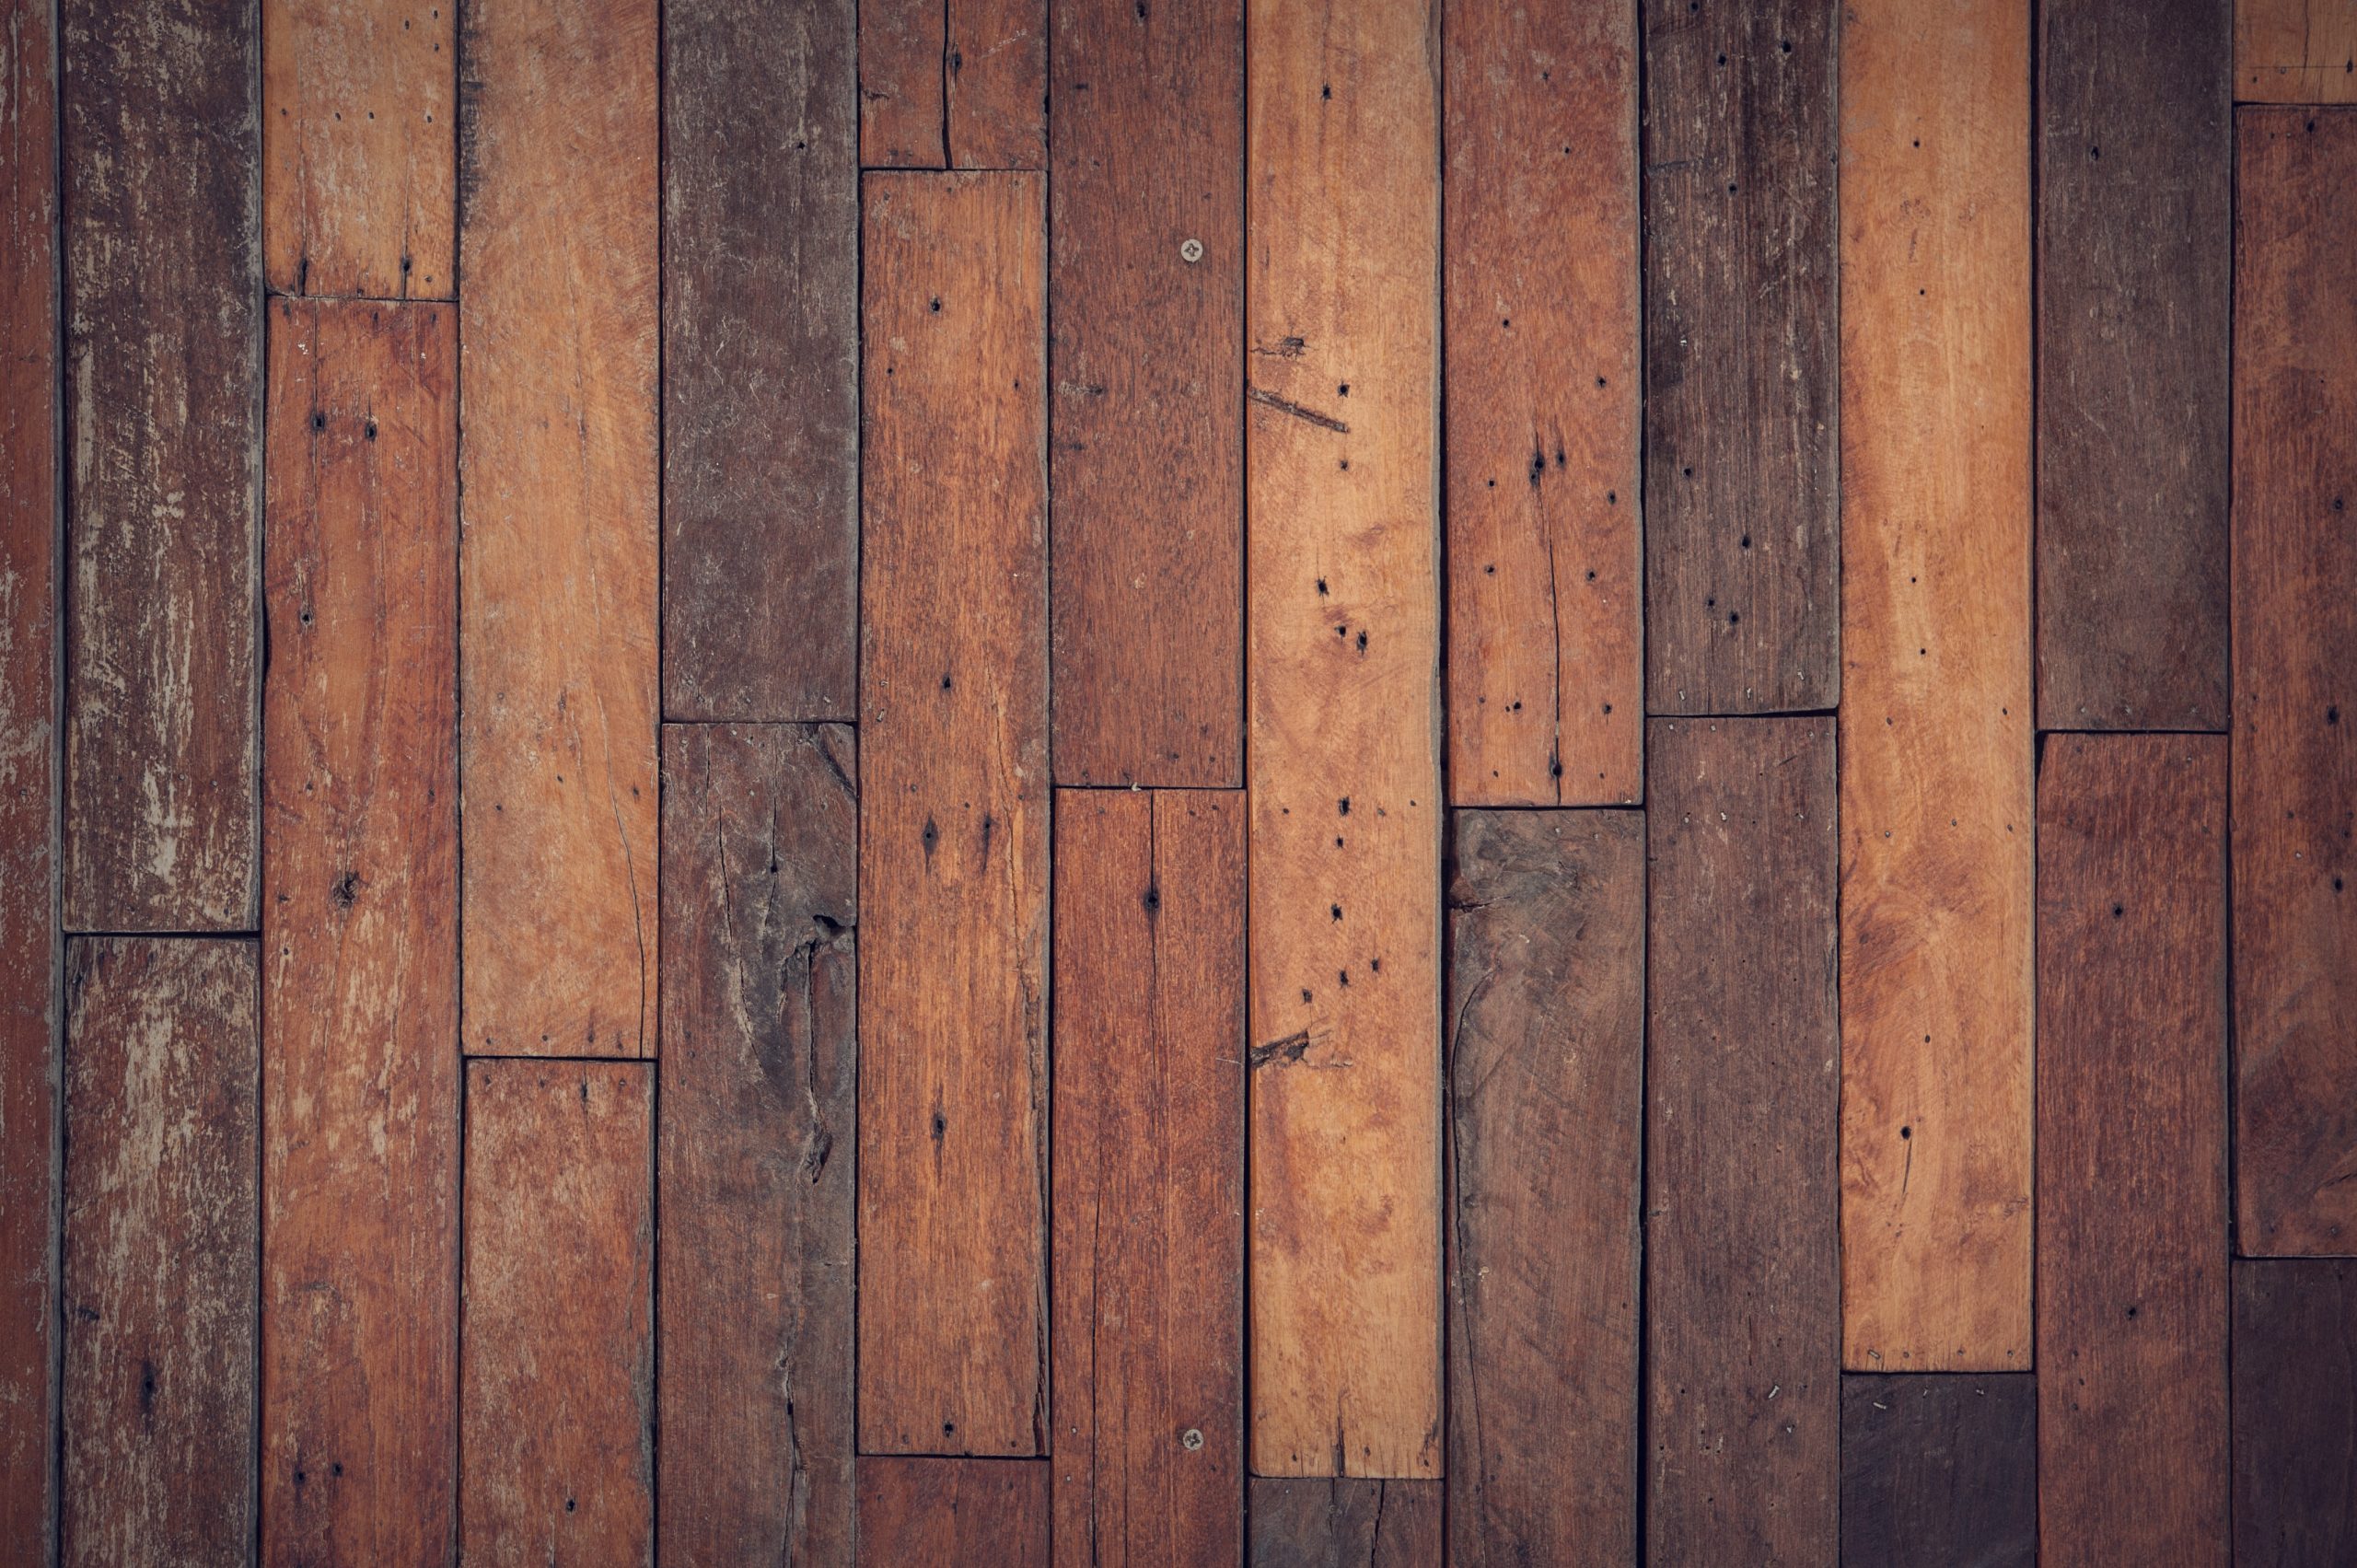
If you’ve grown tired of the worn-out look of your hardwood floors, sanding them yourself is a practical and cost-effective solution. This article will guide you through the process of “sanding hardwood floors DIY”, enabling you to breathe new life into your floors without needing to hire professionals. With patience and attention to detail, you can achieve a stunning transformation of your hardwood floors.
From Pexels.com by FWStudio
Sanding Hardwood Floors DIY: Preparing for the Job
To ensure a smooth and successful sanding job, you need to prepare appropriately. Start by clearing the room of furniture and removing any floor coverings or rugs. Sweep the floor thoroughly to remove any dust or debris that might interfere with the sanding process.
Gathering Your Tools and Materials
You will need the following tools and materials for sanding hardwood floors: a drum sander, sandpaper of different grits (from coarse to fine), a hand sander or sanding block, a vacuum cleaner, a mask, and safety glasses. These items are generally available for rent or purchase at your local home improvement store.
For more articles on sanding, click here: Sanding: Your Full-Circle Guide to Smooth Mastery
Start Sanding
Load the drum sander with coarse-grit sandpaper. Always remember to follow the manufacturer’s instructions when using the sander. Start at one corner of the room and sand along the grain of the wood, not against it. Make sure you move in a straight line and overlap each pass to ensure even sanding.
Swap Sandpaper Grits
Once you have completed the first pass with the coarse-grit sandpaper, it’s time to swap to a medium-grit paper. Repeat the sanding process as before. Lastly, use fine-grit sandpaper for a final pass. Each successive sanding smoothens the hardwood floor and prepares it for the finish.
Cleaning Up
After you have completed sanding the floor, you need to clean up the dust before applying any finish. Use a vacuum cleaner to remove the majority of dust and then wipe the floor with a damp cloth to pick up any remaining particles. Make sure the floor is completely dry before moving on to the next step.
Applying the Finish
Applying a finish to your hardwood floors will restore their shine and provide a protective layer. Choose a wood finish that matches your preference and follow the manufacturer’s instructions. Always apply the finish along the grain of the wood. Let it dry completely before moving furniture back into the room.
By following these steps, you can complete the task of sanding hardwood floors DIY. It may seem like a daunting task at first, but with patience and careful attention to each step, you can transform your worn-out floors into a beautiful, shining surface.
