Whether you’re a DIY enthusiast or a professional, knowing how to sand off powder coating is an essential skill for refinishing metal surfaces. In this article, we’ll guide you through the process step-by-step.
Things You’ll Need
Sandpaper (80 to 200 grit)
Protective gear (gloves, mask, and safety goggles)
Preparation Steps
Before you begin, make sure to put on your protective gear. Open any windows or set up a fan for proper ventilation.
Step 1: Safety First
Before you even think about sanding, it’s crucial to prioritize your safety. Don your gloves to protect your hands from abrasions and harmful substances that may be on the surface you’re sanding.
Safety goggles are equally important; they’ll protect your eyes from any small particles or dust that may fly up during the sanding process. A mask is also advisable, particularly if you’re working in an enclosed space, to avoid inhaling any potentially harmful fumes or dust.
Step 2: Clean the Surface
Now that you’re suitably protected, your next move is to prepare the surface. Use a clean, dry cloth to wipe down the area you plan to sand. Removing dirt, grease, and other contaminants helps ensure that you get a smooth, clean finish when you sand.
If a simple cloth isn’t enough to remove dirt or oily residues, you can apply a small amount of paint thinner or acetone to the cloth and then wipe down the surface. However, be sure to let the surface dry completely before moving on to the next step.
Step 3: Start with Coarse Sandpaper
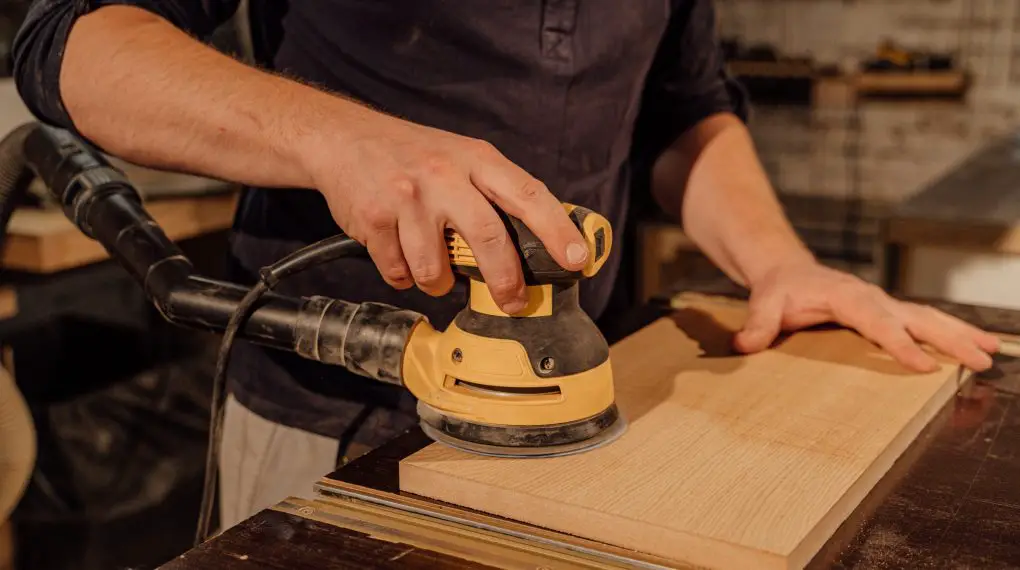
With your surface prepped, it’s time to set up your orbital sander. For the first round of sanding, use 80-grit sandpaper, which is coarse enough to efficiently remove the powder coating without damaging the underlying material.
Attach the sandpaper to the orbital sander’s pad, ensuring it is tightly secured to avoid any slippage during operation. Double-check to make sure the sandpaper is properly aligned; otherwise, you could end up with an uneven finish.
Step 4: Begin Sanding
Turn on your orbital sander and get to work. It’s generally best to use circular motions as you sand, moving evenly across the surface. Maintain a consistent pressure—enough to effectively remove the powder coating, but not so hard that you risk damaging the metal beneath it.
Remember, too much force can not only ruin the finish but also potentially harm the equipment you’re using. If your sander has variable speeds, you may want to start on a slower setting and gradually increase the speed as you become more comfortable.
Step 5: Check Your Progress
Periodic checks are important. Turn off your orbital sander and inspect the surface closely. Look for areas where the powder coating may not have been fully removed and note any inconsistencies in the surface.
If you find that most of the coating is gone but there are still patches remaining, switch to a finer grit sandpaper—something like 120 or 200 grit should do the trick. Attach the new sandpaper to your sander just as you did before, and continue the sanding process.
Step 6: Finish with Fine Sandpaper
At this point, you’ve removed the majority of the powder coating using your coarser sandpaper. However, the surface may still be somewhat uneven or slightly rough to the touch.
This is where your finer grit sandpaper comes into play. Attach a 120 or 200 grit sandpaper to your orbital sander, ensuring it’s securely and properly aligned just like before.
Turn on your sander and repeat the sanding process, using even circular motions. The finer grit will take care of any remaining powder coating and smooth out any rough spots, leaving you with a perfectly prepped surface for painting or any other treatment you have in mind.
Step 7: Wipe Down the Surface
With the sanding complete, you’re almost at the finish line. Turn off your orbital sander and unplug it for safety. Take a clean cloth and wipe down the surface thoroughly. This will remove any residual sanding particles or dust that may still be clinging to the metal.
Make sure you get into any nooks or crannies where debris could be hiding. For an extra layer of cleanliness, you can dampen the cloth with a bit of paint thinner or acetone, but if you do, ensure the surface is dry before proceeding to any subsequent steps like painting.
Step 8: Dispose of Materials
The last thing you want after a successful project is to be careless with your waste materials. The used sandpaper, along with any disposable protective gear, should be properly disposed of.
Be sure to consult your local waste management guidelines to see if there are any special procedures for disposing of used sandpaper or chemical-soaked cloths.
Proper disposal is not just responsible—it’s also crucial for safety, especially if you’ve used any chemicals during the cleaning process.
For more articles on sanding, click here: Sanding: Your Full-Circle Guide to Smooth Mastery
Conclusion: How to Sand Off Powder Coating
Successfully sanding off powder coating can initially seem like a challenging task, especially for those who haven’t tackled a project like this before.
However, as we’ve walked through each step of the process, it becomes clear that this is a very achievable goal when approached methodically and carefully.
From prioritizing your safety to selecting the appropriate sandpaper grit and finishing up with a thorough cleanup, each stage is critical to ensuring the final result is up to your standards.
By adhering to these guidelines, not only will you be able to remove that stubborn powder coating, but you’ll also prepare the surface excellently for any subsequent treatments or finishes you have in mind.
As with any task, proper preparation and attentiveness to detail will serve you well, turning what could be a stressful experience into a rewarding and successful endeavor.
