If you’re wondering how to sand after painting, you’ve come to the right place. This common but crucial step in the painting process can make all the difference in the final look and feel of your project. Follow this step-by-step guide to do it like a pro.
Why Sand After Painting?
Sanding after painting is essential for various reasons. It helps remove imperfections, smooths the surface, and prepares it for additional coats or the finishing touch. It’s a task that, when done correctly, can greatly improve the durability and appearance of your paint job.
How to Sand After Painting: Things You Will Need
- Sandpaper or a sanding block
- A soft cloth
- Painters tape
- Protective eyewear and mask
- Vacuum cleaner or a soft brush
Step 1: Prepare the Area
Before you start sanding, it’s crucial to prepare the area to keep it clean and safe.
- Remove furniture and cover the floor with a drop cloth.
- Use painters tape to mask off areas you don’t want to sand.
- Put on protective eyewear and a mask to prevent dust inhalation.
Step 2: Choose Your Sandpaper
Selecting the right sandpaper is crucial for a successful sanding job. Sandpapers come in various grits, and the number you see on the package indicates the size of the abrasive particles on the paper. A higher number means finer grit, while a lower number indicates coarser grit. For most paint jobs, using a fine-grit sandpaper, which ranges between 180 and 220, is advisable.
Why Fine-Grit?
Fine-grit sandpapers are excellent for smoothing the paint without removing too much of it. Using coarse sandpaper could lead to scratches that will make the surface look uneven.
Consider the Paint Type
Different types of paint—such as latex, oil-based, or enamel—might respond differently to sanding. Always consult the paint manufacturer’s guidelines to ensure you’re using the most suitable sandpaper for your specific project.
Step 3: Test a Small Area
Before you go all in, it’s wise to test a small, inconspicuous area first. This step ensures that the sandpaper grit you’ve chosen won’t damage the paint or leave scratches.
How to Test
- Pick a hidden area like the corner or the back of the furniture, or a spot near the bottom of a wall.
- Perform a quick, gentle sanding motion on this small area.
- Examine closely for any signs of damage or unevenness.
If the test area looks good, you can proceed with confidence. If not, consider switching to a finer grit sandpaper.
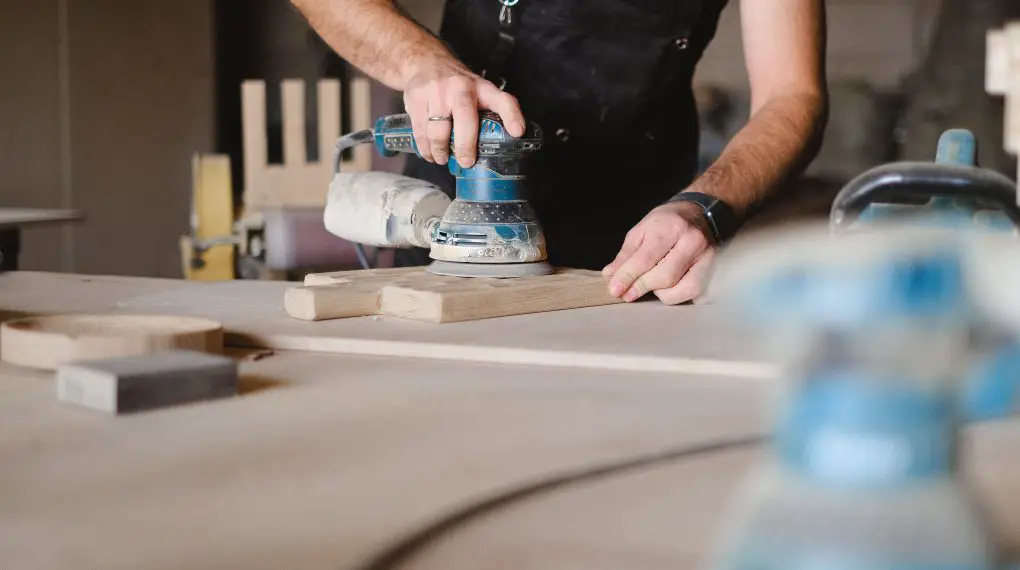
Step 4: Start Sanding
With your preparations complete and test successful, you’re ready to start sanding.
Sanding Technique
- Hold the sandpaper or sanding block firmly but comfortably in your hand.
- Apply gentle, circular motions as you sand the painted surface.
- Keep your pressure even; pressing too hard can remove more paint than necessary or even damage the surface.
- Pay attention to corners and edges, but be extra gentle to avoid sanding off too much paint.
Step 5: Check Your Work
As you work, it’s important to pause periodically and assess the progress.
How to Check
- Stop sanding and wipe the surface clean using a soft, lint-free cloth.
- Feel the surface with your hand to check for any uneven areas or imperfections.
- Look at the surface from different angles to catch any unevenness you might have missed.
If the surface feels smooth and looks even, you’re done with the sanding. If not, continue sanding but always remember to go gently.
Step 6: Clean Up
Once you’ve completed the sanding and are satisfied with the result, the final step is the clean-up.
Cleaning Process
- Use a vacuum cleaner with a soft brush attachment to remove the majority of the sanding dust from the surface.
- Alternatively, you can use a soft brush to sweep away the dust manually.
- Take off the painter’s tape carefully to ensure you don’t accidentally peel off any adjacent paint.
For more articles on sanding, click here: Sanding: Your Full-Circle Guide to Smooth Mastery
How to Sand After Painting: Conclusion
Your sanded surface is now ready for additional coats of paint or a final finish. Make sure the area is clean before proceeding.