If you’re wondering how to sand after priming, you’re in the right place. Whether you’re working on a small home project or handling bigger tasks, understanding the correct way to sand after applying primer is crucial for achieving a smooth, professional finish.
Why Sanding After Priming is Important
Sanding after priming helps create a smoother surface, allowing the paint to adhere better. It removes any imperfections and makes the subsequent layers of paint look more even.
How to Sand After Priming: Things You Will Need
- Fine-grit sandpaper (220-grit or higher)
- A sanding block or orbital sander
- Tack cloth or microfiber cloth
- Protective gear (mask, goggles)
Step 1: Prepare Your Workspace
Before you begin, make sure your workspace is clean and well-ventilated. Put on your protective gear to ensure you don’t inhale any dust or get particles in your eyes.
Step 2: Choose the Right Sandpaper
For post-priming sanding, a fine-grit sandpaper is usually recommended. The 220-grit or higher will suffice for most projects.
Step 3: Attach Sandpaper to Sanding Block or Sander
Identify the Attachment Method: Depending on the type of sanding block or orbital sander you have, the method of attaching the sandpaper may vary. Some use clips, while others might require adhesive.
Cut Sandpaper to Size: If necessary, cut your fine-grit sandpaper into a size that fits your sanding tool. Scissors or a utility knife can be used for this task.
Secure the Sandpaper: Align the sandpaper so it fits perfectly on the sanding block or sander surface. Clip it into place or adhere it securely. Test to make sure it won’t slip during use.
Double-Check: Gently tug on the sandpaper to ensure it’s firmly attached. This will prevent any wobbles or slips during the sanding process, ensuring effective and consistent results.
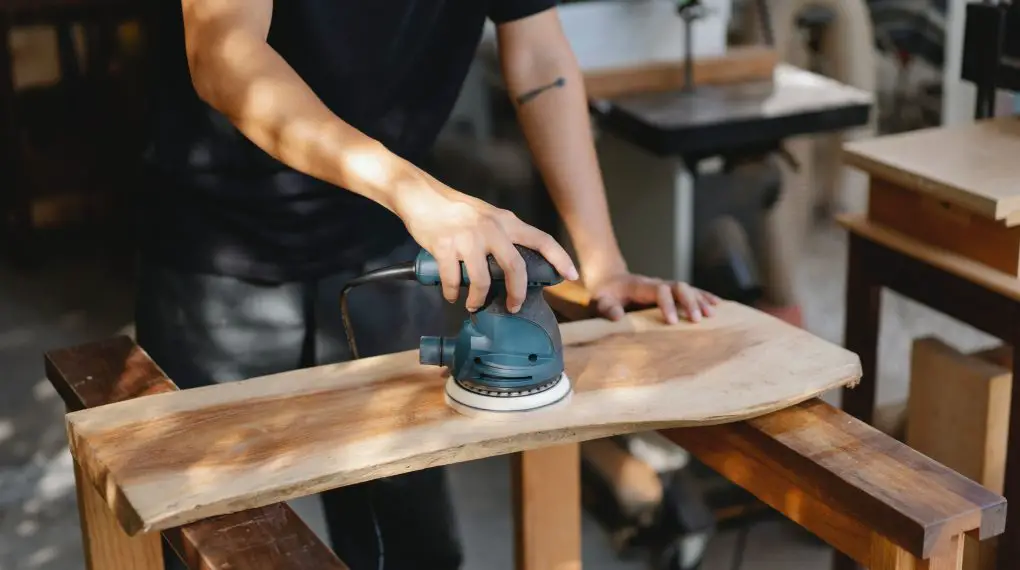
Step 4: Use Proper Sanding Technique
Preparation: Place your hand on the sanding block or grip the orbital sander firmly but without squeezing it too hard.
Even Pressure: Start sanding by applying light, even pressure. Do not press down too hard, as this can create divots or uneven areas.
Direction Matters: Always move the sanding block or sander in the direction of the wood grain. Sanding against the grain can lead to visible scratches that are difficult to paint over.
Consistency: Maintain a steady, rhythmic motion to ensure the surface is sanded evenly. Overlapping your strokes slightly can be helpful.
Step 5: Check Your Work
Pause and Feel: After sanding for a couple of minutes, pause and gently run your hand over the surface. It should feel consistently smooth across all areas.
Visual Inspection: Look at the surface from various angles to ensure there are no unsanded patches or noticeable scratches.
Adjust: If necessary, continue sanding using the same techniques until you are satisfied with the smoothness.
Step 6: Clean the Surface
Gently Wipe: Use a tack cloth or a microfiber cloth to gently wipe away any remaining sanding dust from the surface. Be thorough, as lingering dust can affect paint adhesion.
Optional – Vacuum: For larger surfaces, using a handheld vacuum can make this process quicker.
Step 7: Proceed with Painting
Choose Your Paint: Make sure you’ve chosen the right type of paint for your project. This may vary depending on the material you’re painting and the desired finish.
Read Manufacturer’s Guidelines: Always read and follow the manufacturer’s instructions for application, including recommended number of coats and drying time.
Apply Paint: Use a brush, roller, or spray gun to evenly apply the paint to the sanded and cleaned surface. Use even strokes to prevent any streaks or marks.
For more articles on sanding, click here: Sanding: Your Full-Circle Guide to Smooth Mastery
How to Sand After Priming: Conclusion
Understanding how to sand after priming is key to achieving a polished, professional-looking finish on your projects. By following these simple steps, you can improve the quality of your work and ensure the paint adheres well to the surface.
