Wondering how to sand off polyurethane? You’re in the right place. In this comprehensive guide, we’ll walk you through each step of the process. No need to be a seasoned DIY-er—this guide is designed for novices and experts alike.
Preparation
Before you start the task of sanding off polyurethane, it’s crucial to be well-prepared. Make sure you are working in a well-ventilated area and have all your tools ready for the task.
Things You’ll Need
Sandpaper (varying grits)
Orbital sander (optional)
Step-By-Step Guide
Now, let’s get down to the actual steps involved in sanding off polyurethane.
Step 1: Put on Safety Gear
Before you even touch a piece of sandpaper, it’s essential to put on your safety gear. A dust mask will protect you from inhaling any wood particles or polyurethane dust, which can be harmful to your lungs.
Safety goggles are crucial for keeping dust and debris away from your eyes. If you have sensitive skin, consider wearing work gloves to avoid any possible irritation from the dust or the wood.
Step 2: Choose the Right Sandpaper
Choosing the right sandpaper is a vital first step. Start with a coarse-grit sandpaper, such as 80-grit, to make the task of removing the polyurethane layer more manageable.
Coarse-grit sandpapers are more abrasive and will remove material faster, which is what you want when dealing with a tough layer of polyurethane. However, remember that this will leave scratches on the wood, which you’ll smooth out in later steps.
Step 3: Initial Sanding
After donning your safety gear and selecting the right sandpaper, the next crucial phase is the initial sanding. This step is all about technique and timing, so let’s get into the details.
Preparing Your Tools
If you’re using your hand for sanding, wrap the coarse-grit sandpaper around a sanding block. The block not only provides a better grip but also ensures a flat surface that will help you get more consistent results.
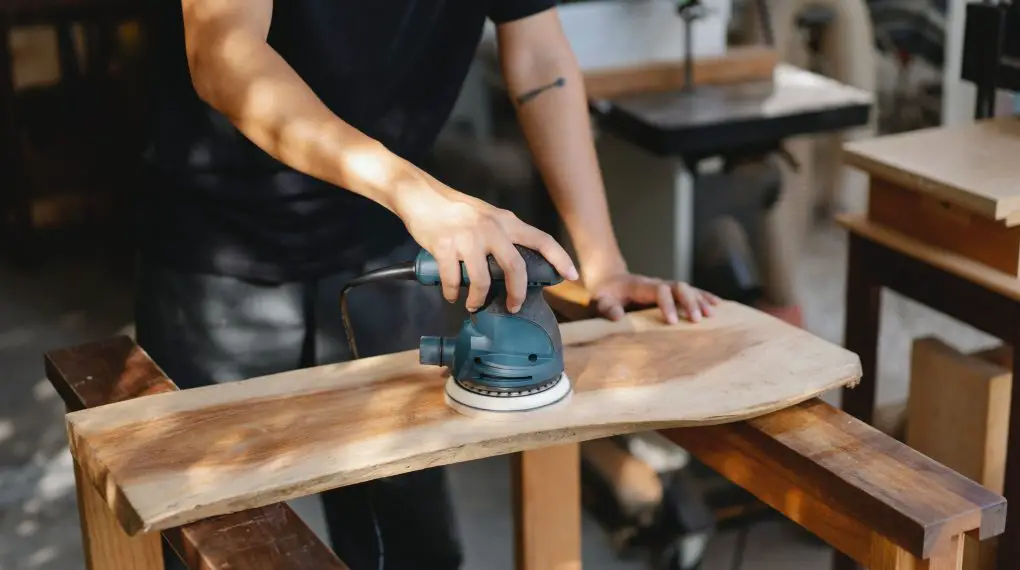
If you’re using an orbital sander, attach the coarse-grit sandpaper to the sander’s base, ensuring it’s properly aligned.
Direction Matters
It’s crucial to sand in the direction of the wood grain rather than against it. Sanding against the grain can result in scratches that are difficult to remove later. So take a moment to identify the direction of the wood grain before you begin.
Technique
Start at one end of the piece and work your way systematically to the other end to ensure even coverage. Hold the sanding block or orbital sander so that it’s flat against the surface of the wood. Apply a consistent but moderate amount of pressure as you move the sandpaper or sander back and forth along the grain.
The Right Amount of Pressure
The idea is to apply enough pressure to remove the polyurethane but not so much that you dig into the wood underneath. If you press too hard, you risk removing more than just the polyurethane, potentially damaging the wood.
On the flip side, too little pressure will prolong the process and may result in an uneven removal of the polyurethane layer.
Keep Checking Your Progress
Since the objective is to remove the bulk of the polyurethane, periodically stop to check your progress. Run your hand lightly over the area you’ve sanded to feel for any uneven spots or areas where the polyurethane still remains. This tactile feedback is valuable for understanding how much more sanding is needed.
It Doesn’t Have to Be Perfect
Remember, the purpose of this initial sanding is not to get the wood perfectly smooth but rather to remove the majority of the polyurethane layer.
If there are minor imperfections or areas that aren’t perfectly smooth, that’s completely okay at this point. You’ll address these in the final sanding stage.
Step 4: Vacuum the Dust
After you’ve completed your initial sanding, there’s going to be a fair amount of dust and debris on the surface. Use a vacuum cleaner with a brush attachment to remove the bulk of this material.
This step is essential because any leftover dust can mix with new polyurethane if you plan on refinishing, leading to a less-than-smooth finish. Plus, it’s much easier to see what you’re doing when you’re not working on a dusty surface.
Step 5: Wipe with Tack Cloth
After vacuuming, some fine dust particles may still remain on the surface. This is where a tack cloth comes in handy. A tack cloth is a sticky cloth that picks up even the smallest dust particles that a vacuum might miss.
Gently wipe down the entire surface with the tack cloth, taking your time to ensure that you’ve removed as much dust as possible.
Step 6: Final Sanding
After you’ve prepared the surface, it’s time to move to the final sanding. Switch to a finer-grit sandpaper, like 220-grit. This will smooth out any scratches or rough areas left by the coarse-grit sandpaper.
The purpose of this step is not to remove more polyurethane but to prepare the wood for refinishing or for its final natural state. Sand the surface as you did before, moving in the direction of the wood grain and applying consistent pressure.
For more articles on sanding, click here: Sanding: Your Full-Circle Guide to Smooth Mastery
Conclusion: How to Sand Off Polyurethane
Sanding off polyurethane may seem like a daunting task, especially if you’re new to woodworking or DIY projects. However, with the right tools and a systematic approach, it’s entirely manageable.
Safety should be your first concern, followed by selecting the appropriate type of sandpaper for the job. Initial sanding will remove the majority of the polyurethane layer, and after cleaning away the resultant dust, you can proceed to the final sanding to perfect the wood’s surface.
By adhering to these carefully outlined steps, you not only make the task more straightforward but also ensure that the finished product will be something to be proud of.
Whether you’re planning on refinishing the wood or leaving it in its natural state, a well-sanded surface serves as the perfect canvas for your next steps. So go ahead, roll up those sleeves and take the plunge; a beautiful, polyurethane-free piece of wood awaits you.