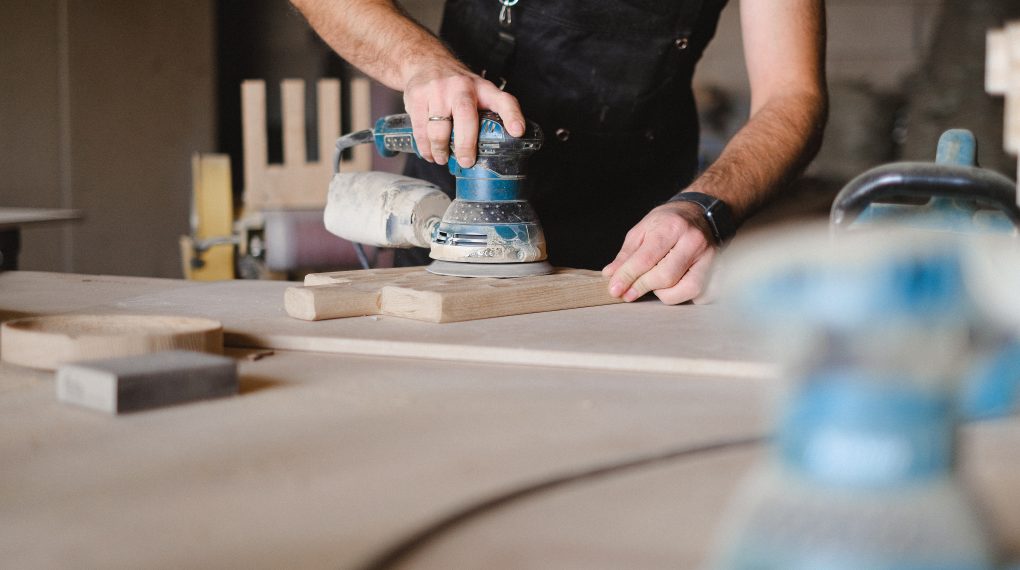
If you’re wondering how to sand furniture with lots of detail, you’re in the right place. This comprehensive guide will provide you with easy-to-follow, step-by-step instructions so you can transform your intricate furniture pieces with confidence.

How to Sand Furniture with Lots of Detail: Materials Needed
- Sandpaper (various grits)
- Electric sander (optional)
- Dust mask
- Safety goggles
- Clean cloth
- Tack cloth
- Painter’s tape
- Vacuum cleaner
Prepare Your Workspace
Before you start learning how to sand furniture with lots of detail, it’s crucial to prepare your workspace. Make sure the area is well-ventilated and free from obstacles. Lay a tarp or old sheet on the floor to catch debris.
Preparation: Safety First!
Wear a dust mask and safety goggles to protect yourself from dust particles. Ensure you’re dressed in old clothes that you don’t mind getting dirty.
Step 1: Inspect the Furniture
Inspect the furniture piece for any loose screws or nails and tighten them. Take note of areas with more detail, as these will require special attention.
Step 2: Clean the Furniture
Use a clean cloth to wipe down the furniture and remove any grime or dirt. This ensures that your sanding process is effective.
Step 3: Tape Off Areas
Use painter’s tape to protect areas you don’t want to sand, such as hardware or embedded glass.
Step 4: Start with Coarser Sandpaper
Begin sanding using a coarser grit, like 80-grit sandpaper. For areas with lots of detail, you may have to hand-sand to ensure accuracy. Sand in the direction of the wood grain for best results.
Step 5: Progress to Finer Grit
Once you’ve thoroughly sanded the furniture with coarser grit, progress to a finer grit, like 120 or 220. This will help to smooth out the surface and prepare it for finishing.
Step 6: Clean and Inspect
After sanding, use a tack cloth or vacuum cleaner to remove any residual dust. Inspect the furniture to make sure all areas, especially detailed parts, are evenly sanded.
For more articles on sanding, click here: Sanding: Your Full-Circle Guide to Smooth Mastery
Step 7: Final Touch
If needed, repeat the sanding process for an even smoother finish. Once satisfied, you’re ready for staining or painting.
Conclusion
Sanding furniture with lots of detail can seem daunting, but with this guide, you should be well-equipped to tackle the task. Remember to always prioritize safety and take your time for a job well done.
