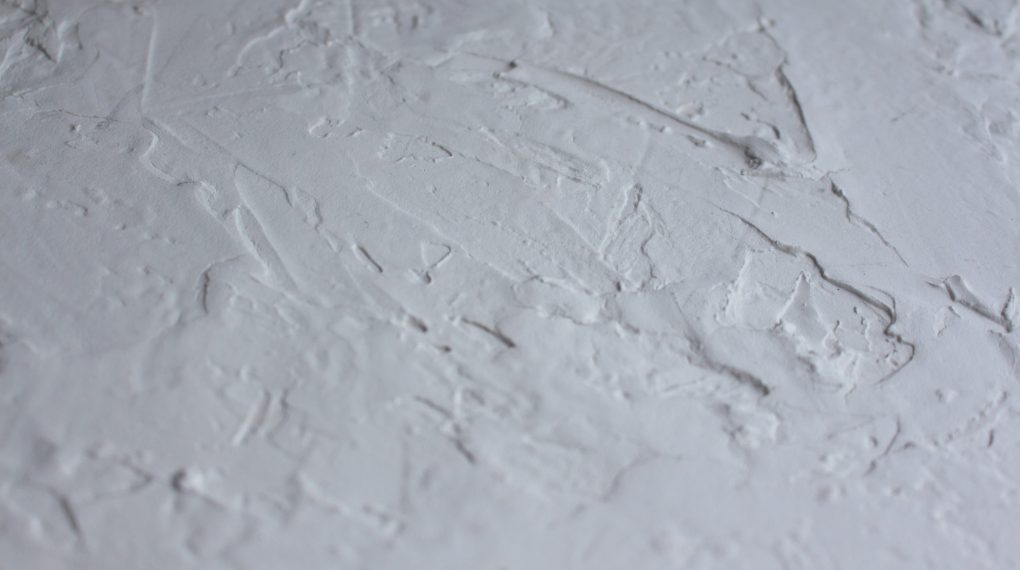
If you’re wondering how to sand after plastering, you’re not alone. It’s a common yet crucial part of the wall-finishing process that ensures a smooth, professional look. In this step-by-step guide, we’ll walk you through the entire process.

Why Sanding After Plastering is Important
Sanding is a significant part of the plastering process. It eliminates imperfections, levels out your surface, and prepares it for painting or decorating. This guide aims to provide you with a comprehensive walkthrough.
Tools and Materials Needed
Sandpaper (80-120 grit)
Handheld sander (optional)
Step 1: Safety Precautions
Before diving into the sanding process, it’s critical to prioritize your safety. Plaster dust can be harmful when inhaled, and stray particles can injure your eyes.
Firstly, equip yourself with a dust mask. Make sure it fits snugly around your nose and mouth. This will filter out the fine plaster particles that become airborne during the sanding process, thus protecting your respiratory system.
Additionally, wear safety goggles to shield your eyes. Choose goggles that fit tightly against your skin to prevent any dust from entering. For better protection, you may opt for goggles with a seal, which will provide a better barricade against dust.
Step 2: Prepare the Area
Move all furniture and decorative items away from the area you’ll be working on. This prevents them from getting damaged or becoming a hindrance.
Place a drop cloth or plastic sheeting on the floor to catch any falling dust or debris. Spread it evenly and make sure it covers the floor entirely beneath the working area.
Use painter’s tape to adhere the drop cloth to the floor securely. This ensures the cloth remains in place, making your cleanup process easier later on.
Step 3: Choose the Right Sandpaper
The coarseness of sandpaper is measured in grit. For the initial round of sanding, 80-grit sandpaper is recommended. This coarser paper effectively deals with any ridges or unevenness in the plaster.
80-grit sandpaper has just the right amount of abrasiveness to remove larger imperfections without causing damage to the underlying plaster. It prepares the wall for the finer sanding that follows.
Step 4: Begin Sanding
Begin in one corner of the wall and move methodically across its surface. This ensures that you don’t miss any spots.
If you’re using sandpaper, hold it flat against the wall, applying a consistent amount of pressure. If using a handheld sander, keep the machine moving in a circular motion to avoid creating uneven surfaces.
Step 5: Clean and Inspect
After your first round of sanding, the area will be filled with dust. Use a vacuum cleaner with a brush attachment to remove this debris.
Carefully examine the wall for any lingering imperfections. Use a flashlight if necessary, angling it parallel to the wall to better identify uneven areas that may require further sanding.
Step 6: Final Sanding
For a smoother finish, switch to 120-grit sandpaper. This finer grit will polish the wall, eliminating the tiny imperfections that the 80-grit sandpaper may have missed.
Using the same technique as before, go over the wall again. Be vigilant about sanding previously missed spots to ensure an even surface.
Step 7: Clean Up
After your final sanding session, vacuum the wall and floor once more to remove all traces of dust. It’s crucial to have a clean surface before moving on to painting or any other wall treatment.
Carefully lift the taped edges of the drop cloth and fold it inward to contain the dust. Dispose of it appropriately.
For more articles on sanding, click here: Sanding: Your Full-Circle Guide to Smooth Mastery
Conclusion: How to Sand After Plastering
Knowing how to sand after plastering can make all the difference in achieving a high-quality finish for your walls. Follow this guide, and you’ll be well on your way to a job well done.