Timber floor sanding and finishing is a crucial process in restoring the charm and elegance of wooden floors. Whether you’re dealing with years of wear or simply want to refresh the look of your home, this guide will walk you through each step, ensuring even a beginner can achieve professional results.
From Pexels.com by FWStudio
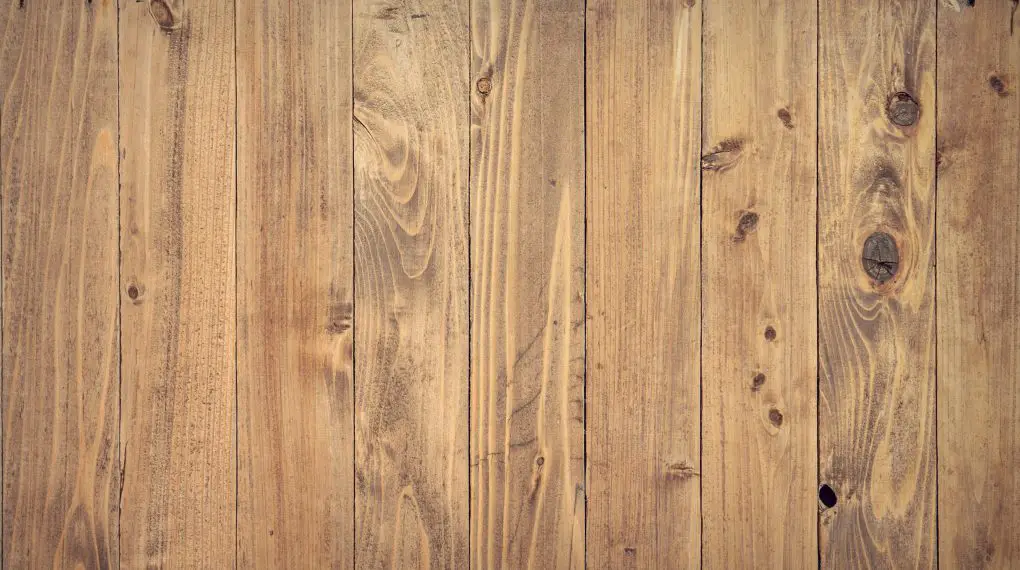
Introduction to Timber Floor Sanding and Finishing
Sanding and finishing a timber floor are essential tasks in maintaining the beauty and functionality of wooden surfaces. This process removes scratches, dents, and other imperfections, restoring the wood’s natural beauty and providing protection. Here’s how you can accomplish timber floor sanding and finishing with confidence and ease.
Step 1: Preparing the Floor
Before you begin sanding, proper preparation is essential. Here’s what you need to do:
- Remove all furniture and obstacles from the room.
- Clean the floor thoroughly to remove dust, dirt, and debris.
- Inspect the floor for any nails or screws and ensure they are flush with the surface.
Step 2: Selecting the Right Equipment
Choosing the correct sanding and finishing equipment is vital for success. Here’s how:
- Choose a sanding machine that suits your floor type and condition.
- Select the appropriate sandpaper grit, starting with a coarser grit and progressing to finer ones.
- Purchase a quality wood finish that matches your desired look and durability needs.
For more articles on sanding, click here: Sanding: Your Full-Circle Guide to Smooth Mastery
Step 3: Sanding the Floor
Sanding is the core part of timber floor restoration. Here’s a step-by-step guide:
- Start with the edges using an edge sander, working carefully to ensure an even surface.
- Use the main sanding machine to sand the rest of the floor, moving with the grain.
- Repeat the process with finer grits to achieve a smooth finish.
Step 4: Finishing the Floor
Once the floor is sanded, it’s time to apply the finish. Here’s how:
- Thoroughly clean the floor to remove all sanding dust.
- Apply the finish using a brush or roller, following the manufacturer’s instructions.
- Allow the finish to dry as directed, then apply additional coats if necessary.
Conclusion
Timber floor sanding and finishing can transform the appearance of your wooden floors. By following this guide, you can restore their natural beauty and protect them for years to come. Remember to take your time and follow each step closely, and you’ll achieve a professional look without the professional cost.
