As a homeowner, sanding wooden floors might seem like a daunting task. However, with the right approach and understanding, you can rejuvenate your floors and give them a new life. In this detailed guide, we break down the entire process into easy-to-follow steps, making it possible for even a novice to achieve a stunning result.
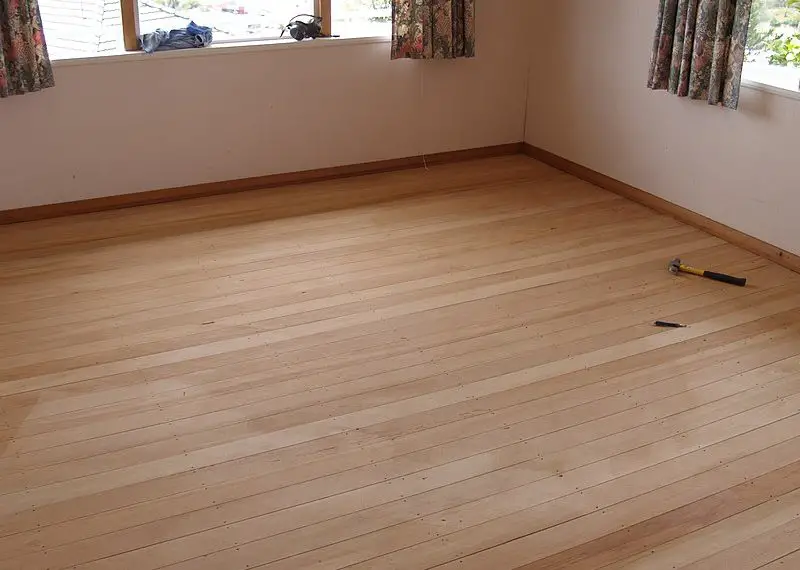
Stug.stug, CC BY-SA 3.0 http://creativecommons.org/licenses/by-sa/3.0/, via Wikimedia Commons
Step 1: Gather Your Materials
Before you start sanding wooden floors, ensure you have the following materials:
- A drum or orbital sander. You can rent one from a local tool rental store.
- Sandpaper of different grits. The grit you start with depends on the condition of your floor. If it’s in a terrible state, start with a 36-grit. If it’s not too bad, a 60-grit will do. Always finish with a 100-grit for a smooth finish.
- A vacuum cleaner for cleaning up dust.
- Safety gear: dust mask, ear protection, and safety glasses.
Step 2: Prepare the Room
Before you begin sanding, remove all furniture and rugs from the room. Then, use a pry bar to gently remove any baseboards or molding. Make sure to cover all doors and windows with plastic sheeting to prevent dust from spreading to other parts of your house.
Step 3: Start Sanding
Now, it’s time to start sanding wood floors. Begin at one end of the room, moving the sander in the direction of the wood grain. Try to keep a steady pace, and avoid dwelling too long in one spot to prevent creating uneven surfaces. Remember, always start with a coarse-grit sandpaper and gradually move to finer grits.
For more articles on sanding, click here: Sanding: Your Full-Circle Guide to Smooth Mastery
Step 4: Clean Up and Inspect
After you finish sanding with each grit, clean up the dust using a vacuum cleaner. Then inspect the floor closely. If there are any scratches or uneven areas, sand them by hand using the same grit you just used on the sander.
Step 5: Final Sanding and Clean Up
After you’re satisfied with the state of the floor, proceed with the finest grit sandpaper (100-grit) for the final sanding. This will give your floor a smooth finish. Clean up the dust thoroughly when you’re done. Now your floor is ready for staining and finishing.
Sanding Wooden Floors: Conclusion
In conclusion, sanding wooden floors is a task that requires patience and attention to detail. But with this guide, you can successfully restore your floors to their former glory. Happy sanding!
