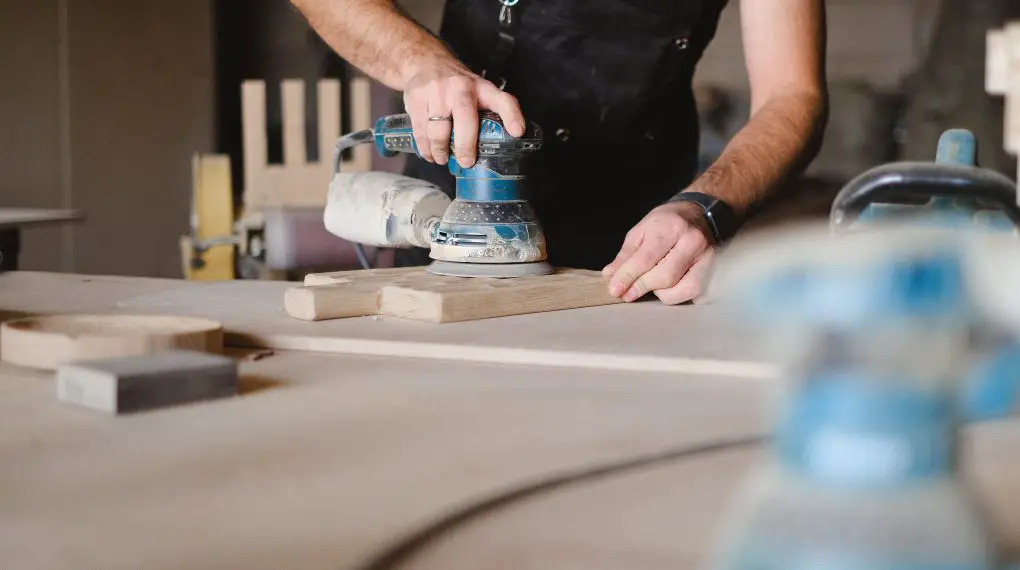
If you’re looking to give your furniture a new lease on life, sanding furniture before painting is a crucial step you can’t afford to skip. This comprehensive guide will walk you through each step, ensuring a smooth and lasting finish.

Why Sanding Furniture Before Painting is Essential
Before diving into the steps, it’s important to understand why sanding is so crucial. Sanding helps in removing imperfections and creating a surface that allows paint to adhere better. This results in a more durable and attractive finish.
Materials You’ll Need
- Sandpaper (various grits)
- Electric sander (optional)
- Tack cloth or damp rag
- Protective gear (mask, goggles)
Step 1: Prepare Your Workspace
Choose a well-ventilated area to work in. Lay down a drop cloth to catch any dust and debris. Make sure you’re wearing your protective gear before you begin.
Step 2: Remove Hardware and Disassemble
Take off any knobs, pulls, or other hardware from your furniture. If possible, disassemble pieces that can be taken apart for easier sanding.
Step 3: Choose the Right Sandpaper
Select a sandpaper grit that is appropriate for your furniture’s condition. Coarser grits like 60 or 80 are good for removing old paint or varnish, while finer grits like 220 are ideal for the final smoothing.
Step 4: Start Sanding
Begin sanding using your chosen sandpaper or electric sander. Always sand in the direction of the wood grain to avoid scratches. Apply even pressure as you go along.
Step 5: Clean the Surface
After sanding, wipe down the surface with a tack cloth or damp rag to remove any dust or debris.
Step 6: Final Touches
For a super-smooth finish, you may opt for a final sanding using a very fine grit. Clean the surface again before proceeding to paint.
For more articles on sanding, click here: Sanding: Your Full-Circle Guide to Smooth Mastery
Conclusion
Sanding furniture before painting is a vital step for achieving a professional-looking finish. By following this step-by-step guide, you’re well on your way to giving your furniture a stunning makeover.
