Whether you’re restoring an old house or wanting to give your floors a fresh look, sanding floors with orbital sanders can be a game-changer. In this guide, we will take you through each step, ensuring that even if you’re a novice, you can achieve professional-looking results. Let’s begin!
Hedwig Storch, CC BY-SA 3.0 https://creativecommons.org/licenses/by-sa/3.0, via Wikimedia Commons
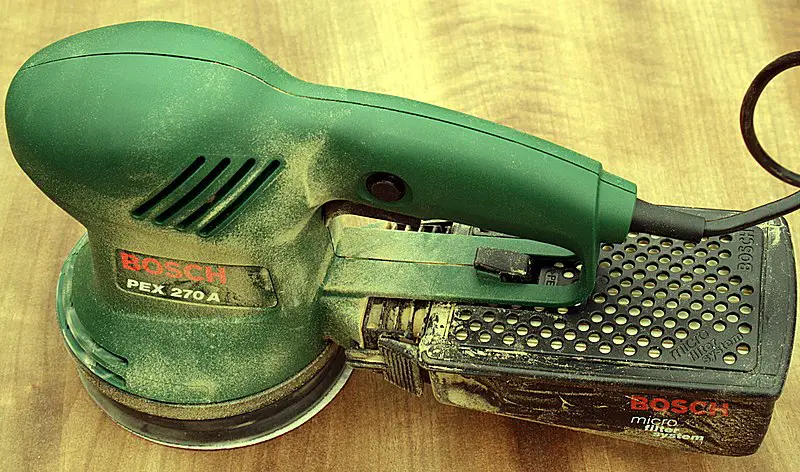
Sanding Floors with Orbital Sander: What You’ll Need
To effectively sand your floors with an orbital sander, you’ll need the following items:
- Orbital Sander
- Sanding Discs (in a variety of grit sizes, ranging from coarse to fine)
- Dust mask and Safety glasses
- Vacuum Cleaner
- Tack cloth or damp rag
Step 1: Preparation
Your first step in sanding floors with an orbital sander is to prepare your work area. Remove all furniture from the room and clean the floor thoroughly with a vacuum cleaner. This will help remove dust, debris, and any small particles that could scratch the wood during the sanding process.
Step 2: Safety First
Before starting the sanding process, ensure you’re wearing your dust mask and safety glasses. This will protect you from wood dust which can be harmful if inhaled or if it gets into your eyes.
Step 3: Installing the Sanding Disc
Attach the coarsest sanding disc (usually 40-grit) to your orbital sander. Make sure it’s securely fastened before you switch on the sander. This is a crucial step in your sanding floors with orbital sander project.
Step 4: Start Sanding
Now, turn on the orbital sander and slowly move it across the floor. Keep the sander moving at all times to avoid sanding one area too much and causing an uneven surface. You should sand in the same direction as the wood grain for the best result.
Step 5: Progress to Finer Grits
Once you’ve evenly sanded the whole floor with the coarse sandpaper, repeat the process with a medium grit (80-grit) and then a fine grit (120-grit). This step-by-step increase in grit size will help you achieve a smooth finish when sanding floors with an orbital sander.
For more articles on sanding, click here: Sanding: Your Full-Circle Guide to Smooth Mastery
Step 6: Clean Up
After sanding, vacuum the floor to remove the dust created during the process. Then, wipe the floor with a tack cloth or damp rag to remove any remaining dust. Your floor is now ready for staining, sealing, or polishing, depending on your preference.
Conclusion
Sanding floors with an orbital sander doesn’t have to be a daunting task. By following these detailed steps, you’ll be well on your way to achieving beautifully restored floors. Remember, practice makes perfect. So don’t worry if you don’t get it right on your first try. Keep trying, and soon you’ll master the art of sanding floors with an orbital sander.
