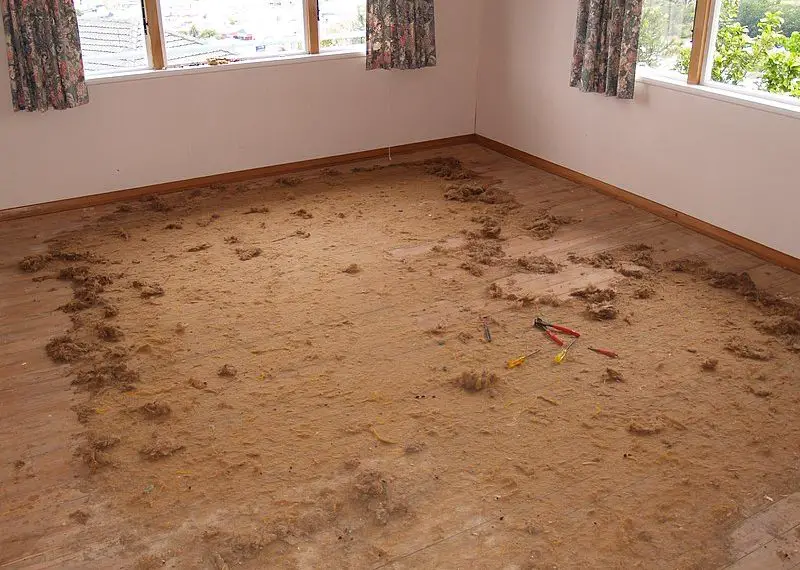
If you’re looking to restore your wooden floors, sanding floors by hand can be a cost-effective and satisfying method. This guide will provide you with step-by-step instructions, ensuring even a beginner can achieve professional-looking results.

Stug.stug (talk) (Uploads), CC BY-SA 3.0 http://creativecommons.org/licenses/by-sa/3.0/, via Wikimedia Commons
Why Sand Floors by Hand?
Before diving into the steps, it’s crucial to understand why sanding floors by hand can be beneficial. Without the use of heavy machinery, you have greater control over the process, often resulting in a more detailed and careful finish. It’s also more budget-friendly, and can be a therapeutic and rewarding DIY project.
Materials You’ll Need
- Pencil or chalk for marking areas
- Coarse, medium, and fine-grit sandpaper
- Hand sanding block or a manual floor sander
- Soft cloth or tack cloth
- Wood finish or sealant
- Protective gear: gloves, safety glasses, and a dust mask
Step-by-Step Guide to Sanding Floors by Hand
1. Prepare the Floor
Begin by clearing the room of furniture and sweeping the floor thoroughly to remove any dust or debris. If there are any protruding nails or screws, make sure to hammer them down or remove them to ensure a smooth sanding surface.
2. Choose Your Starting Grit
Based on the condition of your floor, you’ll start with a particular grit of sandpaper. If your floor has deep scratches or stains, start with a coarse-grit. If it’s relatively clean with minor imperfections, a medium-grit is suitable.
3. Start Sanding
Attach the chosen sandpaper to your hand sanding block or manual floor sander. Using even pressure, sand the floor in the direction of the wood grain. Avoid pressing too hard or you might gouge the wood. Sand the entire floor thoroughly.
4. Clean and Repeat
After sanding with the initial grit, clean the floor with a soft cloth to remove dust. Move to the next grit level (from coarse to medium, or from medium to fine) and repeat the sanding process until the floor is smooth and even.
For more articles on sanding, click here: Sanding: Your Full-Circle Guide to Smooth Mastery
5. Final Touches
Once you’re satisfied with the smoothness, clean the floor thoroughly with a tack cloth to ensure no residual dust remains. After this, you’re ready to apply your chosen wood finish or sealant.
Conclusion
Sanding floors by hand might require time and patience, but the results are undeniably worth the effort. By following this methodical approach, you’re on your way to revitalizing your wooden floors, giving them a fresh and polished look.