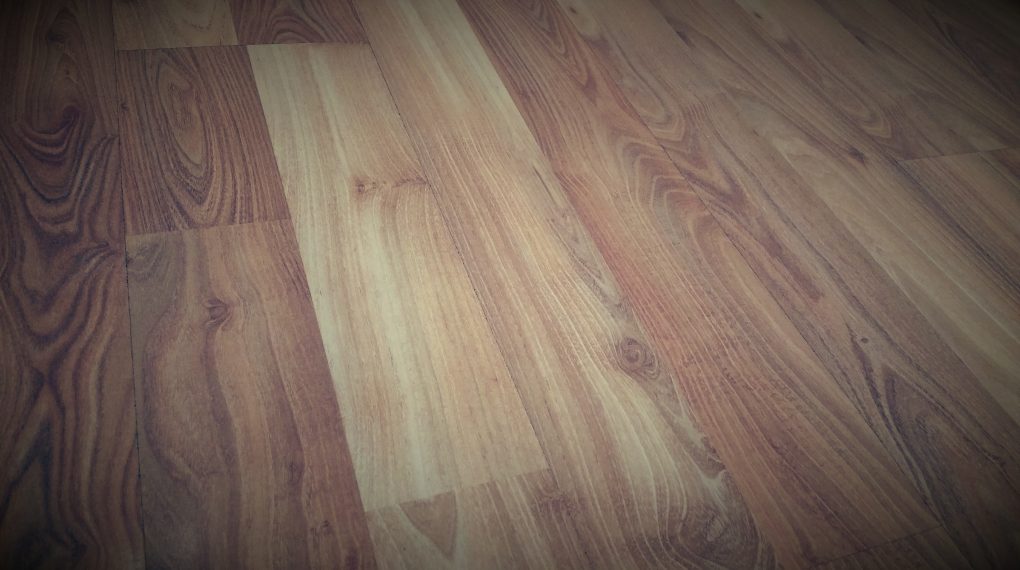
If you’re looking to refresh the look of your room, sanding edges of hardwood floor can be an essential step. This guide will walk you through the process, ensuring that even a novice can achieve professional results.
From Pexels.com by Digital Buggu
Sanding Edges of Hardwood Floor: Materials and Tools Needed
- Edge sander or hand-held sander
- Various grits of sandpaper (60, 80, 120)
- Dust mask and safety glasses
- Vacuum cleaner
- Tack cloth or damp rag
Step 1: Prepare the Area
Before sanding edges of hardwood floor, you need to prepare the area. Remove all furniture and cover any vents to prevent dust from spreading. Make sure to wear a dust mask and safety glasses for protection.
Step 2: Select the Right Sandpaper
Start with a coarser grit like 60, and gradually move to finer grits such as 80 and 120. This progression helps in removing scratches and achieving a smooth finish.
For more articles on sanding, click here: Sanding: Your Full-Circle Guide to Smooth Mastery
Step 3: Sand the Edges
Using the edge sander or hand-held sander, carefully sand the edges of the hardwood floor. Move in the direction of the wood grain, applying even pressure. Repeat the process with finer grits for a smooth finish.
Step 4: Clean Up
After sanding, vacuum the area thoroughly to remove dust. Wipe the floor with a tack cloth or damp rag to ensure that all residues are removed.
Step 5: Apply Finish
If desired, you can apply a finish to enhance the appearance of the hardwood floor. Follow the manufacturer’s instructions for the best results.