Sanding and refinishing hardwood floors is a great way to breathe new life into your home. It can enhance the aesthetics and increase the longevity of your floor. Whether your floors are just looking a little dull, or you are wondering when to sand hardwood floors, this guide will provide you with step-by-step instructions to complete the task.
From Pexels.com by FWStudio
Step 1: Gathering Necessary Supplies
First, you’ll need to gather the necessary supplies. For sanding and refinishing hardwood floors, these include a drum sander, sandpaper of various grits (coarse, medium, and fine), a vacuum cleaner, a mop, a bucket, water, cleaning rags, a paintbrush, and polyurethane floor finish. You can rent a drum sander from a home improvement store if you don’t own one.
Step 2: Preparing the Room
Start by removing all furniture, rugs, and other items from the room. Cover all doors, windows, and vents with plastic sheets to prevent dust from spreading. Use painter’s tape to secure the sheets. Ensure the floor is clean and free of any nails or staples that might damage the sander.
For more articles on sanding, click here: Sanding: Your Full-Circle Guide to Smooth Mastery
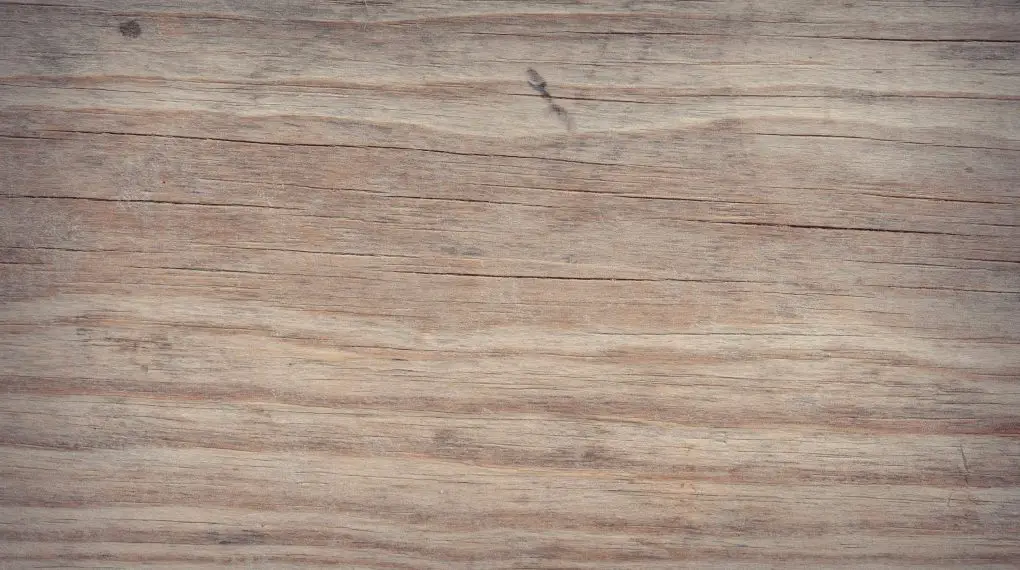
Step 3: Sanding the Floor
Sanding the floor can be a time-consuming process, but it’s necessary for achieving a smooth, even surface. Start with the coarse grit sandpaper. Run the drum sander along the grain of the wood, not against it. Remember to keep the sander moving to avoid creating uneven spots. After the entire floor has been sanded with coarse grit, repeat the process with medium and then fine grit sandpaper. This process is particularly relevant if you are wondering when to sand hardwood floors, as it helps remove any damage or wear on the surface.
Step 4: Cleaning the Floor
After you have finished sanding the floor, use a vacuum cleaner to remove all the dust from the floor. Follow this by mopping the floor with a damp (not wet) mop to remove any remaining dust. Allow the floor to dry completely before proceeding to the next step.
Step 5: Applying the Finish
Once the floor is dry, you can begin applying the finish. Use a high-quality polyurethane finish for best results. Apply the finish with a paintbrush along the grain of the wood. Allow the finish to dry completely before applying the next coat. Most hardwood floors will benefit from two to three coats.
Step 6: Buffing and Final Touches
After the final coat of finish has dried, use a buffing machine to smooth out the surface. Vacuum up any dust produced by the buffing process and then mop the floor. Once the floor is dry, you can replace your furniture and enjoy your newly refinished hardwood floors.
