Learning how to sand without making a mess can significantly improve your DIY experience. If you’ve been avoiding sanding projects because of the inevitable cleanup, this guide is for you. We will walk you through a step-by-step process to keep your workspace clean while sanding.

Guide on How to Sand Without Making a Mess
Here are the steps you’ll need to take…
Preparation is Key
The foundation of a smooth, mess-free sanding experience begins with thorough preparation. Proper preparation is essential to ensuring that your project area remains as clean as possible. Here’s what you need to do:
Clear the Area
Before you even think about sanding, it’s crucial to remove any objects from your work area. Think about decorative items, electronic gadgets, or any other objects that could either obstruct your work or are hard to clean.
Sanding dust has a way of getting into every nook and cranny, so better to remove items than to spend unnecessary time cleaning them later.
Lay Drop Cloths
Your next step is to cover your work area. Choose from either plastic or cloth drop sheets, depending on your preference and what you have available.
Cloth drop cloths can be shaken out and reused but might allow some dust to pass through. Plastic sheeting is excellent for trapping dust but is usually single-use. Whichever you choose, make sure to tape the edges down to prevent them from moving during your project.
Ventilation
Adequate ventilation is essential for your safety and to aid in controlling dust. Open windows to allow fresh air in, but be mindful of the wind direction.
The last thing you want is a gust of wind blowing through the window, scattering dust everywhere. If possible, use a window fan set on exhaust to pull airborne dust out of the room, but ensure that this won’t create airflows that will spread dust around.
Choosing the Right Tools
A significant part of sanding without making a mess involves selecting appropriate tools. The right tools will not only make the job easier but also significantly reduce the amount of mess you create.
Orbital Sander
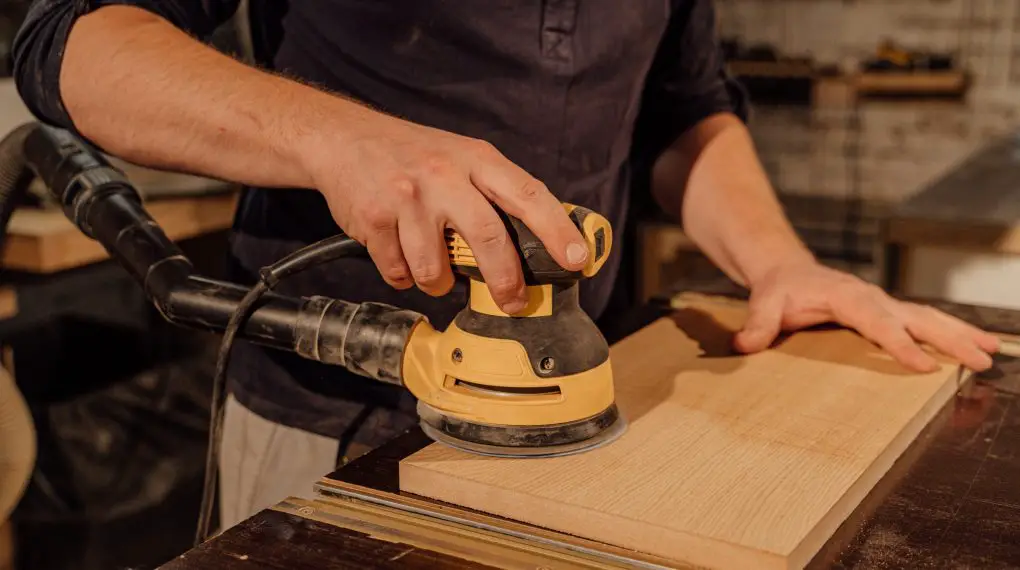
An orbital sander with a built-in dust collection bag is an excellent choice for keeping your workspace clean. These sanders come with a container that catches the dust as it’s created, preventing it from spreading.
You’ll need to periodically empty the bag, so make sure you do this carefully to avoid creating a mess at this stage.
Sanding Blocks
If your project requires manual sanding, sanding blocks are your best bet for minimizing dust. These blocks allow for better control and apply even pressure, which reduces the amount of crumbling and loose dust. They also fit comfortably in your hand, making the task less strenuous.
High-Quality Sandpaper
Investing in high-quality, high-grit sandpaper is another way to minimize the amount of dust you produce. Cheaper, lower-grit papers will disintegrate faster and create more mess.
On the other hand, high-quality sandpaper will not only last longer but will also produce finer dust, which is easier to control and clean.
Sanding Technique
Understanding the correct sanding technique is a cornerstone for anyone learning how to sand without making a mess. It’s not just about moving the sandpaper back and forth; there’s a bit more nuance to it. Let’s break it down:
Test Run
Before fully committing to sanding the whole piece, always start with a small, hidden area. This ‘test run’ allows you to evaluate the effectiveness of your sanding tools and technique.
It also gives you an opportunity to adjust any variables, such as the sandpaper grit or the sander’s speed, to ensure that you minimize mess.
Even Strokes
The way you move your sanding tool matters. Long, even strokes help distribute the dust more uniformly across the surface, making it easier to clean up afterward.
Random or jagged movements can cause dust to spread unevenly and may also result in a less-than-smooth finish. To master this, practice maintaining a steady hand and consistent speed.
Low Pressure
Contrary to what you might think, pressing down hard on the sander doesn’t make the job go faster; it only generates more dust.
Your sander or sanding block is designed to do most of the work for you. So, relax your grip and apply only slight pressure, allowing the tool to glide over the surface.
Post-Sanding Cleanup
Your project doesn’t end when the last bit of paint or wood is smoothed out; a thorough cleanup is crucial. Here’s how to wrap up your sanding project without leaving a mess behind:
Vacuum
Once you’ve finished sanding, grab a vacuum cleaner equipped with a fine dust filter. This type of filter is specifically designed to trap tiny dust particles that regular filters might miss. Vacuum the whole area, paying special attention to corners and crevices where dust tends to gather.
Damp Cloth
After vacuuming, some fine dust particles will inevitably remain. To capture these, lightly dampen a cloth and gently wipe down all surfaces, including the project piece itself. A microfiber cloth is excellent for this as it picks up and holds onto the dust rather than pushing it around.
Dispose Properly
You’re almost done, but there’s one final step. Your drop cloths will have collected a considerable amount of dust.
Carefully fold them inward to trap the dust inside, avoiding any sudden movements that might disperse the dust back into the air.
Dispose of these cloths according to local regulations, especially if you’ve been working with materials that may be hazardous.
For more articles on sanding, click here: Sanding: Your Full-Circle Guide to Smooth Mastery
Conclusion: How to Sand Without Making a Mess
Sanding without making a mess is not only achievable but straightforward with the right preparation, tools, and techniques. Following this step-by-step guide will help you maintain a cleaner workspace and make your DIY projects more enjoyable.