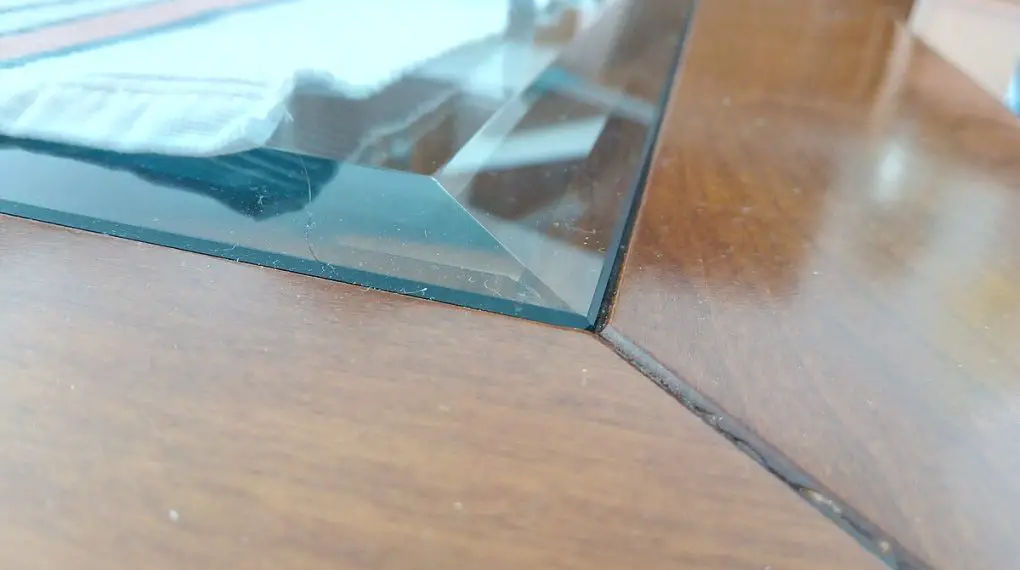
If you’ve ever needed to know how to sand glass, you’re in the right place. Whether for art, craft, or home improvement, sanding glass can bring new life to dull surfaces. It may sound intimidating, but with the right tools and techniques, it’s something you can do yourself. This article will guide you through the process, step by step, and even address the question, “Is sanding glass dangerous?”

Almanta, CC BY-SA 4.0 https://creativecommons.org/licenses/by-sa/4.0, via Wikimedia Commons
How to Sand Glass: Materials Needed
- Glass surface to be sanded
- Wet/Dry Sandpaper (various grits)
- Water
- Safety glasses
- Gloves
Step-by-Step Process
Step 1: Safety Precautions
First and foremost, we need to address the concern: is sanding glass dangerous? Like many DIY tasks, sanding glass can be risky if proper safety precautions aren’t taken. Wear safety glasses to protect your eyes and gloves to safeguard your hands. Work in a well-ventilated area to avoid inhaling glass dust.
Step 2: Choosing the Right Sandpaper
Use wet/dry sandpaper as it’s designed for glass and similar materials. Start with a coarser grit like 180 and progressively move to finer grits, such as 400 and 600, to achieve a smooth finish.
Step 3: Wet Sanding Technique
Wet the sandpaper in water and then sand the glass surface using circular motions. Keep the sandpaper wet throughout the process. Wet sanding helps to reduce dust and scratches.
For more articles on sanding, click here: Sanding: Your Full-Circle Guide to Smooth Mastery
Step 4: Checking Progress and Finishing
Check your progress frequently and switch to finer grits as needed. Once you have achieved the desired smoothness, rinse the glass and dry it thoroughly.
Conclusion
Learning how to sand glass can be a valuable skill for various projects. Following this step-by-step guide, you can achieve smooth and polished glass surfaces. Always prioritize safety, and don’t hesitate to consult with a professional if you have any doubts or concerns.