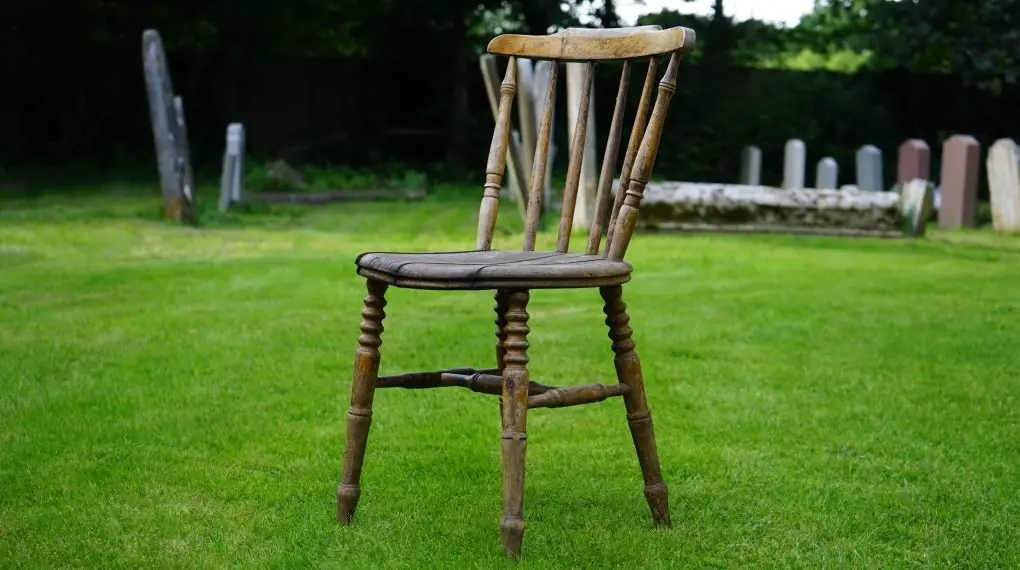
Learning how to sand furniture legs is essential for anyone looking to restore or upcycle their old furniture. Not only does it rejuvenate the appearance of the piece, but it also prepares the surface for painting or staining. In this guide, we’ll cover each step to help you achieve the best results possible.
How to Sand Furniture Legs: Tools You’ll Need
- Orbital Sander or Sanding Block
- Various Grit Sandpapers (60-grit, 120-grit, and 220-grit)
- Soft Cloth
- Painter’s Tape
- Safety Goggles
- Face Mask
- Wood Filler (optional)
Step 1: Prepare Your Workspace
Choose an open, well-ventilated area for sanding. Cover the surface below the furniture with plastic sheets to catch any dust.
Step 2: Safety First
Wear safety goggles and a face mask to protect against dust and debris.
Step 3: Remove Any Obstructions
Use painter’s tape to mask any areas you do not want to sand.
Step 4: Assess the Furniture Legs
Examine the furniture legs for any cracks or dents that may need to be filled with wood filler before you begin sanding.
Step 5: Start with Coarse Sandpaper
Use 60-grit sandpaper to remove any existing paint or finish. Make sure to move the sandpaper in the direction of the wood grain.
Step 6: Move to Medium Sandpaper
Switch to 120-grit sandpaper to smooth out any rough patches and to prepare the wood for the final sanding.
Step 7: Final Sanding
Finish off with 220-grit sandpaper to achieve a smooth finish. This prepares the legs for staining or painting.
Step 8: Wipe Down the Furniture Legs
Use a soft cloth to wipe away any residual dust before moving on to painting or staining.
For more articles on sanding, click here: Sanding: Your Full-Circle Guide to Smooth Mastery
Conclusion
Now that you know how to sand furniture legs, you can confidently undertake furniture restoration projects. With a little time and effort, you can give your furniture a new lease on life.