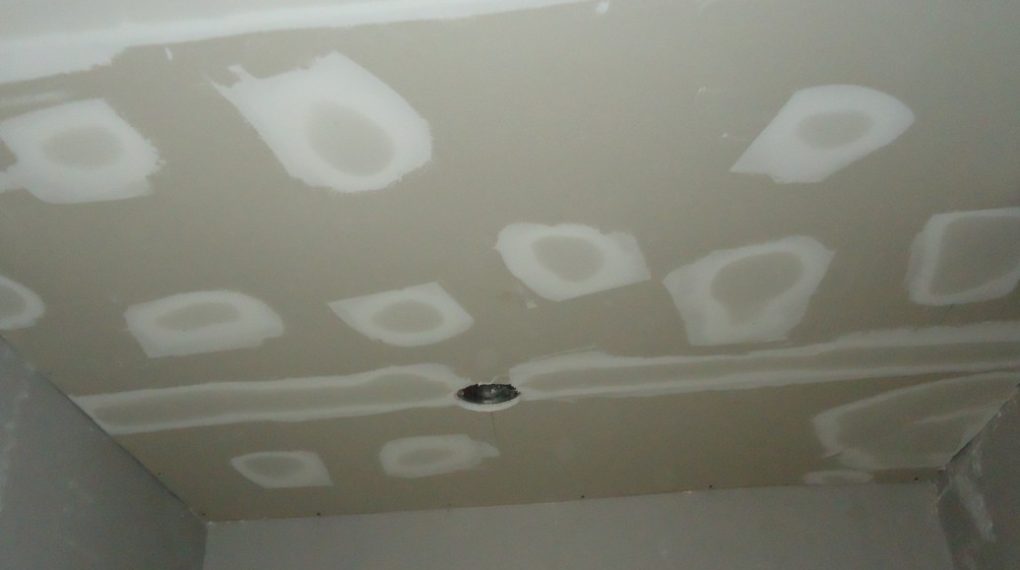
If you’re wondering how to sand Durabond 90, you’ve come to the right place. This guide will provide you with step-by-step instructions to achieve a flawless finish. Whether you’re a DIY enthusiast or a seasoned professional, this guide is designed for you.

Preparation
Before you start, make sure that the Durabond 90 has completely dried. This usually takes at least 24 hours. Also, ensure that your workspace is clean and well-ventilated.
How to Sand Durabond 90: Things You’ll Need
- Sanding sponge
- Sanding paper (medium grit)
- Dust mask
- Safety goggles
- Vacuum cleaner
Wear Safety Gear
Take a dust mask and place it over your nose and mouth. Make sure to secure it tightly to ensure it fits snugly, covering your nose and mouth completely.
Put on safety goggles to protect your eyes from airborne dust particles and other debris. Ensure the goggles sit firmly against your face to prevent dust from getting in.
Test the Surface
Run your fingers lightly over the Durabond 90-covered surface. You’re looking for any inconsistencies, bumps, or ridges that will need sanding down.
Make mental or physical notes (e.g., with masking tape) to mark the areas that feel uneven or rough. These will be your focus points when you begin sanding.
Start with Corners
Hold the sanding sponge so that one of its edges can easily reach into corners and along edges. Apply moderate pressure to the sponge and make short, controlled strokes in the corners. Ensure you are sanding in the direction perpendicular to the edge to get an even finish. Pay attention to the amount of pressure you apply to avoid removing too much material.
Flat Areas
Wrap a piece of medium-grit sandpaper around the flat face of the sanding sponge. Place the sponge against the flat area you wish to sand.
Move the sponge in a circular motion, applying consistent moderate pressure. Make sure to overlap your circles to ensure an even finish. Regularly check the surface and your sandpaper. If the sandpaper becomes clogged with material, replace it to maintain effectiveness.
Vacuum
Attach the brush attachment to the vacuum cleaner. Turn the vacuum cleaner on and gently run the brush over the entire surface you’ve sanded. Make sure to get into the corners and along the edges where dust is likely to accumulate. After vacuuming, inspect the surface to make sure all the dust and debris have been removed.
Inspect
Gently run your hand over the sanded surface once again to feel for any remaining imperfections. If you find any uneven spots, bumps, or rough patches, go back and repeat the sanding process for those specific areas. Ensure that the surface feels smooth to the touch before declaring the job complete.
For more articles on sanding, click here: Sanding: Your Full-Circle Guide to Smooth Mastery
How to Sand Durabond 90: Additional Tips
Remember to frequently change your sanding sponge or paper to get the best results. Make sure to maintain moderate pressure throughout to avoid gouging the surface.