If you’re looking for a comprehensive guide on how to sand between coats of primer, you’ve come to the right place. Whether you’re a DIY enthusiast or a novice in home improvement, this article will guide you through each step to achieve a flawless finish.
Step-by-step Sanding Procedure
Here are the steps to sand between coats of primer…
Things You’ll Need
Fine-grit sandpaper (220-320 grit)
Preparation Work
Before diving into the primer application, adequate preparation work is crucial for a smooth and lasting finish. First, make sure the surface you are working on is free from dust, grease, or any form of debris.
Cleaning: Use soap and water to clean the surface thoroughly. If the surface has grease or stubborn stains, you may need a stronger cleaning agent designed for that particular material. Always read the label on any cleaning product to ensure it’s suitable for your surface.
Drying: After cleaning, it’s vital to let the surface dry completely. Any moisture left behind can adversely affect the primer’s adherence. Use a towel to wipe down the surface and then wait for a few more minutes to air dry.
Safety Measures: Make sure you’re in a well-ventilated area if you’re using strong cleaning agents or are sensitive to fumes. Always wear protective gear like gloves to protect your skin.
Applying the First Coat of Primer
Applying the first coat of primer can be a straightforward process when done correctly. The objective is to get an even layer that covers the entire surface.
Primer Selection: Ensure you’ve chosen the right type of primer for your project. The type of primer will often depend on the surface material and the kind of paint you plan to use.
Pouring Primer: Use a paint tray to hold the primer. Pour enough amount to cover a large portion of your surface but not so much that it becomes unwieldy.
Application: Use a paint roller or brush to apply the primer to the surface. Make sure to spread it evenly. Start from one end and work your way to the other, ensuring that you’re covering the entire surface.
Drying Time: Allow the primer to dry according to the manufacturer’s instructions. The drying time can vary based on environmental conditions like temperature and humidity, so be sure to factor these in.
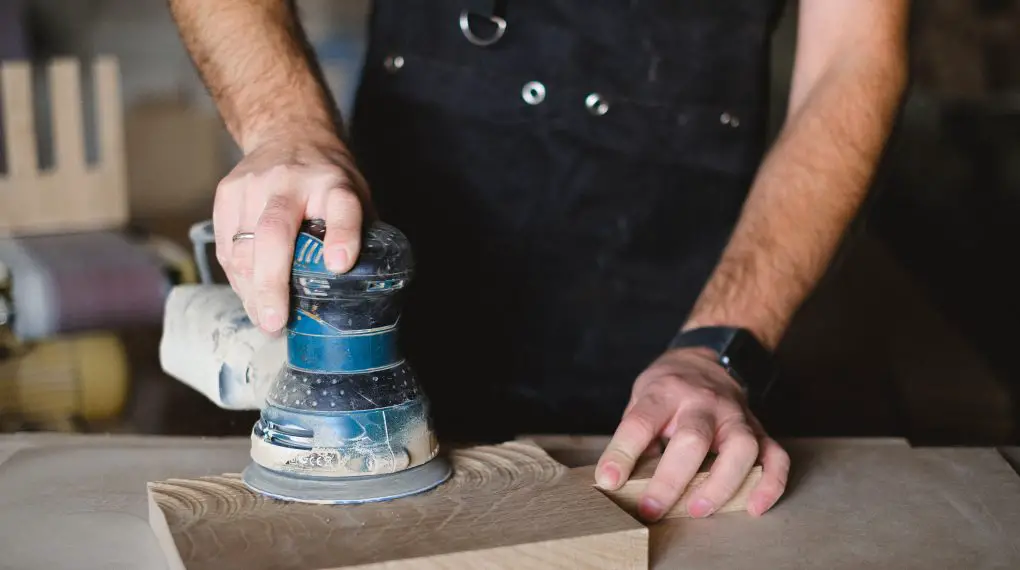
Sanding Between Coats
Sanding between coats of primer is more than a quick step; it’s a pivotal part of your painting project. Skipping this could result in a less-than-perfect end result. Here’s how to master this stage:
Choosing Sandpaper
The first decision you’ll have to make is about the type of sandpaper to use.
Grit Levels: The grit level of sandpaper is a measure of its coarseness. For sanding between coats of primer, a fine-grit sandpaper ranging from 220 to 320 grit is generally recommended. This will smooth out any rough spots without gouging the surface.
Material Compatibility: Ensure that the sandpaper you choose is compatible with the surface you’re working on. Some surfaces may require specialized types of sandpaper.
Quality: Opt for high-quality sandpaper that won’t disintegrate during the sanding process. Cheap sandpaper can often break down, leaving residue that’s hard to clean up.
Technique
The way you sand the surface is just as important as the tools you use.
Gentle Pressure: Apply just enough pressure to remove minor imperfections. There’s no need to press too hard; let the sandpaper do the work.
Circular Motions: Use small, circular motions to create an even finish. This technique ensures you’re not focusing too much on one area, which could create divots or uneven spots.
Checking Your Work: Periodically pause to touch the surface. It should feel smooth to the touch. If you notice any rough patches, give those areas a bit more attention.
Cleaning
After you’ve sanded the surface, you’ll need to remove all traces of dust and debris.
Tack Cloth: A tack cloth is a sticky piece of fabric that picks up even the smallest particles of dust. Gently wipe down the surface with the tack cloth, turning it frequently to ensure you’re using a clean section.
Damp Rag: Alternatively, you can use a slightly damp rag to wipe down the surface. This is particularly useful for larger areas. Just be sure to wait until the surface is completely dry before moving on to the next coat of primer.
Final Inspection: Before you proceed, do a final inspection to ensure all dust has been removed. A single particle can mar your next coat, so it’s worth being meticulous at this stage.
Applying the Second Coat
After sanding and cleaning, you’re set to apply the second coat of primer.
Primer Tray: Again, pour some primer into a paint tray. This ensures you don’t contaminate the primer can with any particles from the brush or roller.
Application: Using your paint roller or brush, apply the second coat of primer. Just like with the first coat, make sure you achieve an even layer over the entire surface.
Drying: Allow the second coat to dry completely. This may take time, so be patient. Check the manufacturer’s guidelines for the recommended drying time before proceeding to paint.
For more articles on sanding, click here: Sanding: Your Full-Circle Guide to Smooth Mastery
Conclusion: How to Sand Between Coats of Primer
Learning how to sand between coats of primer is a crucial step in achieving a professional-looking finish. By following these steps, you’ll be well on your way to a successful home improvement project.