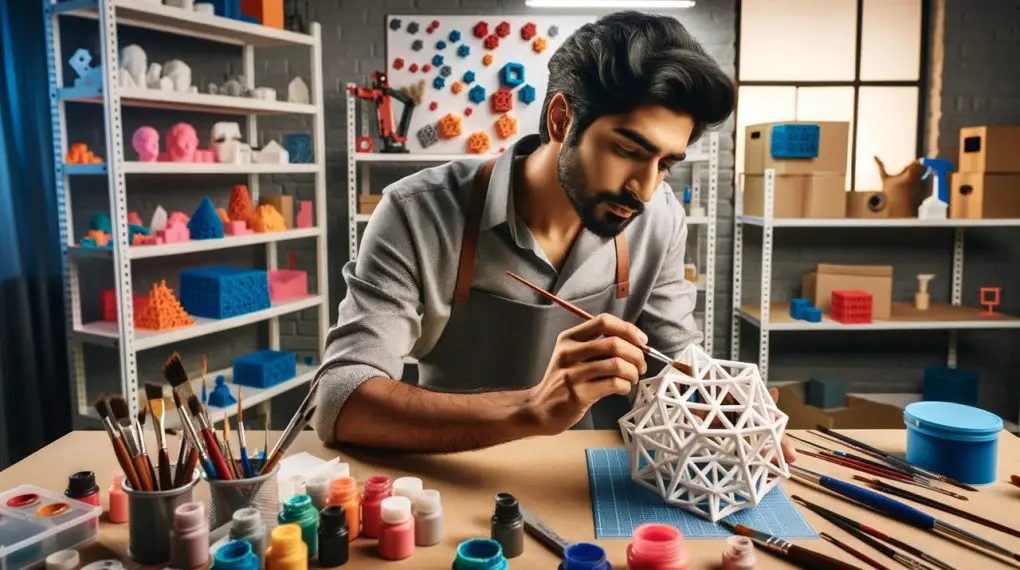
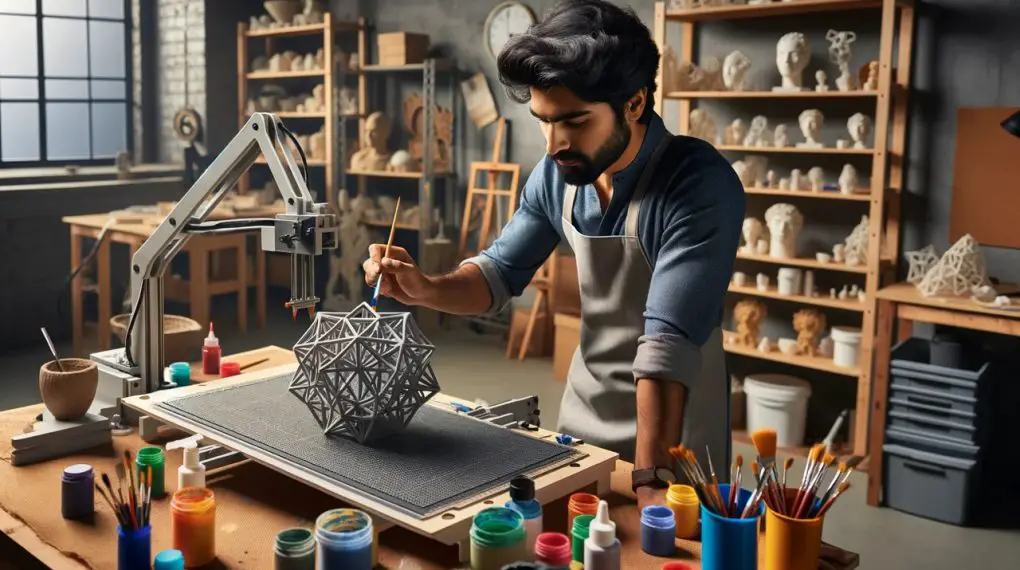
Embarking on the journey of transforming your 3D prints into professional-looking pieces can be both exciting and overwhelming.
But fear not, as you’re about to learn how to sand and paint 3D prints with precision and care. Whether you’re refining a prototype or crafting a display-worthy model, the following steps will guide you to a superb finish.

Step 1: Gather Your Materials
To start, assemble all the necessary materials to ensure a smooth and efficient sanding and painting process. Here’s what you’ll need:
Sandpaper: You will need a selection of sandpaper grits. Begin with lower grits (like 200-grit) for the initial rough sanding to remove larger print lines and blemishes.
Gradually move to higher grits such as 400-grit and then 600 to 800-grit for final smoothing. If your print has very fine details, you might even consider a 1000-grit sandpaper for the finishing touches.
Primer: A good quality primer is essential for preparing the surface of your 3D print for painting. It helps to fill in small imperfections and provides a surface that paint can adhere to more easily. Choose a primer that is compatible with the material of your 3D print and the type of paint you will be using.
Paint: The choice of paint will depend on the desired finish and the material of your print. Acrylic paints are a common choice for their ease of use and cleanup.
If you’re working with a plastic print, you might opt for spray paints designed for plastic materials. Always pick paints that are labeled for use on the specific material of your 3D print to ensure good adherence and durability.
Protective Gear: Safety should always be a priority. Wear a dust mask to prevent the inhalation of fine plastic particles. Use gloves to protect your hands from paint and chemicals, and consider safety goggles to keep dust out of your eyes.
Additional Supplies: Besides the basic materials, it’s also a good idea to have a few other items on hand. These include:
A painting tray or palette if you’re using brush-on paints.
A variety of brushes if you’re not using spray paint, including fine-tipped brushes for details.
A clear coat spray or brush-on varnish to seal and protect your finished print.
Paper towels or a clean cloth for wiping away dust.
A well-ventilated, dust-free area to work in, as well as ample lighting to see fine details.
Step 2: Sanding Your Print
The journey to a smooth, paint-ready surface begins with proper sanding. Sanding can be a meditative process, but it requires attention to detail to ensure a flawless finish.
Start with Coarse Grit:
Your first sanding pass should be with coarse grit sandpaper, around 200-grit, which will help you quickly eliminate the most prominent lines and layering artifacts typical of 3D printed objects.
Work in a circular motion and apply consistent, moderate pressure to the print. Avoid pressing too hard, as this can create grooves or misshape your print.
Inspect and Clean:
After the first pass, inspect your print for any large imperfections that may require additional sanding. Use a soft brush or a dry cloth to wipe away the dust, which will give you a clearer view of the print’s surface.
Move to Medium Grit:
Switch to a medium grit sandpaper, such as 400-grit, to refine the surface. This step smooths out the scratches made by the coarse sandpaper. You should still sand in circular motions and remember to frequently remove the accumulated dust.
Finish with Fine Grit:
Once the surface feels even, move on to a fine grit sandpaper, between 600 to 800-grit, for the final sanding. This will buff out the smaller imperfections and prepare the print for a primer.
The goal here is to achieve as smooth a surface as possible; take your time, and check the progress regularly by running your fingers over the print to feel for bumps or ridges.
Optional Wet Sanding:
For an even smoother finish, consider wet sanding with very fine sandpaper (1000-grit or higher). Wet the sandpaper and the print slightly.
The water acts as a lubricant and reduces dust, allowing for a finer finish. Always finish with dry sanding to ensure all moisture is removed from the print’s surface.
Final Cleaning:
After the last pass with fine sandpaper, do a thorough cleaning to remove all traces of dust and grit. You can use a slightly damp cloth to pick up any remaining dust, followed by a dry cloth to ensure the print is completely dry.
Step 3: Priming
Priming is a crucial bridge between your meticulous sanding and the artistic application of paint. A primer serves a dual purpose—it ensures your paint adheres to the surface of your print effectively and provides a homogeneous base that will highlight any areas that may require additional attention.
Choosing the Right Primer:
Select a primer that is compatible with the material of your 3D print and your chosen paint. For most materials, an automotive filler primer is a good choice because it fills in any tiny scratches and imperfections left after sanding.
Prepare Your Workspace:
Before you begin, ensure your workspace is well-ventilated. Lay down newspapers or a drop cloth to protect your workspace from any overspray if you’re using spray primer.
Applying the Primer:
Shake the primer can well before use, or if using a brush-on primer, stir it to ensure a uniform mixture. Hold the spray can approximately 8 to 12 inches away from the print.
Apply a light, even coat of primer across the surface. If you’re using a brush, apply with smooth, even strokes to cover the print lightly but thoroughly.
Watching for Imperfections:
As the primer dries, which usually takes about 20 minutes, it will reveal the quality of your sanding work. Imperfections, if any, will become more visible. These may be areas you’ll want to re-sand and prime again for the smoothest possible surface.
Sanding After Priming (if necessary):
If upon inspection, you find imperfections, wait for the primer to fully dry. Once dry, gently sand the area with a fine-grit sandpaper, and then clean and reapply the primer. This step may be repeated as necessary to achieve a perfectly smooth surface.
Final Inspection:
After the final application of primer has dried, inspect your print carefully. It should now have a uniform, matte surface with no visible print lines. If the surface meets your satisfaction, you’re ready to move on to the painting stage.

Step 4: Painting Your 3D Print
Painting your 3D print is where your project truly begins to come to life with color and personality. Taking the right approach to painting will ensure your finished product looks as good as you’ve imagined it.
Selecting the Paint:
It’s essential to choose the right type of paint for your 3D print material. Acrylic paints work well for most prints due to their ease of use and quick drying times.
If you’re working with a plastic print, you may opt for specialized plastic-bonding paints for better adhesion. For a more durable finish, especially on functional pieces, enamel paints may be a better option, though they take longer to dry.
Preparing to Paint:
Before you start, make sure your print is completely clean and free from dust. If you handled the print after priming, give it a gentle wipe with a lint-free cloth to remove oils and dirt from your hands. Set up your workspace in a well-ventilated area, protecting surfaces from spills or overspray.
Applying the Paint:
When applying paint, whether by brush or spray, the key is to apply thin, even coats. If you’re spray painting, hold the can about 6 to 8 inches away from the print and spray in a steady, back-and-forth motion, overlapping each pass slightly.
For brush painting, use a soft brush and apply the paint with even strokes. Avoid the temptation to apply paint too thickly; this can result in drips and uneven drying.
Drying Time:
After applying the first coat, allow the paint to dry completely. Drying times can vary based on paint type and environmental factors, but rushing this process can lead to a subpar finish.
Follow the manufacturer’s recommended drying times, which can be anywhere from 20 minutes for acrylics to 24 hours for enamels.
Adding Additional Coats:
Once the first coat is dry, inspect the print. If you see any uneven areas or spots where the primer is showing through, don’t worry. Apply a second coat of paint, again focusing on keeping it thin and even.
Depending on the color intensity and coverage you desire, you may need additional coats. Just be sure to let each coat dry thoroughly before adding the next.
Finishing Touches:
After the final coat is applied and fully dry, you can add details with a finer brush or even use techniques like dry brushing to enhance the texture. Always let your layers of detail paint dry thoroughly, just as you did with the base coats.
Step 5: Sealing the Paint
With your 3D print now painted, the final step to ensure its longevity and resilience is to apply a clear sealant. This layer will protect the paint from wear and tear, moisture, and other environmental factors that could damage the finish over time.
Choosing a Sealant:
There are various sealants available, including spray-on and brush-on types. A clear acrylic sealer works well for most projects, providing a balance between protection and ease of application.
Matte, satin, or gloss finishes are available, so choose one that best matches the desired final appearance of your print.
Application:
Make sure the paint is completely dry before you start. Apply the sealant in a dust-free environment to avoid particles sticking to the wet surface.
If using a spray sealant, shake the can well and hold it around 6 to 12 inches from the surface. Spray a thin, even coat, moving in smooth sweeps across the print. For brush-on sealants, use a soft brush and apply in thin layers to avoid brush strokes.
Drying Time:
Allow the sealant to dry thoroughly. Refer to the manufacturer’s instructions for the recommended drying time as it can vary widely depending on the product.
Second Coat (Optional):
Depending on the level of protection you need or the intensity of handling the print will endure, you might want to apply a second coat of sealant. If so, wait until the first coat is completely dry before applying the next.
Troubleshooting Common Issues
Even with careful preparation, you might encounter some issues during the painting process. Here are some common problems and their solutions:
Paint Not Adhering:
If the paint is peeling or not sticking well, this could be due to a lack of surface preparation. Make sure the print is sanded smoothly and cleaned before applying primer and paint.
It could also be due to incompatibility between the paint and the material of the print, or the paint and primer. Check to ensure that all materials are compatible and reapply as necessary.
Visible Print Lines:
If print lines are visible after priming and painting, it may be necessary to revisit the sanding process. Apply another layer of primer, then once it’s dry, sand it gently with a high-grit sandpaper. Clean it thoroughly before applying another coat of paint.
For more articles on sanding, click here: Sanding: Your Full-Circle Guide to Smooth Mastery
Conclusion: How to Sand and Paint 3D Prints
In conclusion, transforming your 3D print with sanding, painting, and sealing enhances its aesthetics and durability.
By following these detailed steps—meticulous preparation, patient layering of paint, and protective sealing—you can achieve a professional, lasting finish that brings out the best in your 3D creations.