Learning how to sand after first coat of polyurethane is essential for a professional finish on your woodworking project. This guide will walk you through the process step-by-step.
Why Sanding After First Coat is Necessary
Applying a coat of polyurethane adds a protective layer to your woodwork, but it can also leave some imperfections like bubbles or brush strokes. Sanding smooths these out, providing a better base for the subsequent coats.
Things You Will Need
Fine-grit sandpaper (220-320 grit)
Water and a spray bottle (optional)
Step 1: Ensure the First Coat is Dry
Ensuring that the first coat of polyurethane is fully dry is crucial to achieving a smooth finish. Sanding a coat that hasn’t fully cured can lead to a messy, sticky surface that will ruin your project.
How to Check
To check if your first coat is dry, lightly touch a hidden corner of your project with your fingertip. If it feels dry and doesn’t leave a fingerprint, it’s likely ready. Another way is to tap it gently with a knuckle; if it sounds hollow, it’s usually dry.
Manufacturer’s Guidelines
Always consult the manufacturer’s guidelines for the specific drying times for your type of polyurethane. Keep in mind that factors like temperature, humidity, and air circulation can affect drying time.
Step 2: Prepare Your Work Area
Here’s how to prepare your work area…
Safety First
Remember that you’ll be creating dust, which can be both messy and potentially hazardous to inhale. Make sure your workspace is well-ventilated.
Layout
Remove any obstacles from your workspace to allow for smooth, unimpeded movement. Lay down a tarp or a drop cloth on the floor underneath the project area. This will make it easier to clean up afterward and prevent the sanding dust from scattering everywhere.
Step 3: Choose the Right Sandpaper
Here’s how to choose the right sandpaper…
Types of Sandpaper
Sandpaper comes in various grit sizes. A finer grit like 220-320 is ideal for sanding between coats of polyurethane because it removes just enough material to even out imperfections without digging into the coat.
Why Grit Matters
Choosing the wrong grit can either not smooth the surface sufficiently or remove too much material, affecting the quality of the finished project.
Step 4: Sand the Surface
Here’s how to sand the surface…
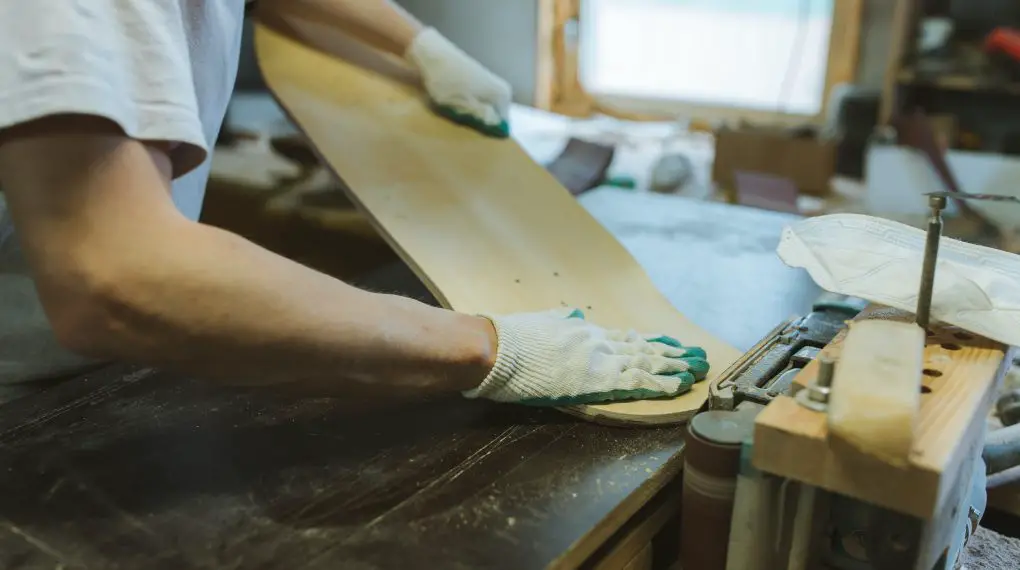
Technique
Hold the sandpaper flat against the surface and move it in the direction of the wood grain. Use light, even strokes, applying only a minimal amount of pressure. Over-pressuring can remove the polyurethane layer you’ve just applied.
Coverage
Make sure to cover all areas, including corners and edges, but be extra gentle on the edges as they tend to be more susceptible to over-sanding.
Step 5: Remove the Dust
Here’s how to remove the dust…
Initial Cleanup
Once you’ve finished sanding, use a vacuum cleaner with a brush attachment or a soft brush to gently remove all the dust particles from the surface.
Final Wipe Down
After vacuuming, wipe the entire surface with a soft cloth to catch any remaining particles. Some people even prefer using a tack cloth, which is slightly sticky and excellent for picking up fine dust.
Step 6: Prepare for the Next Coat
Here’s how to prepare for the next coat…
Inspect the Surface
Take a few moments to inspect your work. Look for any areas you might have missed or places where you might have sanded too much.
Time to Re-Coat
Once you’re satisfied with your surface, you can apply the next coat of polyurethane. The newly sanded surface provides better adhesion for the next layer, ensuring a smoother, more durable finish.
For more articles on sanding, click here: Sanding: Your Full-Circle Guide to Smooth Mastery
Conclusion: How to Sand After First Coat of Polyurethane
Sanding after the first coat of polyurethane is an essential step for achieving a professional finish on your woodworking project. By following these simple steps, you’ll be well on your way to a beautifully finished piece.
