If you’re looking to learn how to sand 3D prints smooth, you’ve come to the right place. Sanding is a crucial step to improve the aesthetics and functionality of your 3D prints. This article aims to guide you through this process step-by-step, ensuring you achieve that flawless finish.
Why You Need to Sand 3D Prints
Sanding 3D prints can drastically improve the visual appeal and touch of your project. The process helps remove layer lines, blemishes, and other imperfections that might be present after printing. Moreover, sanding sets the stage for further finishing steps, such as painting or sealing.
How to Sand 3D Prints Smooth: Materials You’ll Need
- Sanding paper with varying grits (from 100 to 1000)
- A dust mask
- Water for wet sanding (optional)
- A clean, soft cloth
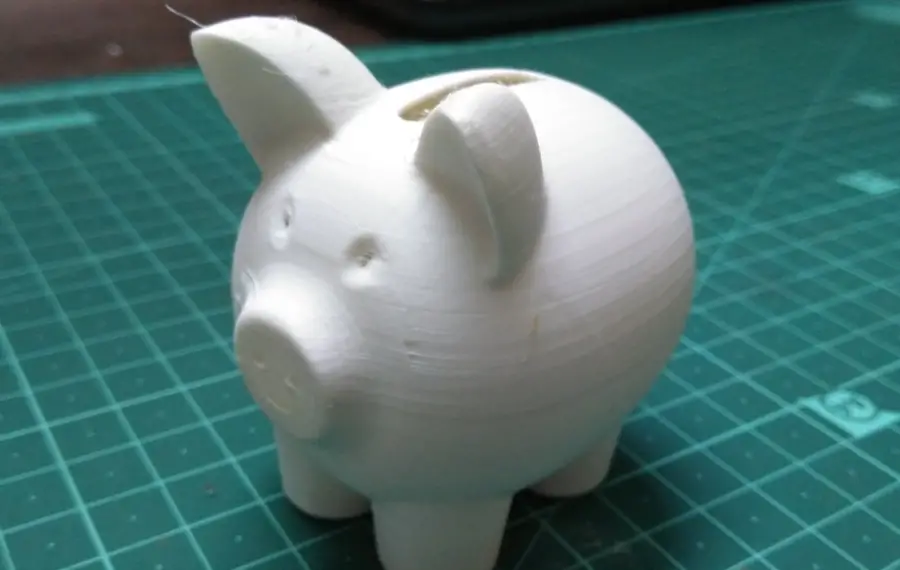
- 3D printed object
Step 1: Safety First
Before you begin, put on a dust mask to protect yourself from inhaling particles. Ensure your workspace is well-ventilated.
Step 2: Prepare the 3D Print
Inspect your 3D print for any large imperfections that may require more aggressive sanding. Identify these areas as you’ll focus on them first.
Step 3: Start with Coarse Sandpaper
Use a coarse sandpaper, around 100-200 grit, to work on the identified problem areas. Make sure to apply consistent pressure and sand in a circular motion. This coarse sandpaper will remove the bulk of the imperfections.
Step 4: Move to Medium Grit
After working with the coarse sandpaper, switch to a medium-grit paper (around 400 grit). Again, sand in circular motions, applying even pressure. At this stage, your aim is to smooth out the areas you’ve sanded previously.
Step 5: Finish with Fine Grit
Lastly, use a fine grit sandpaper, like a 800-1000 grit, for the final touches. This will give your print a smooth finish. If you wish, you can also opt for wet sanding at this stage for an even smoother finish.
Step 6: Clean the Object
Once you’re satisfied with how smooth your 3D print is, use a clean, soft cloth to wipe away any residual dust or sanding particles.
For more articles on sanding, click here: Sanding: Your Full-Circle Guide to Smooth Mastery
How to Sand 3D Prints Smooth: Conclusion
Sanding your 3D prints to achieve a smooth finish is a straightforward, albeit essential, process. With the right tools and technique, you can significantly improve the quality of your projects. Remember, practice makes perfect, so don’t be discouraged if you don’t get it right the first time.
