Understanding the process of floor sanding grit progression is crucial if you want a flawlessly sanded wooden floor. Whether you’re a DIY enthusiast or a novice, this comprehensive guide will help you navigate the steps efficiently and achieve a perfectly smooth finish.
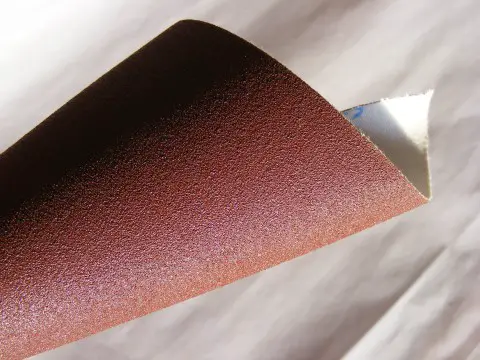
Emilian Robert Vicol from Com. Balanesti, Romania, CC BY 2.0 https://creativecommons.org/licenses/by/2.0, via Wikimedia Commons
The Basics of Floor Sanding Grit Progression
Floor sanding involves multiple stages of sanding with different grit sizes. Starting with a coarser grit, you gradually progress to finer grits. This progression not only removes old finishes and flattens the floor but also smoothens the wood surface for the final finish application.
Step 1: Safety First
Before you start the process, ensure your safety. Always wear safety goggles to protect your eyes from dust particles and ear protection to shield your hearing from the noise of the sander. It’s also recommended to wear a dust mask to prevent inhalation of wood dust.
Step 2: Starting with Coarse Grit
Begin your floor sanding grit progression journey with a coarse grit, typically 40-grit. This coarse grit is perfect for removing old finishes and serious wood imperfections. Make sure to move the sander parallel to the grain, ensuring full coverage.
Step 3: Medium Grit Sanding
After the coarse grit, switch to a medium grit, typically 60-grit or 80-grit. This step will eliminate the scratches left by the coarse grit and start smoothing the wood surface. Remember to vacuum the floor between grit changes to remove any residual dust.
Step 4: Fine Grit Sanding
The next step in your floor sanding grit progression is the fine grit, typically 100-grit or 120-grit. This will further smooth the floor and prepare it for finishing. Be patient and methodical during this stage for the best results.
For more articles on sanding, click here: Sanding: Your Full-Circle Guide to Smooth Master
Step 5: Finishing Touches
Finally, some floor experts recommend an additional pass with a super fine grit, such as 150-grit or 220-grit, especially for floors that will be stained. This extra step can provide a remarkably smooth finish before applying your chosen wood finish.
Conclusion
Mastering the floor sanding grit progression is key to achieving a beautifully refinished floor. Remember, the journey from coarse to super fine grit requires patience and care. With this guide, you can confidently approach your next floor sanding project with success.
