If you’re grappling with how to restore your aging teak outdoor furniture, sanding is an excellent option. This article aims to offer a step-by-step guide that will help even a complete novice to get the job done successfully.
Why Sanding Teak Outdoor Furniture is Essential
Teak is known for its durability and resistance to weather, but even it can show signs of wear and tear over time. Sanding teak outdoor furniture can bring it back to life, improve its appearance, and extend its lifespan.
What You’ll Need
- Medium-grit sandpaper (80-120 grit)
- Fine-grit sandpaper (150-220 grit)
- Handheld sander (optional)
- Dust mask
- Safety goggles
- Gloves
- Drop cloth
- Teak cleaner
- Teak sealer
Step 1: Safety First
Before you begin sanding your teak outdoor furniture, put on your safety goggles, a dust mask, and gloves. These will protect you from dust and any splinters.
Step 2: Prepare the Workspace
Place a drop cloth under the furniture to catch any dust. Make sure the area is well-ventilated.
Step 3: Clean the Furniture
Use a teak cleaner to remove any dirt, grease, or old sealants. Follow the cleaner’s instructions for best results.
Step 4: Start with Medium-Grit Sandpaper
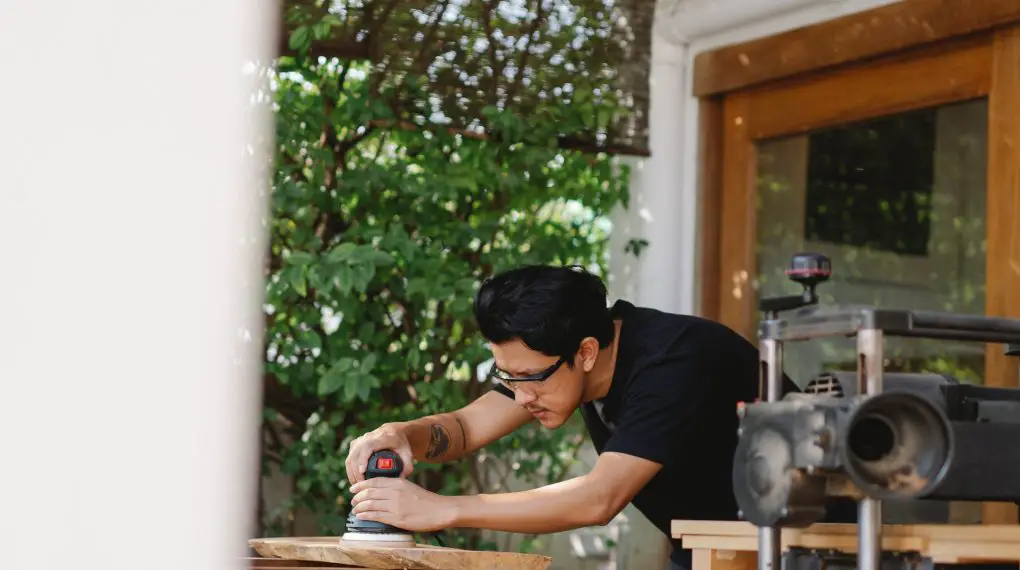
Take your medium-grit sandpaper and start sanding along the grain of the wood. If you’re using a handheld sander, make sure it’s set at a low speed. Make even strokes and avoid pressing too hard.
Step 5: Switch to Fine-Grit Sandpaper
After sanding the entire piece with medium-grit, switch to fine-grit sandpaper and repeat the process. This will give the wood a smoother finish.
Step 6: Wipe Down the Furniture
After you finish sanding, wipe down the furniture with a clean cloth to remove any dust.
For more articles on sanding, click here: Sanding: Your Full-Circle Guide to Smooth Mastery
Step 7: Apply Teak Sealer
Lastly, apply a layer of teak sealer to protect the wood. Follow the sealer’s instructions for the best results.
Sanding Teak Outdoor Furniture: Conclusion
Sanding teak outdoor furniture is an effective way to rejuvenate its appearance and prolong its life. By following these straightforward steps, you can achieve a successful restoration.