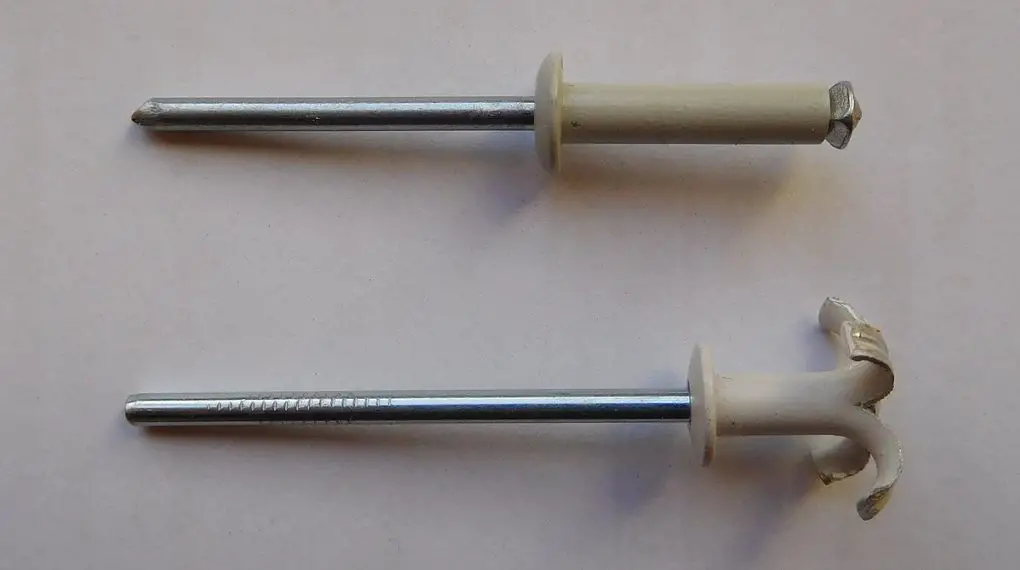
When it comes to achieving a flawless finish in metalwork or DIY projects, mastering rivet sanding is essential. Whether you’re restoring vintage metal furniture or working on an aircraft, this step-by-step guide will walk you through the process of achieving a smooth surface while preserving those important rivets.
Now, let’s dive into the detailed step-by-step instructions for sanding around rivets:

Step 1: Gather Your Materials
Before you begin, gather the necessary materials:
Sandpaper (various grits)
Clean water and a sponge
Step 2: Safety First
Before you even touch the sandpaper, put on your safety goggles and dust mask. Safety goggles shield your eyes from any flying debris, while a dust mask protects your respiratory system from inhaling dust particles generated during sanding. These simple steps significantly reduce the risk of eye injuries or respiratory problems.
Step 3: Assess the Rivets
Taking the time to assess the condition of the rivets is crucial for achieving a successful sanding job:
Close Examination: Get up close to the rivets you’re about to sand. Look for signs of corrosion, rust, or imperfections on and around the rivet heads. This step helps you understand the extent of the work required.
Cleaning: If you notice any surface contaminants like dirt or grease on the rivets, use a damp cloth to clean them. Cleaning ensures that the sandpaper can work effectively and helps prevent further damage to the metal.
Step 4: Choose the Right Grit
The choice of grit depends on the condition of both the surface and the rivets. If you’re dealing with heavy rust, deep imperfections, or a rough surface, opt for coarser grits like 80 or 120. These will remove material more aggressively. For finishing and smoothing tasks on a relatively clean surface, finer grits such as 220 or 320 are ideal.
Step 5: Begin Sanding
Now that you’re properly equipped and have assessed your work area, it’s time to start sanding:
Proper Tool Usage: Hold the selected sandpaper against the surface around the rivets. For consistent and even pressure, consider using a sanding block or tool. This ensures that you don’t inadvertently create uneven surfaces or gouges.
Circular Motions: Initiate the sanding process with gentle, circular motions. This technique promotes an even removal of material and helps avoid leaving behind noticeable marks.
Flat Sanding: Always keep the sandpaper flat against the surface. Avoid angling or tilting it, as this can lead to uneven results and possibly damage the rivets.
Step 6: Gradually Increase Grit
As you continue sanding, periodically switch to finer grits. This step refines the surface, making it smoother with each grit change. Remove dust regularly to evaluate your progress and ensure a consistent result.
Step 7: Clean and Inspect
Maintaining cleanliness and vigilance is key to quality work:
Dust Removal: After sanding, use a soft cloth or tack cloth to thoroughly remove residue from the sanded area. A clean surface allows you to inspect the rivets and surrounding metal more accurately.
Detailed Inspection: Take your time to inspect the rivets and the adjacent metal. Look for any remaining imperfections, as well as signs of a smooth and even surface.
Step 8: Final Touches
For an exceptionally smooth finish, consider these additional steps:
Very Fine Grit: If you notice any remaining imperfections or want an exceptionally smooth surface, perform additional sanding using a very fine grit sandpaper, such as 400 or 600.
Thorough Cleaning: Once again, clean the sanded area meticulously to ensure that no debris compromises your final finish.
Step 9: Finish and Protect
Apply a protective coating or finish of your choice, such as paint or clear lacquer, to the sanded surface. This step helps prevent corrosion and adds a polished appearance to your work.
For more articles on sanding, click here: Sanding: Your Full-Circle Guide to Smooth Mastery
Conclusion: Mastering Rivet Sanding
By following these step-by-step instructions, you can confidently sand around rivets to achieve professional-looking results in your metalwork or DIY projects. Remember to prioritize safety, choose the right grit, and take your time for the best outcome.