If you’re wondering how to use a floor edger sander, you’ve come to the right place. This step-by-step guide is designed to help you master this tool, even if you are a complete beginner. From preparation to finishing touches, we’ve got you covered.
From Wikipedia.org by Stug.stug
Step 1: Safety Precautions
Before you start using a floor edger sander, it’s essential to ensure your safety. Wear safety glasses, ear protection, and a dust mask. Make sure the power cord is in good condition and keep children and pets away from the work area.
Step 2: Preparing the Floor
Clear the floor of furniture, debris, and dust. Any protruding nails or screws should be hammered down. This step ensures a smooth sanding process and helps prevent damage to the machine.
Step 3: Selecting the Right Sandpaper
Choose the right sandpaper grit depending on the condition of the floor. If the floor is in poor condition, start with coarse grit. Gradually move to finer grits as you progress.
For more articles on sanding, click here: Sanding: Your Full-Circle Guide to Smooth Mastery
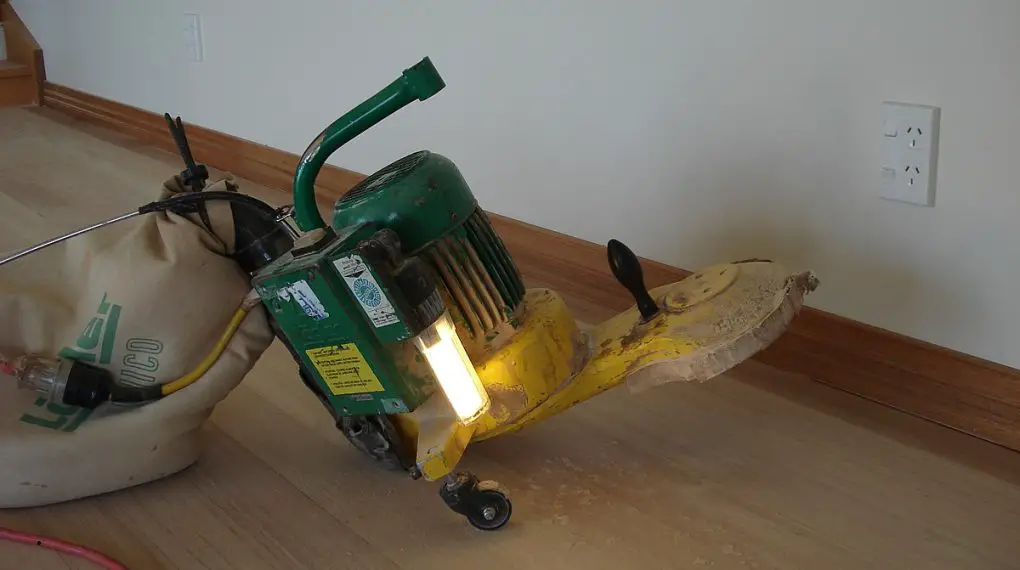
Step 4: Operating the Floor Edger Sander
Turn on the floor edger sander, holding it steady. Gently lower it onto the floor and move it in the direction of the wood grain. Keep a steady pace, being careful not to dwell in one spot for too long, as it can create uneven spots.
Step 5: Finishing Touches
After sanding, vacuum the floor to remove all dust. Apply the desired finish according to the manufacturer’s instructions, and allow sufficient time for drying.