If you’re looking for a comprehensive guide on how to sand rounded objects, you’ve come to the right place. Sanding rounded surfaces can be a bit challenging, but with the right tools and techniques, you can achieve a smooth finish. This article will walk you through each step, ensuring that even a novice can complete the task successfully.

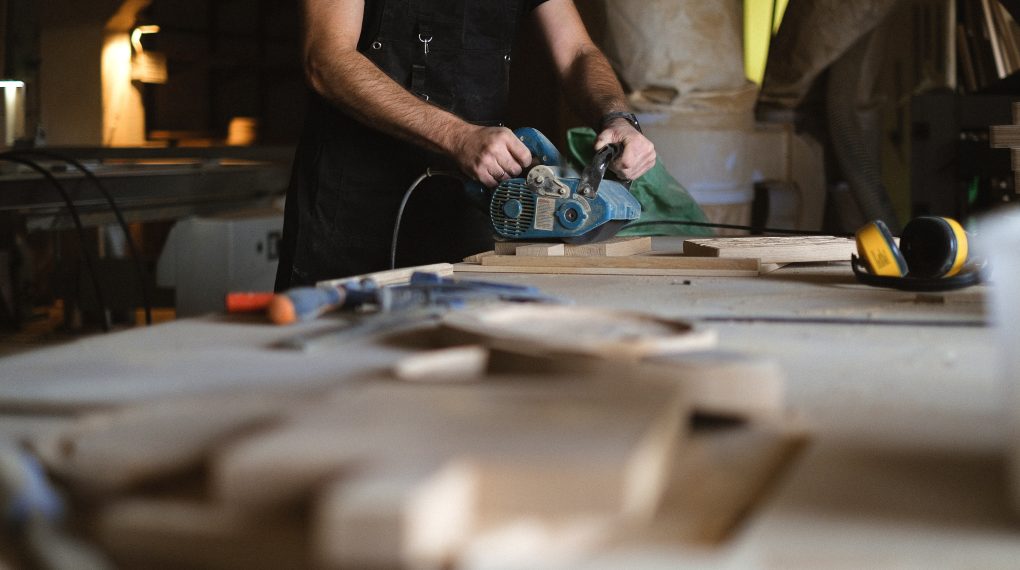
From Pexels.com by Anna Shvets
How to Sand Rounded Objects: Materials You’ll Need
- Sanding paper of various grits (80, 120, 220)
- Sanding block or sponge
- Protective gear (gloves, mask, goggles)
- Wooden or plastic rounded object
- Clean cloth
Preparation Steps
Before you begin the process of sanding, it’s essential to prepare your workspace and materials.
- Put on your protective gear to ensure your safety.
- Place the rounded object on a stable surface.
- Choose the appropriate sandpaper grit. Start with a lower number for rough surfaces.
For more articles on sanding, click here: Sanding: Your Full-Circle Guide to Smooth Mastery.
Sanding Techniques
Now that you’re prepared, let’s move on to the actual sanding process.
- Wrap the sandpaper around your sanding block or sponge.
- Apply even pressure and start sanding in a circular motion.
- Periodically check the object to assess the smoothness.
- If needed, switch to a finer grit sandpaper and repeat.
Finishing Touches
Once you’re satisfied with the smoothness, you’re almost done.
- Wipe down the object with a clean cloth to remove any residual dust.
- Inspect the object to ensure you haven’t missed any spots.
- If necessary, perform a final light sanding with the finest grit paper.
And there you have it! You’ve successfully learned how to sand rounded objects. With a bit of practice, you’ll become a pro in no time.