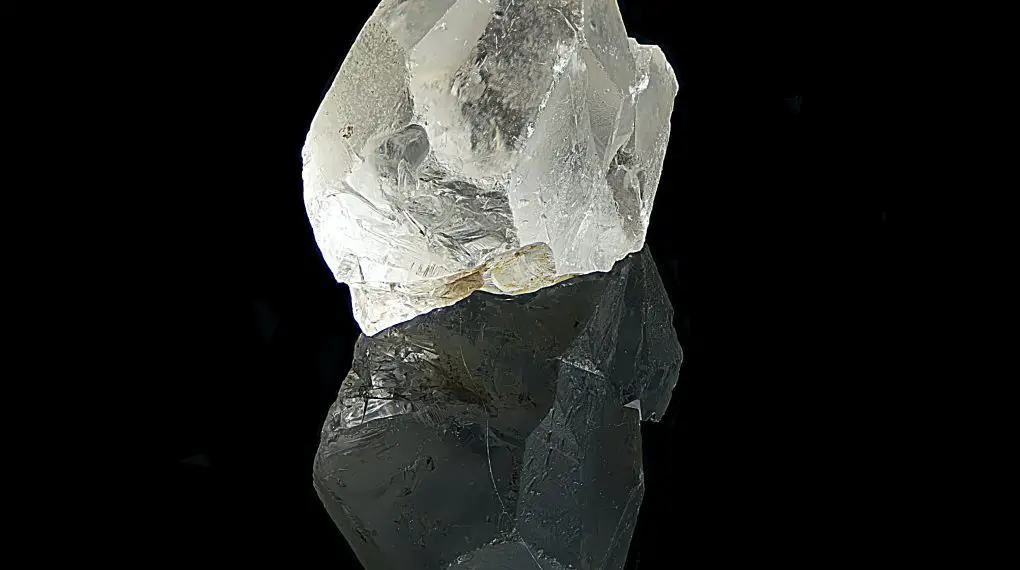
If you’re looking to learn how to sand quartz edges, you’ve come to the right place. This step-by-step guide will teach you everything you need to know to get the job done, even if you’re a complete novice.

How to Sand Quartz Edges: Materials Needed
- Quartz piece with rough edges
- Water
- Coarse-grit diamond sanding pad (50-100 grit)
- Medium-grit diamond sanding pad (200-400 grit)
- Fine-grit diamond sanding pad (800-1200 grit)
- Variable-speed angle grinder or hand-held stone polisher
- Safety goggles
- Rubber gloves
Step 1: Prepare Your Workspace
Choose a well-ventilated area to work in. Put on your safety goggles and rubber gloves to protect yourself from quartz dust and any potential sharp edges.
Step 2: Inspect the Quartz
Before you start, examine the quartz edges that you wish to sand. Identify any particularly rough spots or irregularities that will need extra attention.
Step 3: Attach Coarse-Grit Sanding Pad
Attach a coarse-grit diamond sanding pad to your angle grinder or hand-held stone polisher. Make sure it’s securely fastened.
Step 4: Wet the Quartz
Lightly wet the quartz edges with water. This helps to minimize dust and improves the sanding process.
Step 5: Start Sanding
Turn on the angle grinder to a low-to-medium speed. Apply even pressure and begin to sand the quartz edges in a sweeping motion.
Step 6: Move to Medium-Grit
Once you’ve smoothed out the rough spots with coarse-grit, switch to a medium-grit pad. Repeat the sanding process until the surface becomes more refined.
Step 7: Final Sanding with Fine-Grit
Replace the medium-grit pad with a fine-grit pad. Do a final pass over the quartz edges to achieve a smooth finish.
Step 8: Inspect and Finish
Once you’ve completed the sanding process, inspect the quartz edges to ensure you’ve achieved the desired smoothness. If satisfied, your project is complete.
For more articles on sanding, click here: Sanding: Your Full-Circle Guide to Smooth Mastery
Conclusion
Learning how to sand quartz edges might seem daunting at first, but with the right tools and steps, it’s a straightforward process. You should now have smooth, finished quartz edges that are ready for any application.