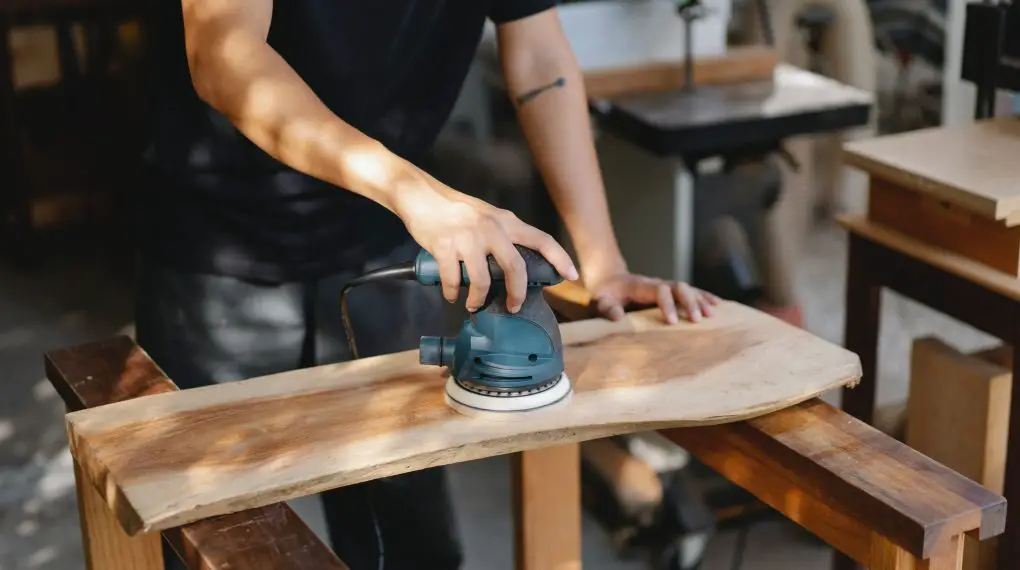
Learning how to sand for primer is crucial for achieving a flawless paint job. Whether you’re painting a room or refurbishing furniture, this comprehensive guide will take you through each step. Even if you’ve never held a piece of sandpaper before, you’ll become proficient by the end.

Essential Items
You’ll need the following items to properly sand for primer:
- Sandpaper (ranging from coarse to fine grit)
- Sanding block or orbital sander
- Clean cloth
- Masking tape
- Protective gear (goggles, mask, gloves)
Safety Precautions
Safety should never be an afterthought when you’re about to work on a project that involves sanding for primer. Neglecting safety measures can result in eye irritation, lung issues, or skin abrasions. Here are specific steps to ensure you’re safe:
Wear Protective Goggles: The tiny particles released during sanding can easily enter your eyes. Protective goggles create a safety barrier between your eyes and the airborne dust.
Use a Mask: A dust mask filters out the particles that could otherwise be inhaled, protecting your respiratory system. Opt for masks rated N95 or higher to ensure maximum protection.
Don Gloves: Sanding can be tough on your hands. Wearing gloves not only provides a better grip but also protects your skin from any abrasive material or splinters.
Ventilation: Make sure your workspace is well-ventilated. If you’re working indoors, open windows and use fans to circulate the air. The ventilation helps disperse dust and keeps the air you breathe cleaner.
Preparation
To achieve a smooth and flawless finish, you need to start with the right preparation. Skipping or rushing through this phase can affect the end result dramatically.
Clean the Surface: Use a damp cloth to wipe the surface you’ll be sanding. Removing dust, grime, or grease ensures that your sandpaper doesn’t get clogged, allowing for a more effective sanding.
Masking Tape: Use masking tape to cover any areas you don’t want to sand, like hinges on a door or the edges of a window frame. This ensures these areas remain undamaged and clean.
Select Sandpaper Grit: Sandpaper comes in various grits, indicating the coarseness of the paper. A lower number means a coarser grit; higher numbers are finer. Start with a coarse grit (e.g., 60-80) to remove imperfections quickly, then move to a finer grit (e.g., 180-220) to smooth the surface. This progression helps prepare the surface optimally for primer.
Step-By-Step Sanding
You’ve prepared your workspace, considered your safety, and readied your materials. Now, let’s get to the actual sanding process.
Put on Your Protective Gear: Before you start, make sure you’re wearing your goggles, mask, and gloves.
Attach Coarse-Grit Sandpaper: Take your sanding block or orbital sander and attach a piece of coarse-grit sandpaper to it. This is usually done via clips or adhesive backing.
Start Sanding: Hold your sanding tool firmly and start sanding the surface using even, circular motions. Apply moderate pressure; too much could damage the surface, too little may not remove imperfections effectively.
Switch to Finer Grit: After you’ve sanded the entire surface with coarse-grit paper, switch to a finer grit. Repeat the sanding process. This will smooth out any scratches made by the coarse grit and prepare the surface for priming.
Wipe Down the Surface: Use a clean, damp cloth to wipe down the surface. This removes any residue or dust, giving you a clean canvas for your primer.
Inspect the Surface: Take a close look at the surface. Run your hands over it to feel for any imperfections. If it’s smooth and even, you’re all set to apply your primer.
For more articles on sanding, click here: Sanding: Your Full-Circle Guide to Smooth Mastery
Conclusion: How to Sand for Primer
Knowing how to sand for primer is a valuable skill that can significantly improve the quality of your paint jobs. By following this guide, you’re well on your way to achieving professional-grade results.