If you’re wondering how to sand around chair spindles, you’ve come to the right place. This guide will provide you with a step-by-step walkthrough to help you achieve a smooth, flawless finish.
Why Sanding Chair Spindles Is Important
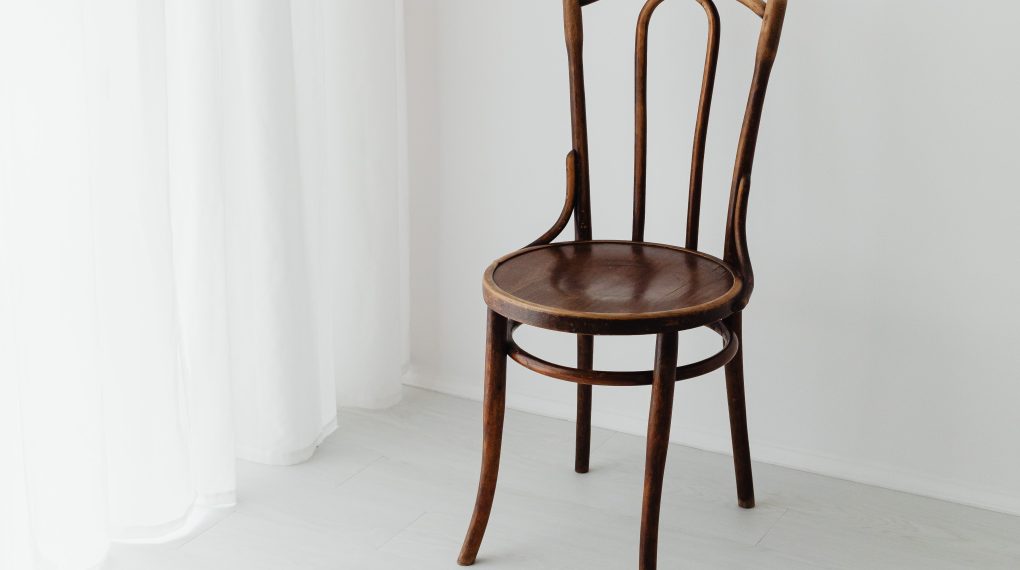
Chair spindles often get overlooked, but they need attention to maintain the overall look and longevity of your furniture. Sanding removes old paint, smoothens the wood, and prepares it for a new finish.
Things You Will Need
Sandpaper (various grits)
Step 1: Safety First
Before you even touch a piece of sandpaper, it’s crucial to prioritize safety. Woodworking projects like sanding produce a fair amount of dust and tiny debris that can be harmful if inhaled or if they come into contact with your eyes.
Goggles: Put on safety goggles to protect your eyes from flying wood particles and dust.
Gloves: Wear durable yet flexible gloves to protect your hands from splinters and to have a better grip on your tools.
Mask: A face mask will prevent you from inhaling any fine particles of wood dust that may be generated during the sanding process.
Step 2: Assess the Spindles
Before you begin sanding, give each spindle a good look-over. Understanding the condition of the wood will help you determine how much work is required.
Paint Chips: Check if there are any paint chips that may require extra attention during the sanding process.
Varnish: Note areas where varnish or old finish may have built up, as these can be harder to remove.
Imperfections: Look for any scratches, dents, or other imperfections that you’ll want to smooth out.
Step 3: Choose the Right Sandpaper
Different types of sandpaper exist for different tasks. The grit number of sandpaper signifies its coarseness.
80-Grit: Start with a coarse sandpaper like 80-grit for removing old paint or varnish quickly.
120 or 220-Grit: Once you have removed most of the old material, switch to a finer grit like 120 or 220 to smooth the surface.
Step 4: Start Sanding
Now that you’re prepared, it’s time to begin the actual sanding process.
Wrap Sandpaper: Take a piece of your chosen coarse grit sandpaper and wrap it around the spindle.
Sand: Hold the sandpaper tightly and move it up and down along the grain of the wood. Make sure to apply consistent pressure.
Step 5: Use a Sanding Sponge for Curves
Chair spindles often have curves that regular flat sandpaper can’t reach effectively.
Select a Sponge: Choose a sanding sponge that is both flexible and gritty enough for your needs.
Sponge Sanding: Use the sponge to go over the curves and details of the spindles, applying moderate pressure.
Step 6: Clean Up
After all that sanding, there’s bound to be dust. Take a tack cloth, which is a sticky cloth designed to pick up dust, and thoroughly wipe down each spindle to remove all remaining particles.
Step 7: Final Touches
You’re almost there. Just a few more finishing touches and your chair spindles will look like new.
Finer Grit Sandpaper: Take a finer grit sandpaper, such as 220-grit, and give each spindle a final smooth-over.
Final Wipe: Use the tack cloth one more time to remove any last traces of dust.
For more articles on sanding, click here: Sanding: Your Full-Circle Guide to Smooth Mastery
Conclusion: How to Sand Around Chair Spindles
Now that you know how to sand around chair spindles, you can confidently tackle this project and improve the lifespan and look of your furniture.