Learning how to sand a table top with a belt sander is a valuable skill that can transform an old piece of furniture into something fresh and beautiful. This guide will provide you with detailed step-by-step instructions to ensure that even if you are a novice, you will master this task with ease.
Luigi Zanasi, CC BY-SA 2.0 CA https://creativecommons.org/licenses/by-sa/2.0/ca/deed.en, via Wikimedia Commons
How to Sand a Table Top with a Belt Sander: Preparation
Before you start sanding, you need to prepare your workspace and the table. Here’s what you should do:
- Clear the table of any objects.
- Place a drop cloth or protective covering on the floor.
- Wear safety glasses and a dust mask.
Selecting the Right Sandpaper
You will need to choose the correct grit of sandpaper for the job. Start with a lower grit for rough surfaces and move to a higher grit for fine sanding:
- 80-grit for initial sanding.
- 120-grit for intermediate sanding.
- 220-grit for final sanding.
For more articles on sanding, click here: Sanding: Your Full-Circle Guide to Smooth Mastery
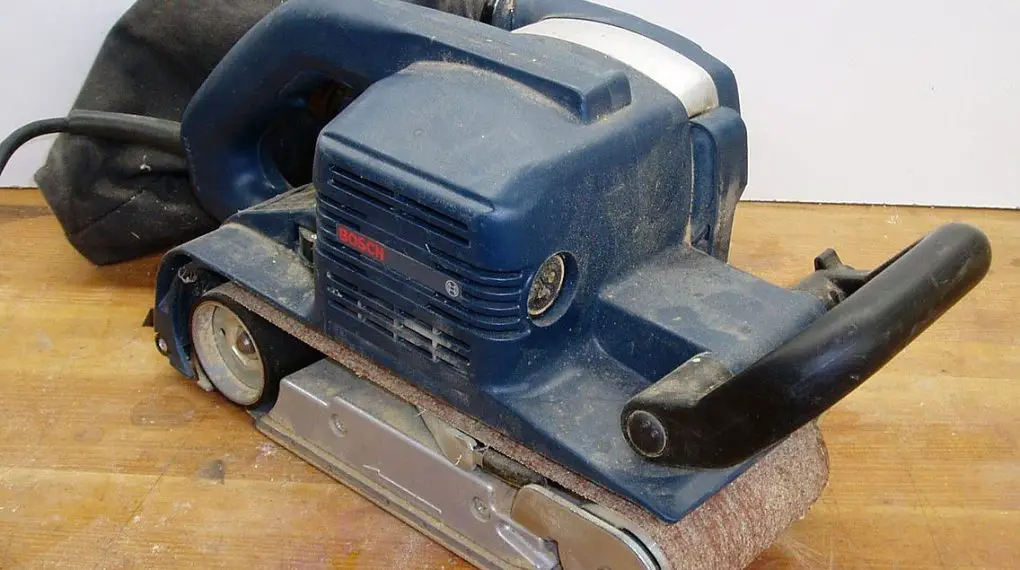
Sanding with a Belt Sander
Now that everything is ready, follow these steps:
- Turn on the belt sander and allow it to reach full speed.
- Hold the sander firmly with both hands.
- Gently press the sander against the table top.
- Move it in the direction of the wood grain.
- Apply even pressure, and be patient, taking care not to over-sand.
- Repeat the process with higher grits for a smooth finish.
Finishing Touches
After sanding, you’ll need to clean and finish the table top:
- Wipe down the surface with a damp cloth to remove dust.
- Apply a finish like wood stain or varnish if desired.
- Allow the finish to dry according to the manufacturer’s instructions.
By following these steps, you will learn how to sand a table top with a belt sander and achieve professional-looking results.