If you’re looking to give new life to an old table, knowing how to sand and stain it is essential. This comprehensive guide will walk you through each step of the process, ensuring a smooth and successful project.

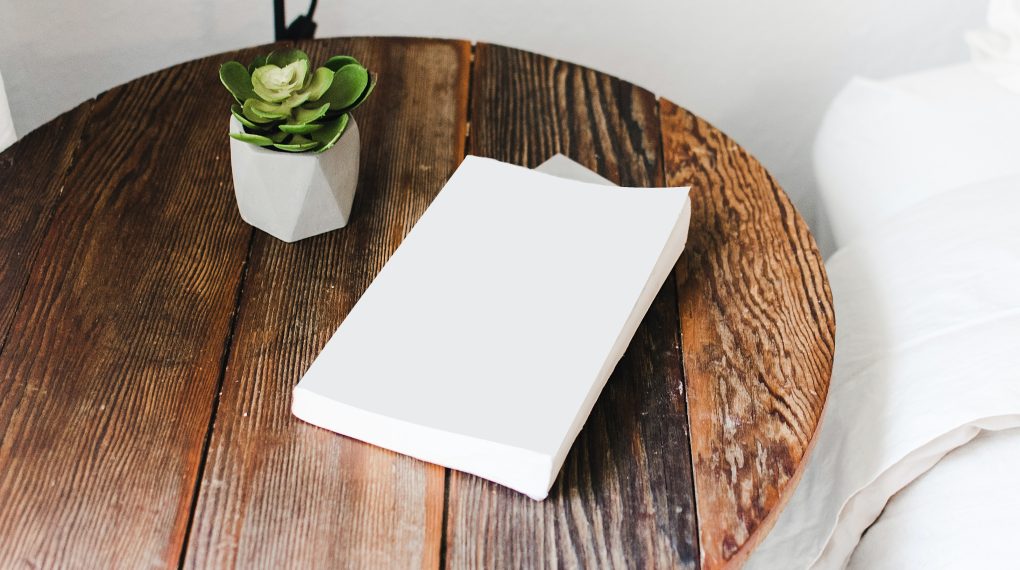
From Pexels.com by Adrienne Andersen
How to Sand a Table and Stain It: Materials You Will Need
Before you start, gather all the necessary materials:
- Sanding paper (various grits)
- Wood stain
- Paintbrush
- Drop cloth
- Wood sealer
- Rubber gloves
The Sanding Process
Sanding is the first step in how to sand a table and stain it. Here’s how to do it:
Step 1: Prepare the Area
Place a drop cloth under the table to catch any dust or debris. Make sure the area is well-ventilated.
Step 2: Choose Your Sandpaper
Select a coarse-grit sandpaper to start. You’ll move to finer grits as you go along.
Step 3: Start Sanding
Using even strokes, sand the table surface. Always sand in the direction of the wood grain to avoid scratches.
Step 4: Switch to Finer Grit
After the initial sanding, switch to a finer grit sandpaper and repeat the process.
The Staining Process
Once you’ve sanded the table, it’s time to stain it.
Step 1: Choose Your Stain
Select a wood stain that complements your table’s wood type and your decor.
Step 2: Apply the Stain
Using a paintbrush, apply the stain in even strokes, working in the direction of the wood grain.
Step 3: Wipe Off Excess Stain
After letting the stain sit for a few minutes, use a cloth to wipe off any excess.
For more articles on sanding, click here: Sanding: Your Full-Circle Guide to Smooth Mastery
Finishing Touches
The final step in how to sand a table and stain it is sealing the wood.
Step 1: Apply Wood Sealer
Using a clean paintbrush, apply a wood sealer to protect your table.
Step 2: Let It Dry
Allow the sealer to dry completely before using the table.
And there you have it! You’ve successfully learned how to sand a table and stain it, giving it a new lease on life.